Part 1: Design
A year ago I built some tool cabinet, without actually taking the due time to lay out the plans for them. It won’t come as a surprise that I don’t use them anymore. This time, I started out by designing the whole thing.
1.1 Demands
First off, I needed to know what I wanted out of the cabinet. This was easier said than done, mainly because I’ve got a lot of tools for all kinds of occasions and I wanted to be able to store nearly all in this cabinet.

1.2 Doors
Because of the demands – and the limits to the size of the pegboard, I am going to try and use folding doors. These doors will also have pegboard on them, allowing, in theory, a double amount of storage space. The difficulty I am faced with because of these choices will, I’m thinking as of writing this, the stability and stiffness of the whole build. This is why I am using piano hinges and am deciding on using some joints which I haven’t attempted before.

1.3 More specific demands on the inside of the cabinet
Below is a list of tools and storage that I want to have on the inside of the cabinet. I will try and story the heaviest parts of my tool collection here, as to limit the weight on the doors.

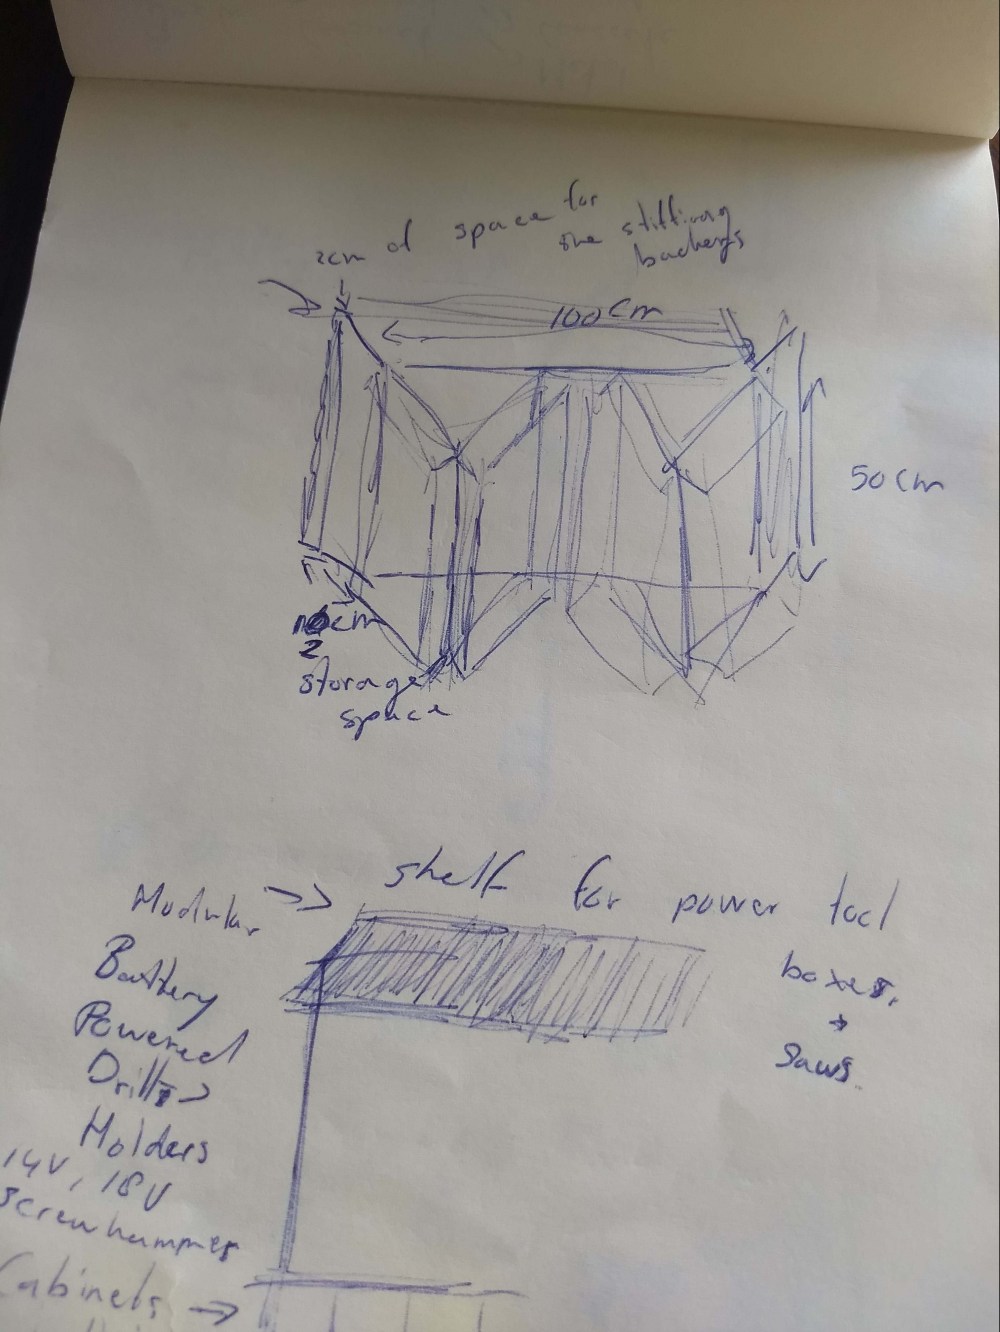
1.4 Creating a digital blueprint of the main cabinet
Before building, I wanted to see how the design would work out digitally. Therefore, I installed SketchUp Make, which is free, and set out some plans, starting by building roughly modeling the shed.
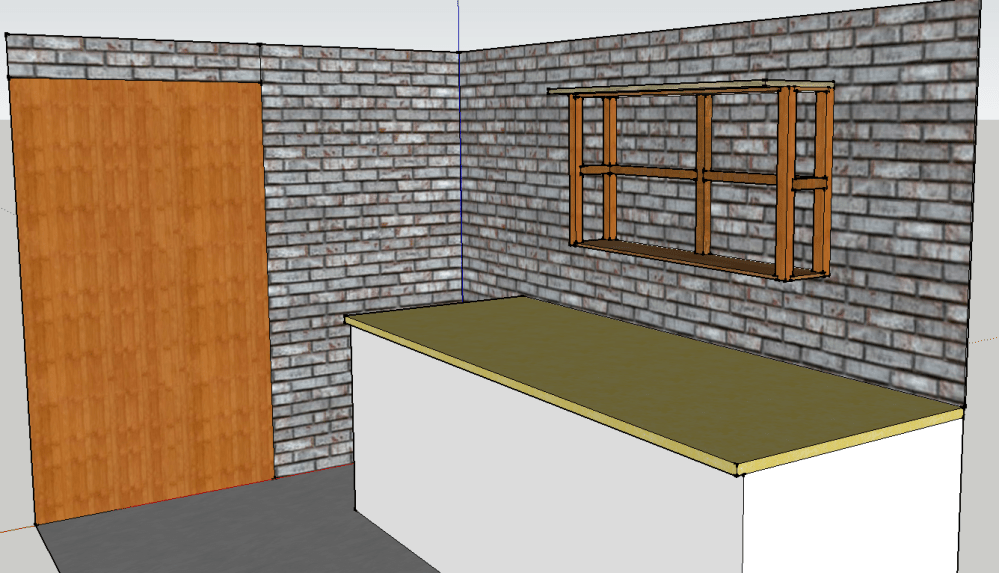
The tool chest, as can be seen below, has a shelf on top of it where I’d like to store the power tools which I still have stored in boxes. it also features a recess in which the pin will run that keeps the door close to the cabinet. I want to use a fence door latch so that the doors can also be disconnected from the recess.

The cabinet will gain a lot of stiffness through the dado joints. The problem I have, however, is that I do not have a router or table saw. Therefore, I will cut the dados and half lap joints by hand.

Part 2: Building the back
There’s a lot of shortcuts I could have taken to get this done more quickly, but I didn’t want to. I am still in the early parts of learning how to properly work with wood and I want to familiarise myself with using handtools.
2.1 New friends or Old familiars
The first windfall came in the way of my parents handing me a saw that my granddad had once given them. It had been stashed in their attic for a bit more than a decade, but I got it to work just fine. I found out, to my delight, that it had a depth stop function included. I made good use of this whilst cutting my dados. 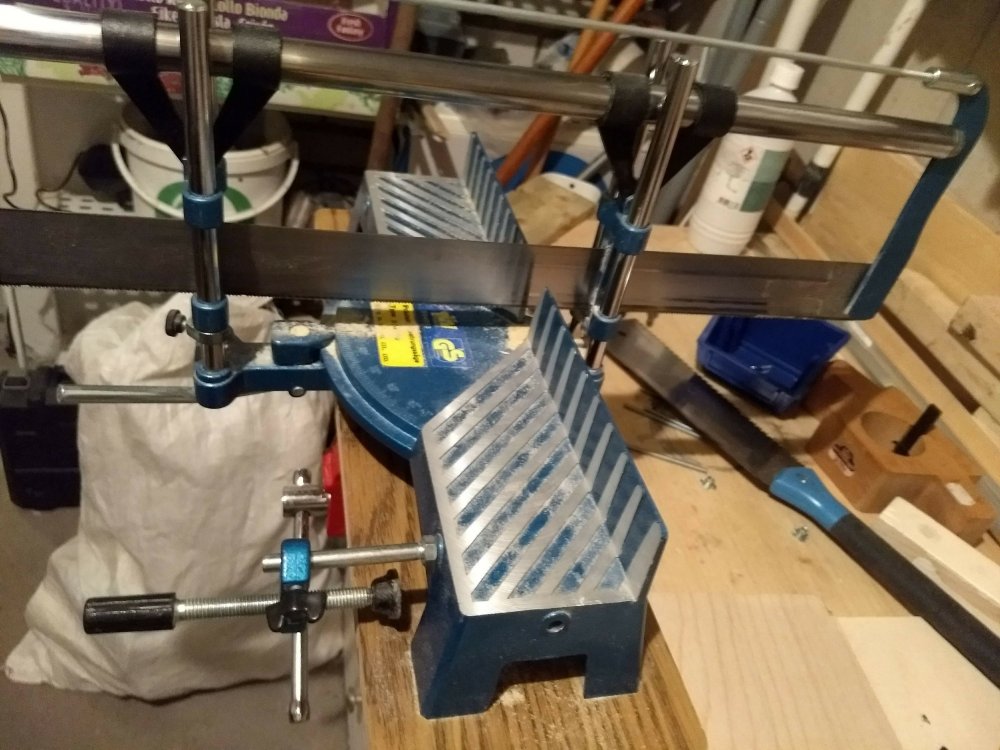
At the right side of this photo you can see my pull-saw, which I used extensively and my routerplane. This old timey tool helped my tremendously during this build to get the depth of my dados level and squared up.
2.2 Getting to work
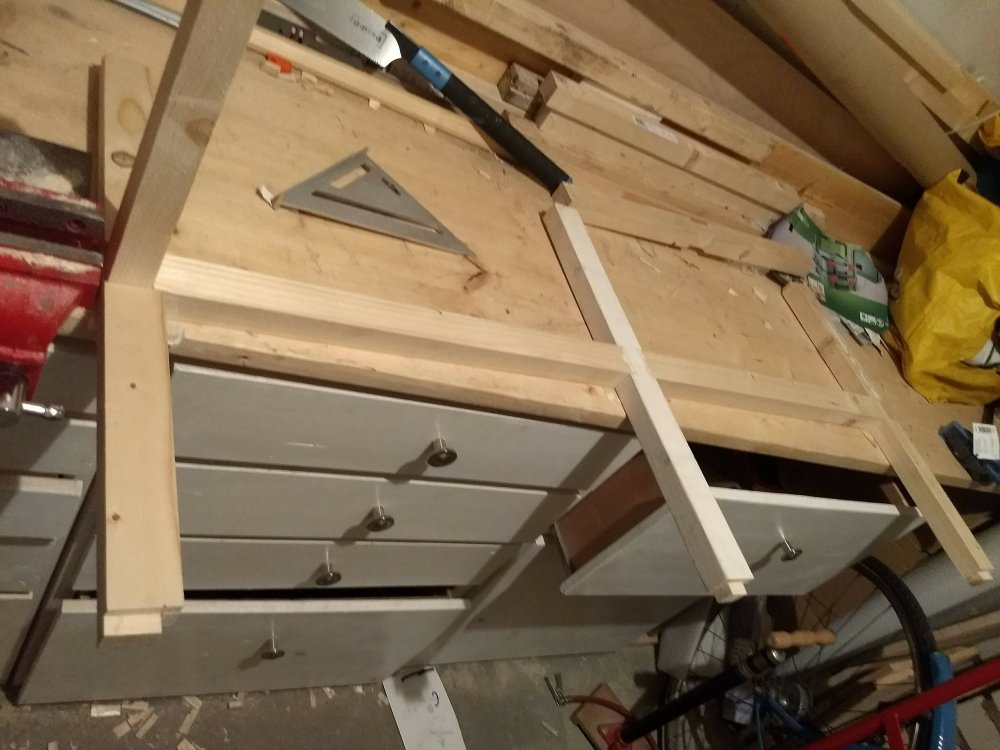
Using the hand powered mitre saw I cut the lumber I bought into equal lengths. Then I used a marking gauge to mark both the depth and place of the cuts for the sides of the halflap joints.


Using the mitre saw I began cutting, finishing up with my pull saw. As you can see, I need to practice more.

I then carried on to cut the dados for the cross beams. I used my mitre saw for the sides and then levelled the depth using the router plane. Sharpening the blade of the plane really helped out a lot, so I noticed.


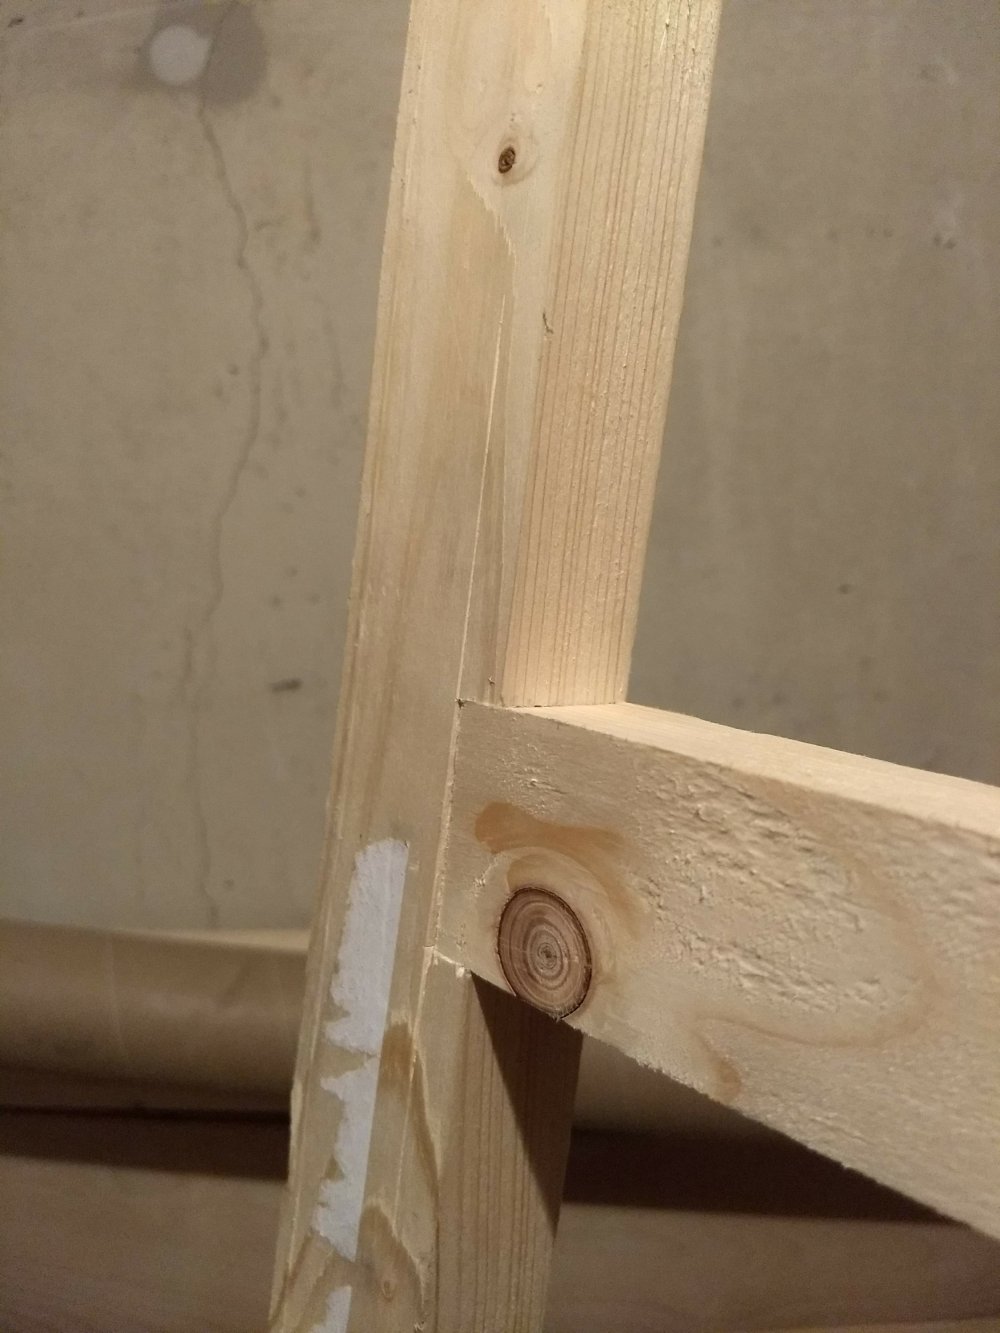 I then began putting the frame of the main piece together using woodglue and clamps. After I laid it down I made sure to square the joints using my roofers square and add plastic covers under the joints so that I wouldn’t glue to the bench top.


 For the doors I follow a similar plan. I cut the half laps using the mitre saw and the pull saw. Then I glued and clamped them up and let them set for a day.
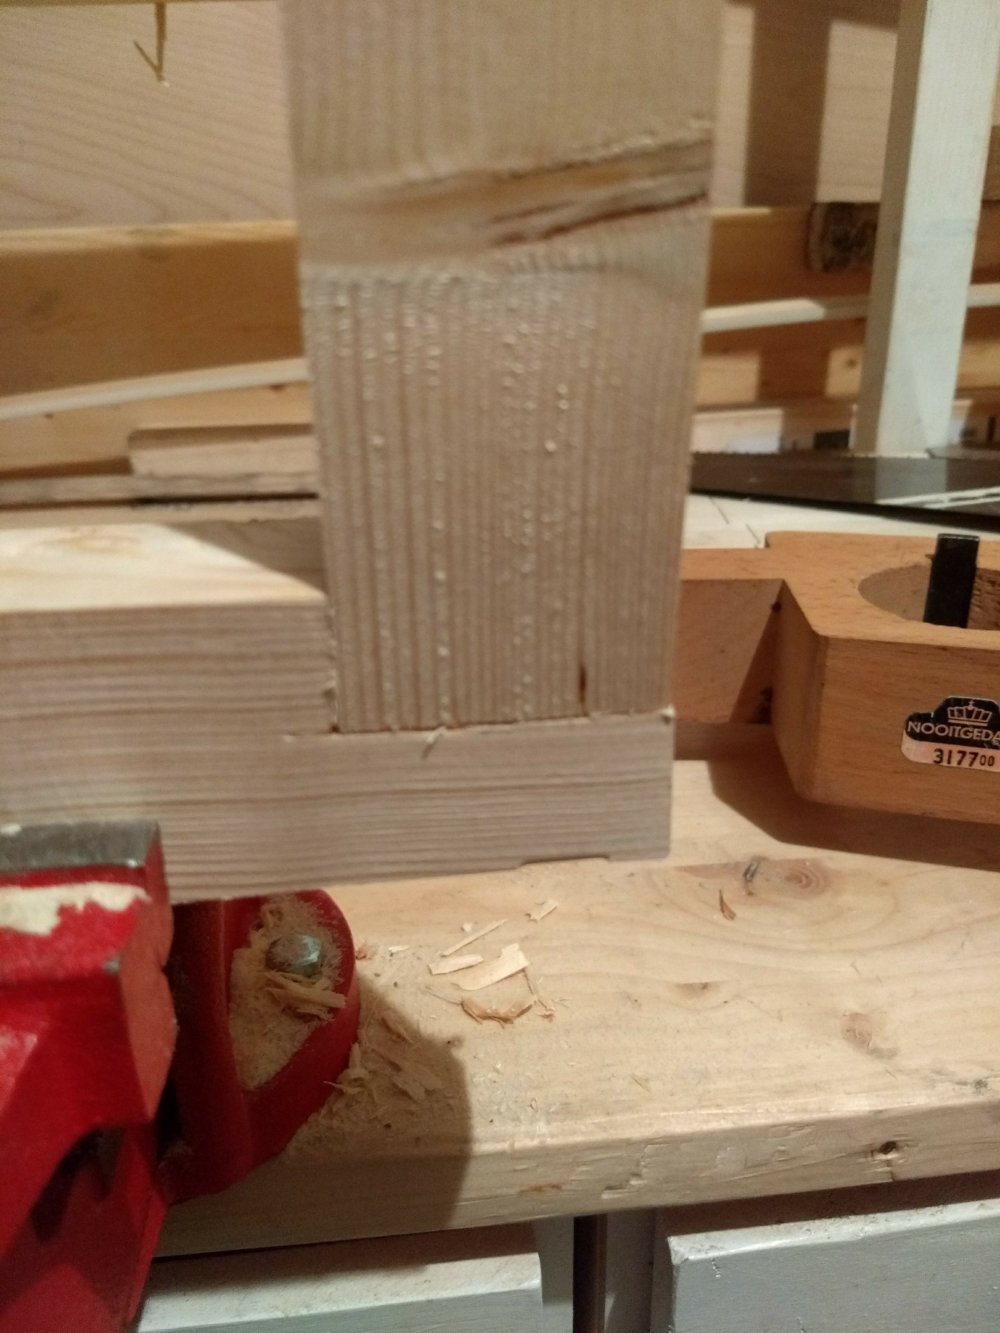

Part 2.2 Doors and Hinges
This was for me the most exciting part. I looked forward to this. At first though, when I bought the hinges I feard that they would be too cheap and floppy. However, when attached, they held up just fine. Attaching was finicky, but I excepted nothing else.

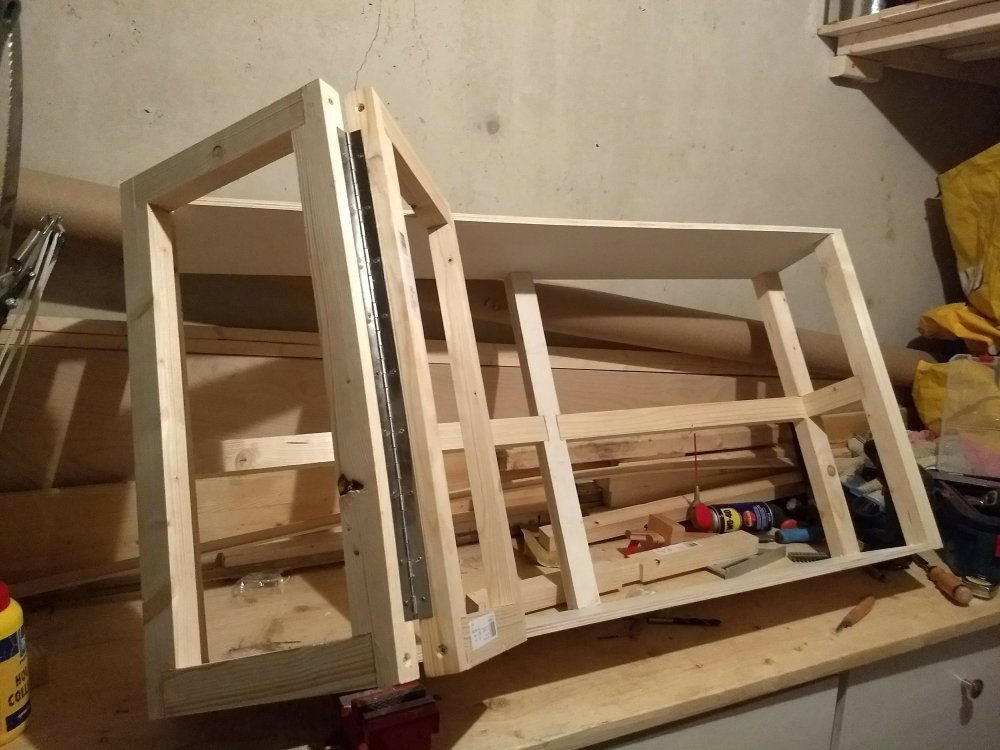
After the doors were hung satisfactorily, I covered them using the hole boards. This is acutally a board to be put underneath matressed and dirt cheap. Note, use a mask when sawing this, because the dust sawing this produces is just terrible. 

I was so happy seeing the doors all done. I took the last piece of board, cut it to size (careful to hone in on the final measurements) screwed it in and painted the cabinet. I just used a layer of primer to make it look less in-your-face brown. 

The drawer cabinet was made by cutting dados into leftover from garden work. This lumber was cheap to begin with, as everything, but it does the job well. Together with some off-cut board I built a quick base for my drawer to hang in. 
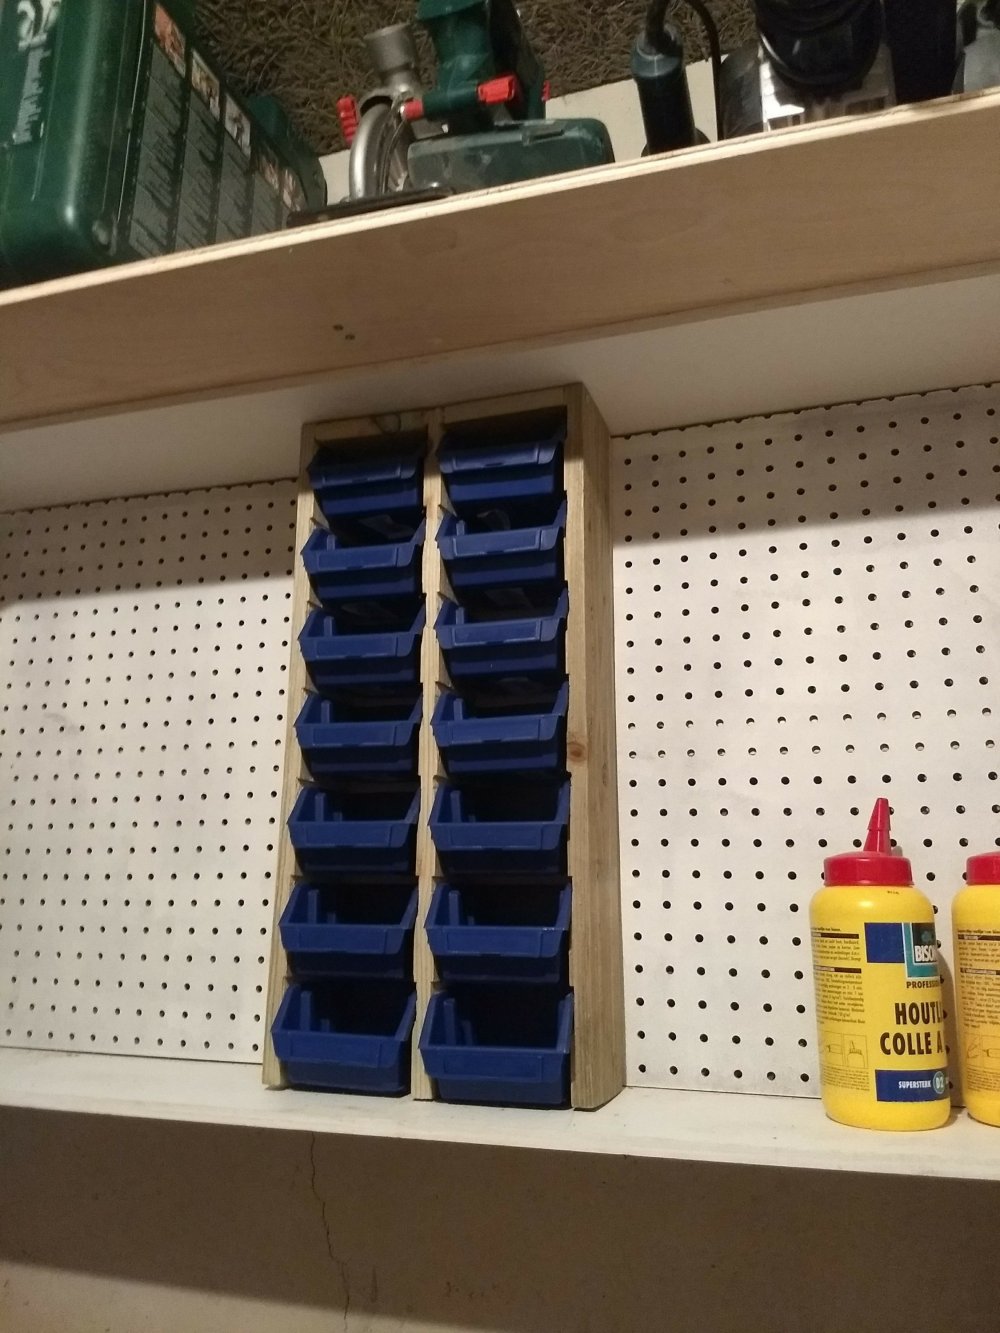
Using off-cuts again I built hangers for my drills to be put on the side of the cabinet. These provide easy access and nifty storage. 
The inside of the doors are used well too. I made hangers out of multiplex board. 
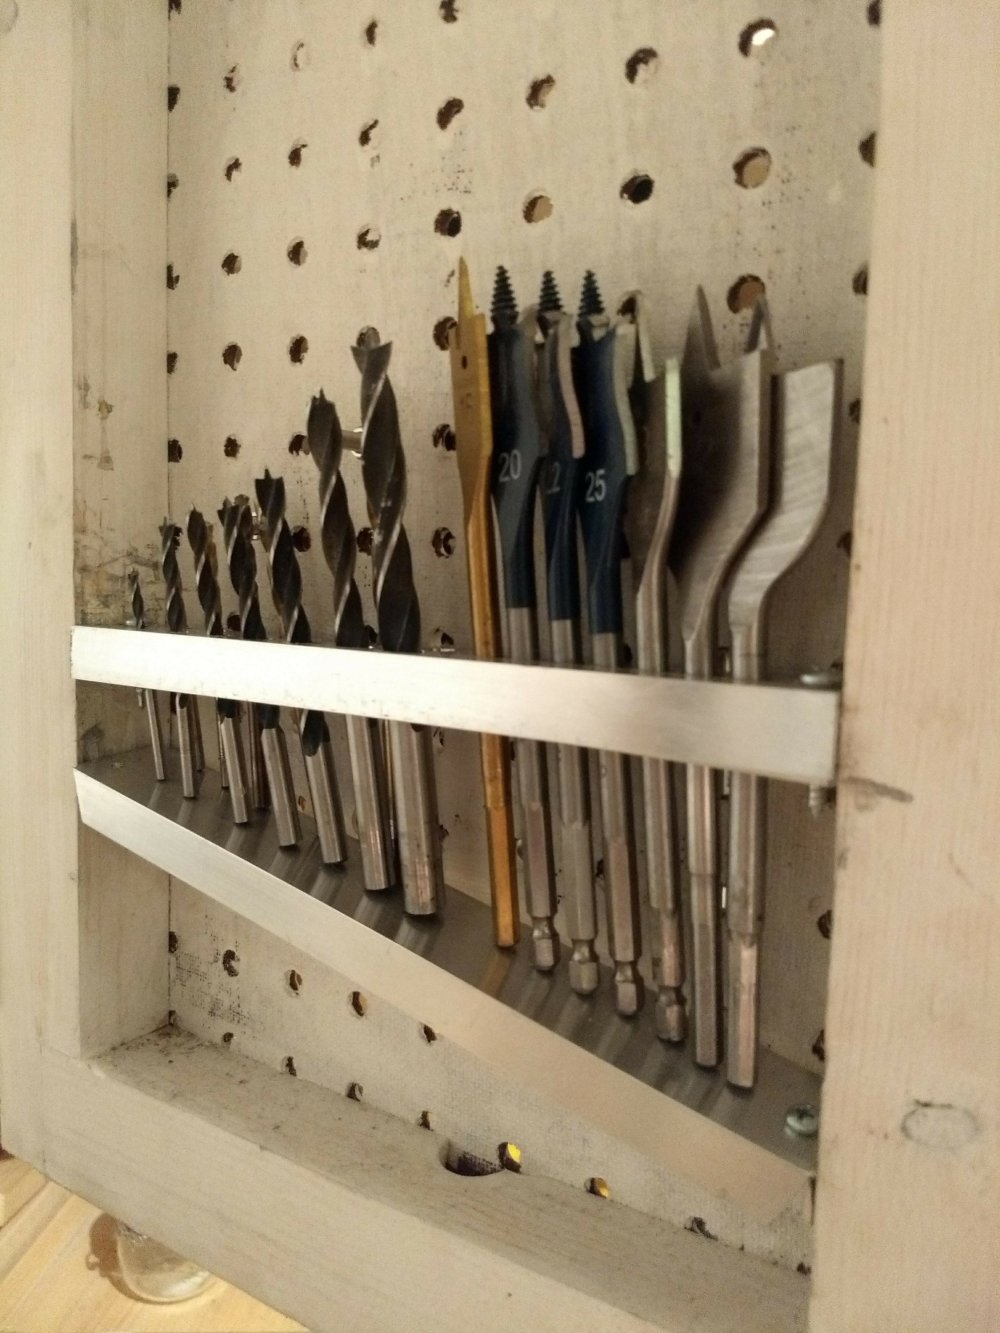
Using spare aluminium I made a stand for my drills (both spade, wood and metal drills). This was placed in the inside of the right-hand door. 
After sorting out a lot of stuff this is what the inside of the cabinet looks like. 
And the outside. I love seeing it every time I come in an get my bike. It does me tremendous joy to have all my tools stashed so neatly. 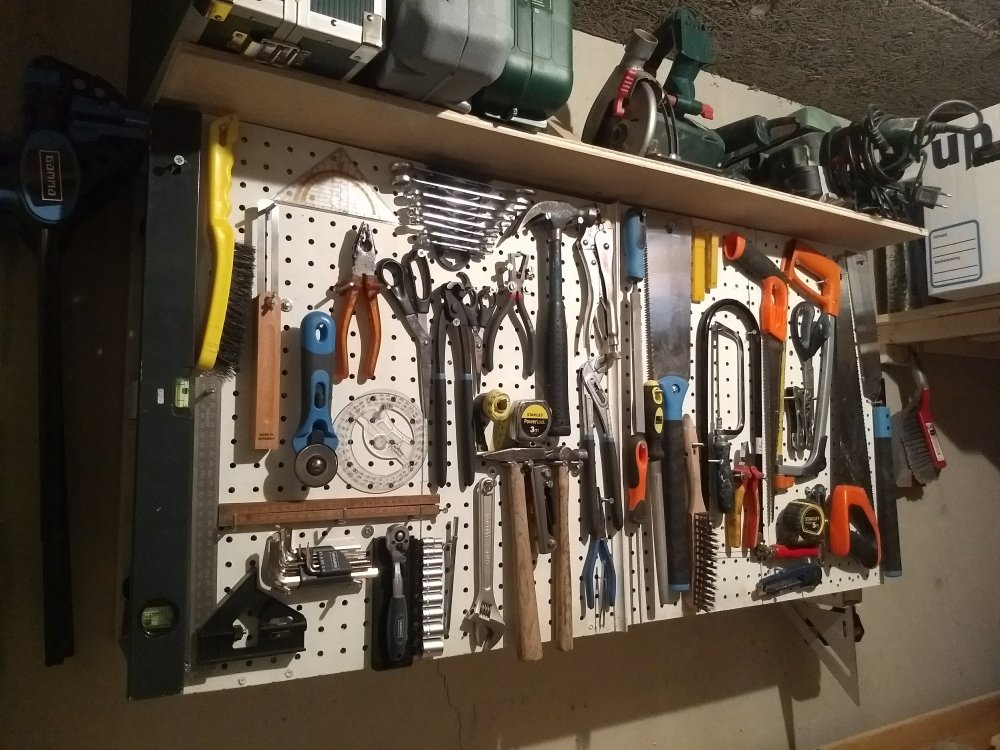
Reorganisation:
While having the cabinet and using it, a lot, for more than a year, I added tools and reshuffled others. Now, the cabinet looks like this:
I am really rather pleased with how it is turning up to be. It fits a whole lot of tools, powered by hand or electricity and other bits and bobs.
