Modern day television cabinets have got something in common. The televisions are displayed on them as a piece of art. The massive black screen put on a plinth as something that is to be revered and admired.
Whilst I, from time to time, enjoy revering and admiring the TV, that is by no means a full-time occupation. I enjoy watching shows and the news, but when the machine is switched off, I’d much rather see something else than a dark, square surface.
When my girlfriend stated that she had been on the same line as I had for ages, the design process started. SketchUp was the app to run, as always. I measured up the television and drew up something. Two drawers in the bottom, and four panels making two double hinged doors. I would late add another small strip between the doors and the cabinet to make sure the doors were able to make the way they should.
Early SketchUp sketch of the cabinet, both without doors and with.
Then it was on to waiting for a free shipping week at my local wood supplier. This lower grade, pine, plywood would do just fine. On the other hand, using this did make some parts of the finishing process more tedious. I do not enjoy a tedious finishing process.
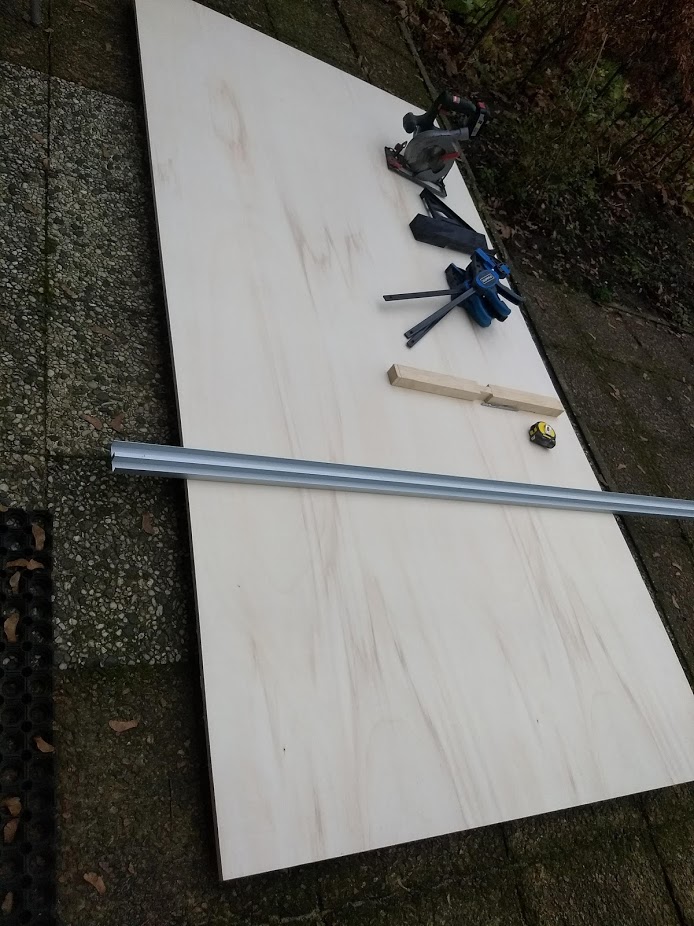
Wood delivery. A good day.
Seeing as I do not own a table saw, nor a shop large enough to saw up full sheets of plywood, I cut them up in the garden. My Bosh battery saw is on display here, but I actually ended up using my Dremel DSM20. This sly little machine turned out to be a true powerhouse.
Raised the plywood off the ground on the beams that the wood was delivered on. Using a sliding door rail as a guide here.All the dust you see is why I insist on wearing a mask when cutting plywood nowadays. That stuff is a combination of glue and fine wood dust. Ruddy lethal for your lungs.The start of the cabinet stashed in the hallway in front of the shed here. What you cannot see in this photo is the constant apologies to neighbours who were trying to get their bikes.
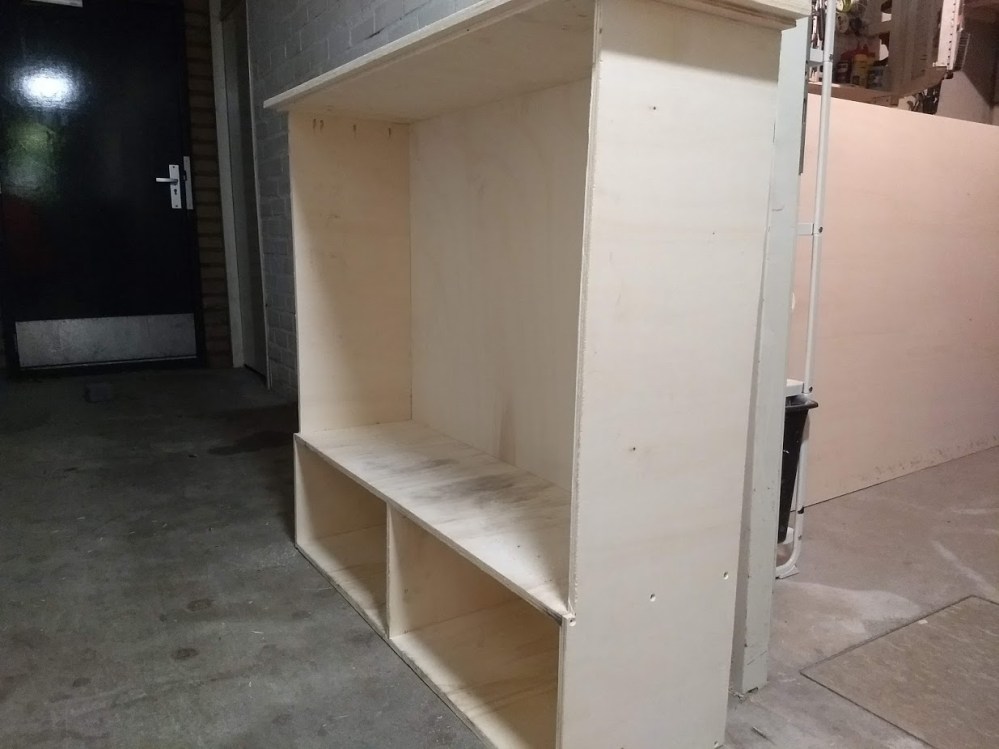
I had cut dados in the side panels, and in the middle of the horizontal ones. These neatly took in the mating parts. This is always my favourite part of a project. This time, though, this bit was a bit frustrating due to cold.
And the whole cabinet, At least, sort of. This grade plywood leaves an incredibly rough finish. As you can see, I joined the thing together using screws. You cannot see the glue here, but believe me, it’s there.
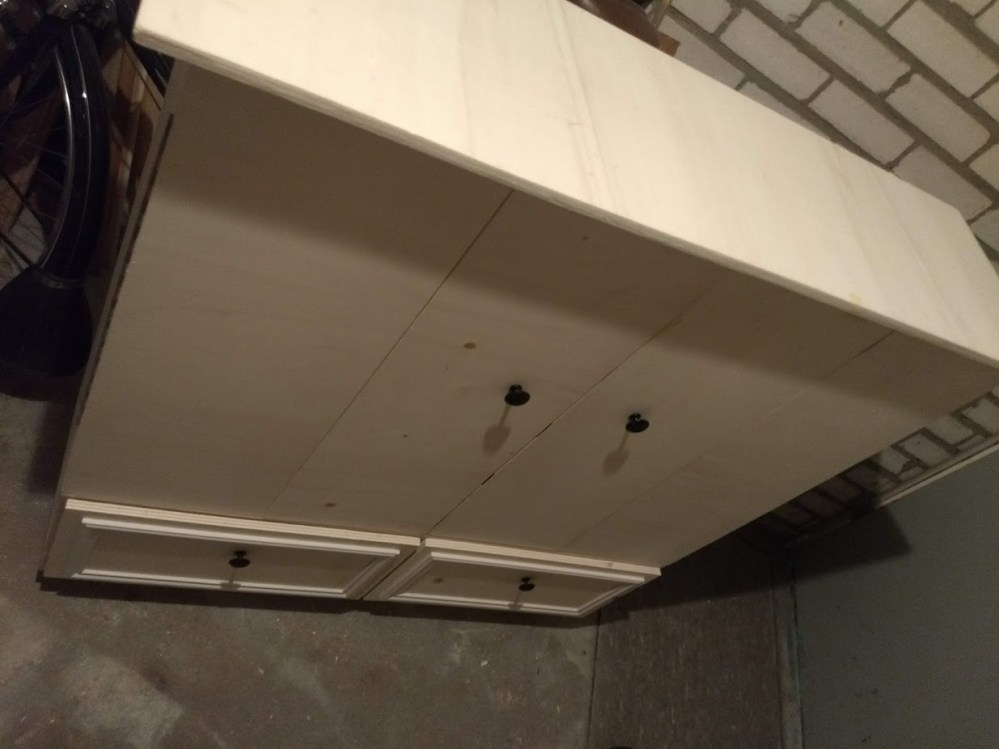
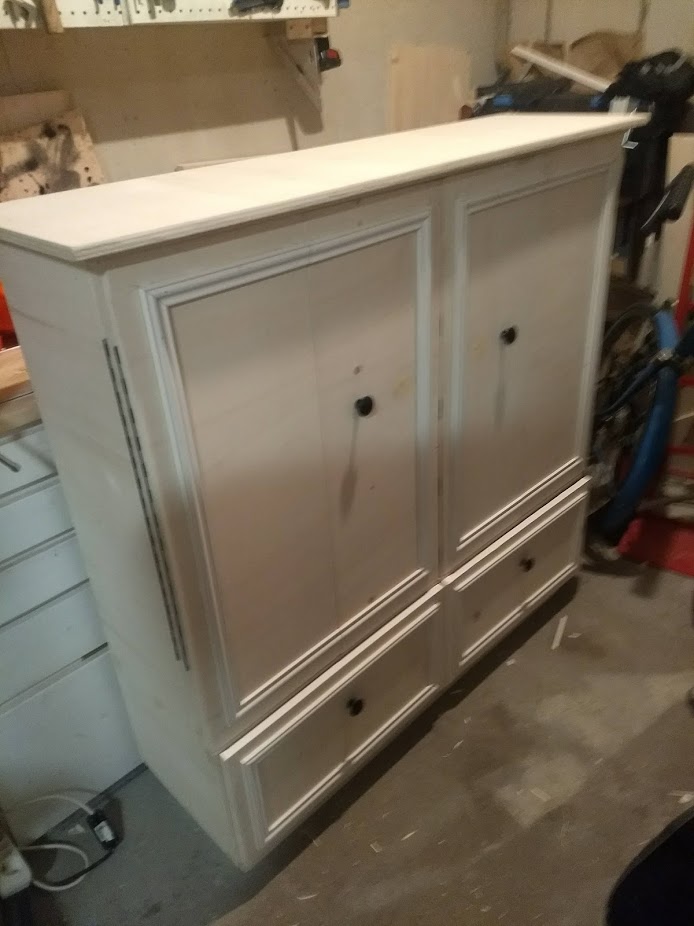
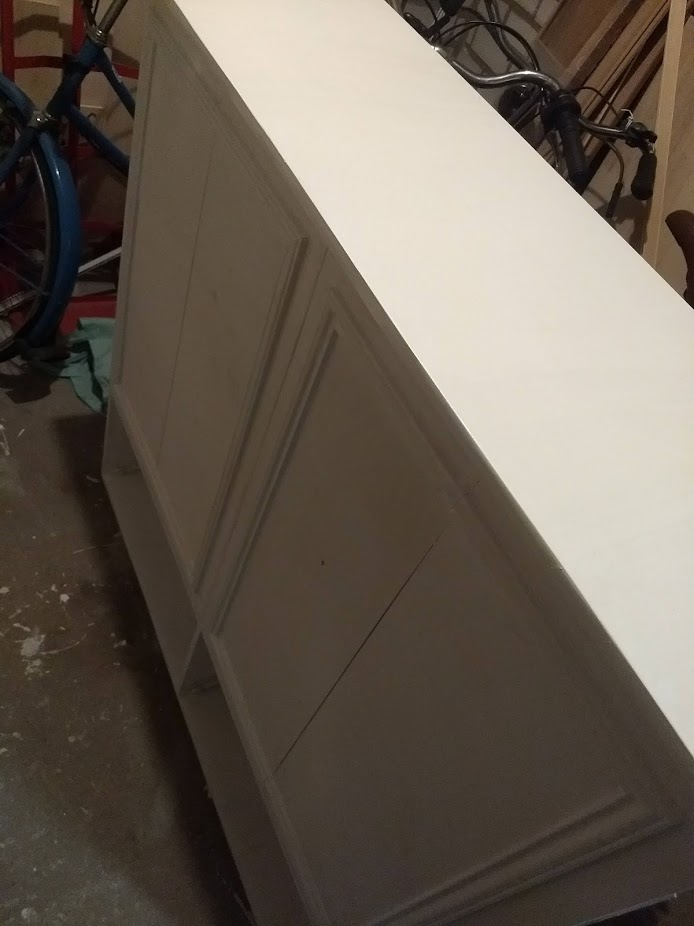
This is how the cabinet lived for some weeks. Right on top of the workbench in the shed. It was painful not to be able to see or have easy access to my tools. The photo above as the one below shows the added trims and the magnets that I put in place to keep the doors from swinging freely.
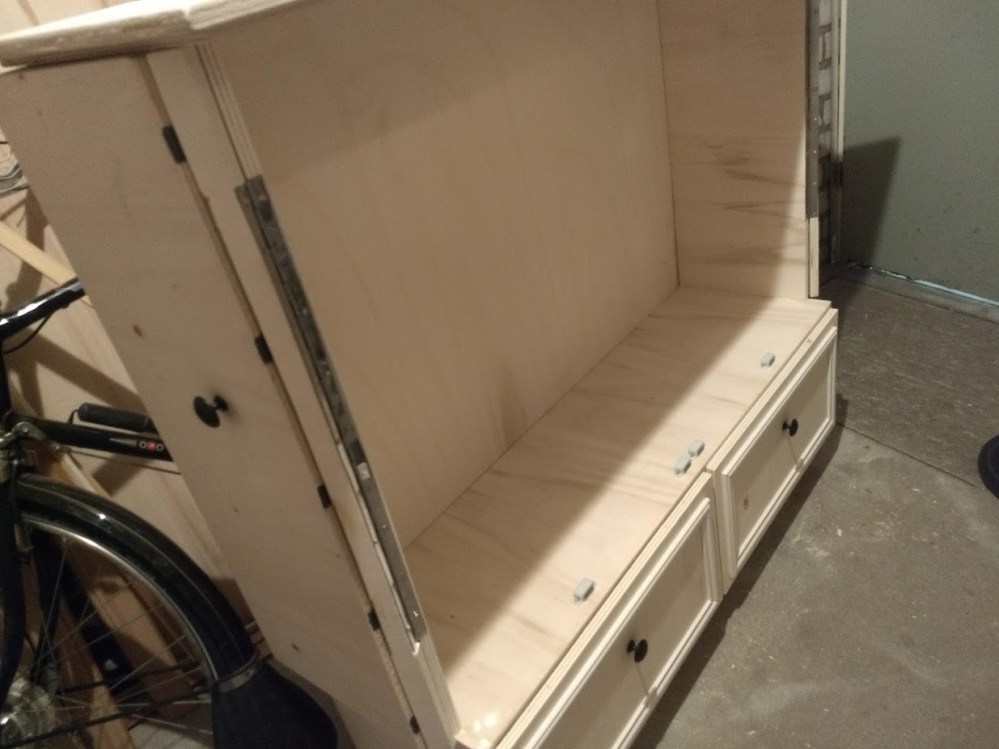
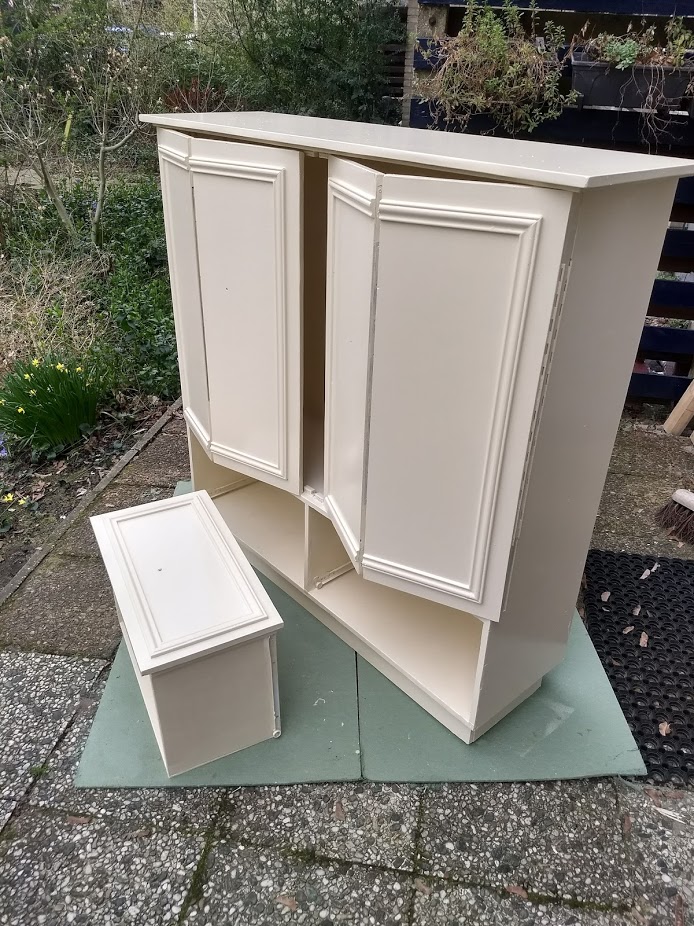
This day was so close to the day of painting. And yet so far away. I hung the doors, which was a tremendous effort with three piano hinges per door. I also added trims to the door and drawers and did a lot of general messing about.And then paint. Good lord. Oil-based paints take forever to dry in a cold and damp shed. absolutely abhorrent to have to wait for so long. Luckily the weather permitted me to apply the second coat of paint outside. The drying time was reduced to about 1,5 days instead of the 4 full days inside of the shed. Really pleased with how ended up, though. Below is a side by side of the cabinet in all its glory with the television installed. An absolutely brilliant fit and a splendid addition to the living room.