During the past half year I have been working on an in built wardrobe with, hopefully, plenty of space. The room in which it was to be built wasn’t tremendously sizeable, so the best spot to build this seemed the corner.
Step 0: Tools and Materials
- Circular saw
- Long, straight piece of wood to act as a guide for the saw
- Pocket-hole jig
- Rails for sliding doors.
- SketchUp Pro 2015
- Primer and paint
- Roofers square
- PVC pipe + Curtain rail attachments
- Clamps
- Level
Step 1: Design
I had never undertaken anything like this before, but after watching tonnes of YouTube tutorials I thought I had a fair shot. Planning, I knew, was going to be very important. I taught myself, again with the help of YouTube, to use SketchUp. I drew a box with the dimensions of the room and the positions of doors and windows.
Drawing up the wardrobe itself was quite a bit of work. Also, because I’d just started using the software, it took me some time to get used to it and I made some mistakes. The end result, however, gave an idea of what the wardrobe would look like and how long and wide the boards were going to have to be cut.

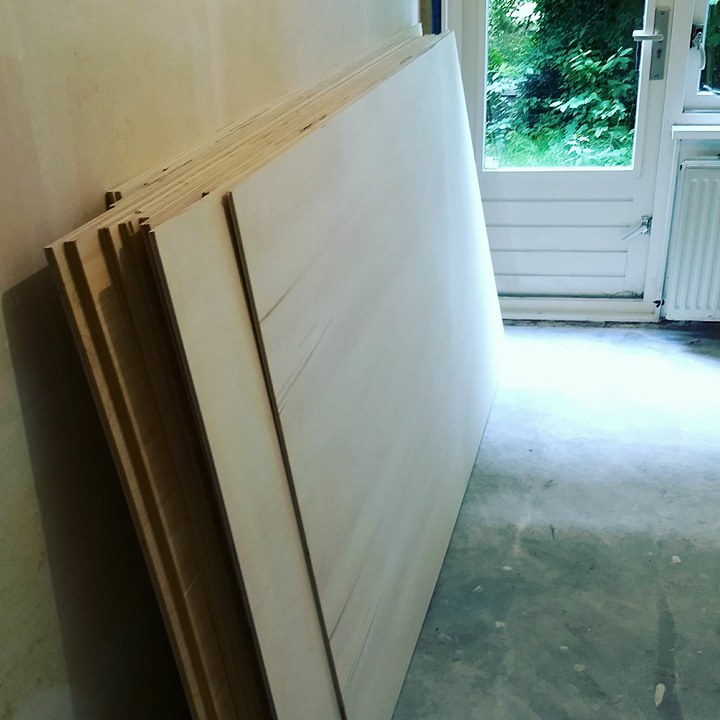
Step 2: Wood
I ordered a lot of wood. It was delivered in one go and I had to move it in myself. It was fantastic.
Step 3: Building
I started off by meassuring the walls and check for squareness. They were not, so I’d have to somehow take that into account. After a lot of thinking and drawing on walls, I drilled holes in the floors and ceiling. I attached blocks and the side planks were attached to these. Step by step I built a massive box that was not sturdy at all, yet.
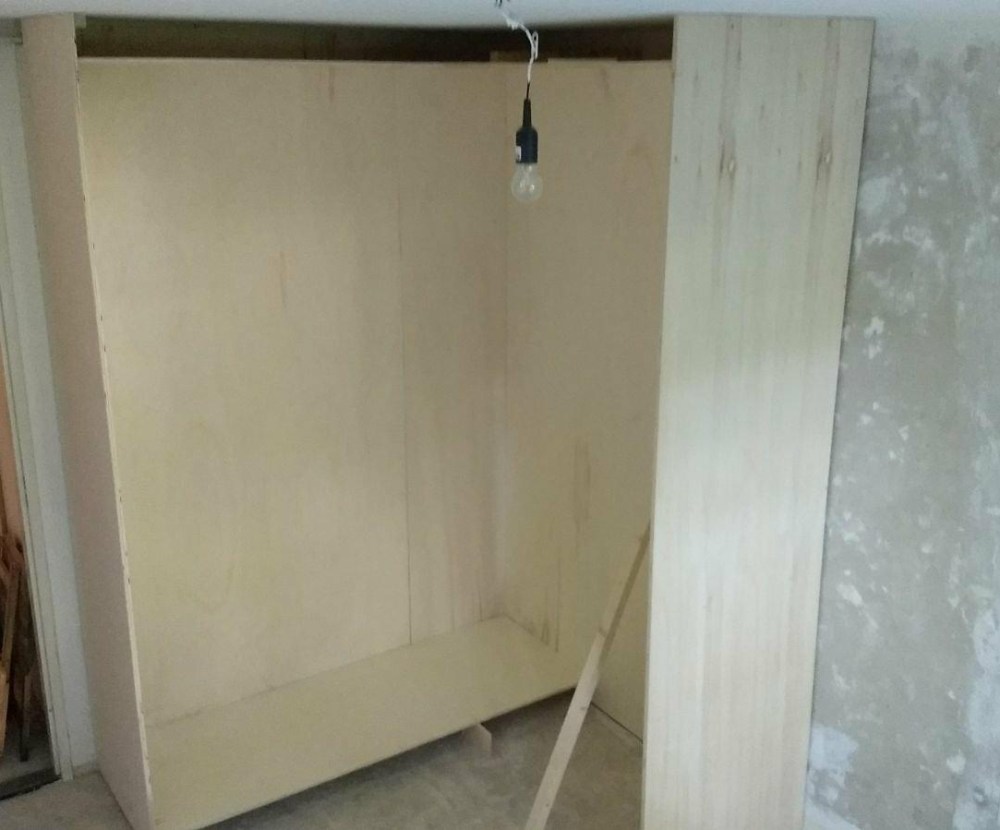
When the box was done and square, I started with the vertical inner walls. There were attached with pocket holes. Also, at this point I should note that having another person there would have helped tremendously.

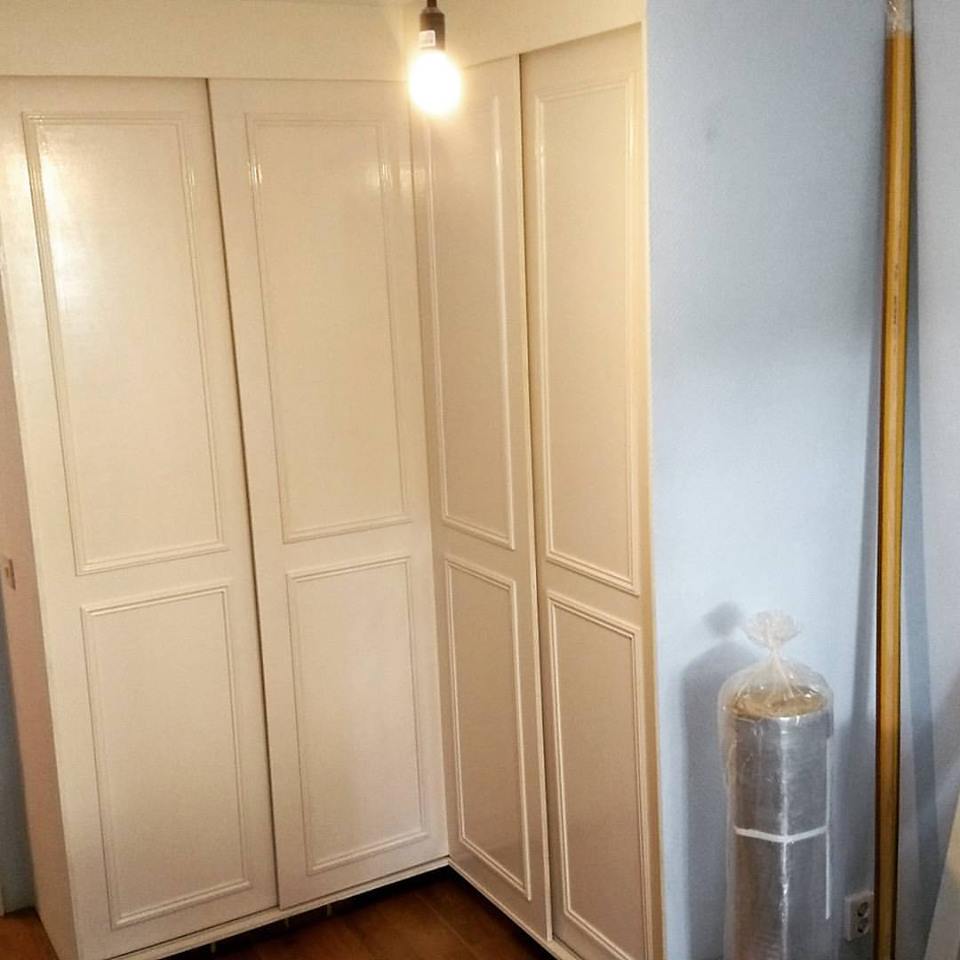
I am skipping ahead a bit, but after the vertical inner walls were done I installed the sliding doors. I followed the instructions that came with the rails, but it was still a massive hassle to get right.

I used spare, pre made trim for the planks to lie on. In hindsight I am really happy with the choice. Looks great! I attached these babies with nails and woodglue.

Now I do not appreciate painting. I am terrible at finishing projects. Therefore I am really happy that my girlfriend took care of these.
Meanwhile the rung that would hold the clothes had to be bended. so that the clothes could hang in a smooth corner. You can’t buy rungs like that in a store – at least not for a decent price – so I made one by myself. I used a heatgun, some clamps, a pair of gloves and a spare piece of wood for this. 
I then took store-bought fittings for hanging curtain rails and enlarged the holes slightly using a drill and a set of round wood files. Looks great, especially after painting.

Then it was again time for painting. Again, I don’t really like painting, so I kept not addressing it until someone else took it up (not my most charming quality). Rather damn pleased with the results.

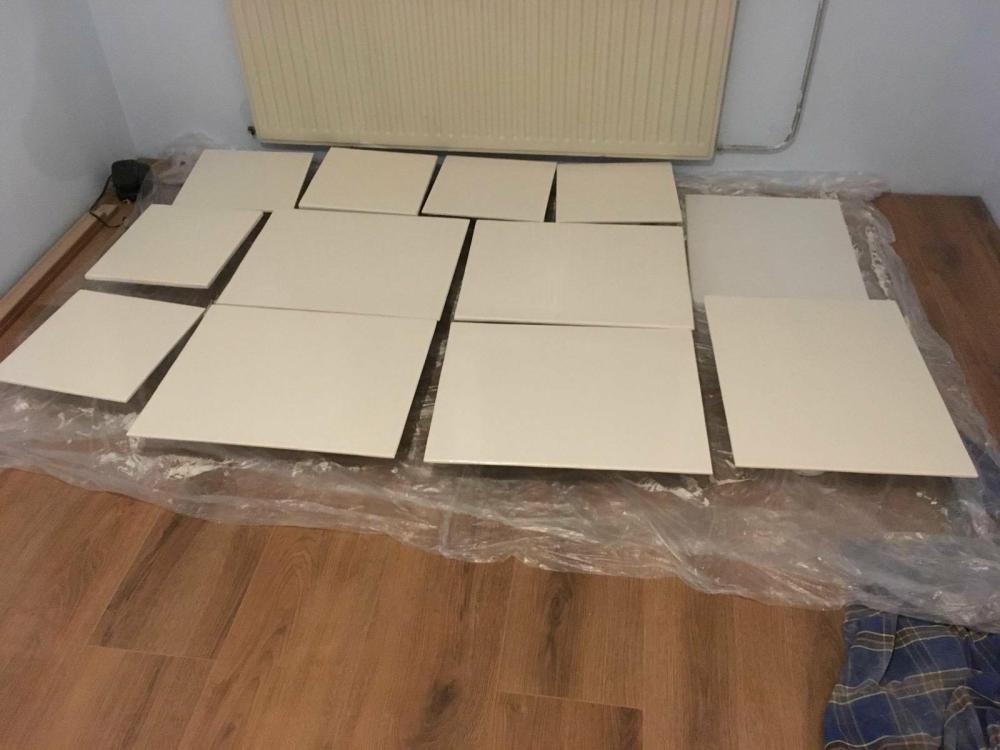
The doors, meanwhile, were made using large sheets of plywood and a lot of premade wooden trims. Didn’t always work very neatly here, so I have to fill some gaps in the end to make it look all right.


Thanks for the cool article about building a built-in wardrobe. I’m glad you mentioned that drawing up the wardrobe helped give you an idea of what it would look like. Maybe it could be good to have drawings from multiple angles to really solidify what it would look like in real life.
LikeLike