Part 1: Thoughts and Tools
I, sadly, don’t have a lot of WIP photos of this build. The process is, however, quite easy to follow anyway.
Tools:
- Drill
- Hand saw
- 3mm drill bit to pre-drill the screw holes.
- Countersink bit
- Screw bit fitting to the screws used
- Ruler
- Pencil
- Bolt cutter/hack saw
- File
Materials:
- One wooden (this one is pine) panel of 150cm x 30cm x 1,8cm (or any other size, really).
- About 20 wooden clothes hangers for this size board. You’ll want some extra.
- Wood glue
- 2 screws (3cm long) per hanger. I used 34 for this rack.
- 2 nails, 3mm thick.
Part 2: The build. Yes, there are only 2 parts.
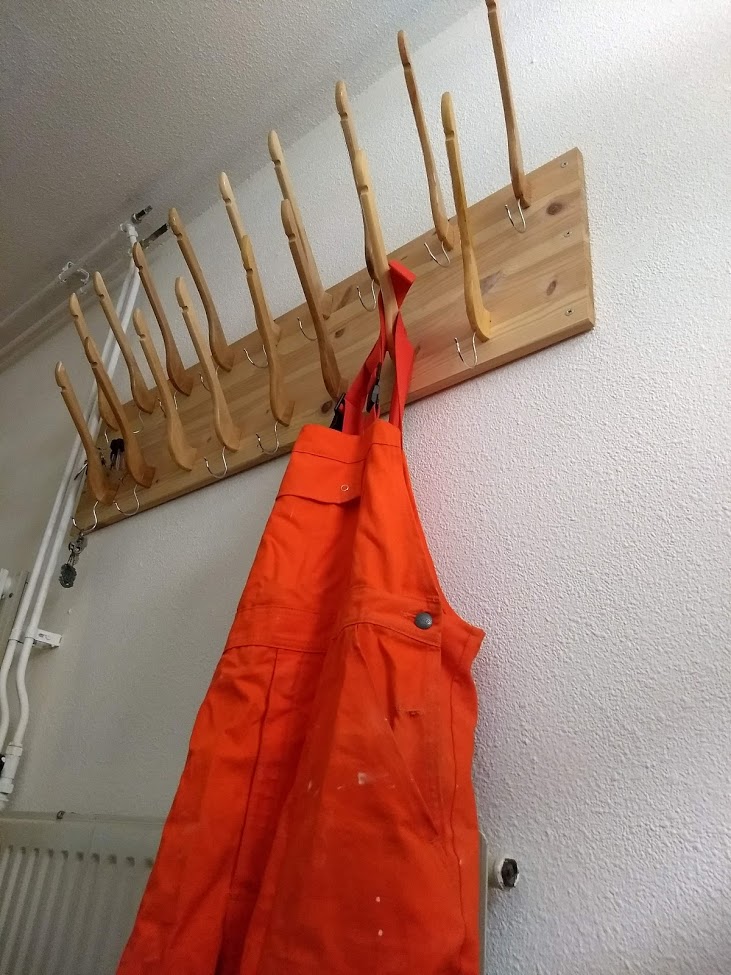
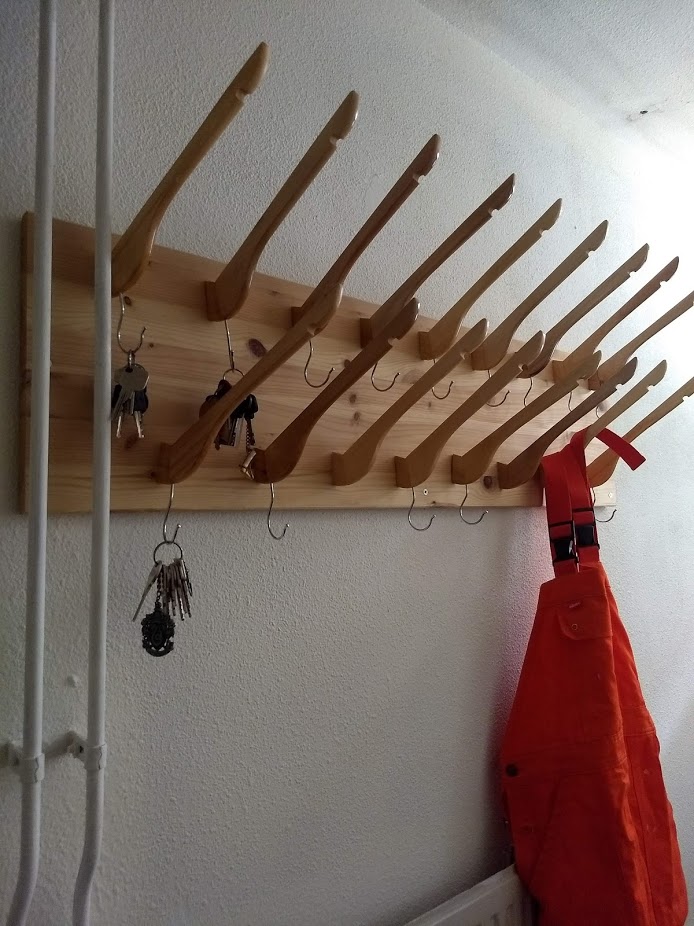
I started off by marking the hangers and sawing them neatly. I continued by drilling the screw holes in the longer end of the hangers. I didn’t line up the holes, because the wood tended to split if I did. I cut the head of the screws and filed on a pointy end. Using these in the screw holes, you can make perfectly accurate markings for where to drill the holes in the pine panel. Pre-drill all those holes, then apply wood glue to the end of the hanger and then screwing the rack together.
The build is simple, but really satisfying, leaving a lot of space for both keys, coats, scarfs, hats and gloves.