Part 1. Design
After the Viking shield and the first kite shield (discussed previously on this website), I started working on a Scottish themed one. Several months later, I finally have a finished project to hang.
Tools used
- Jigsaw
- Hammer
- Battery-powered drill
- Screw bits
- Drill bits
- counterbore
- Random orbit sander
- Pens and pencils
- Measuring tape
- Paintbrushes
- Various clamps
- Hot glue gun
- Whiteboard markers (black)
Materials used
- Two sheets of plywood (122 x 62cm) per shield
- One long pole of 4cm by 3cm
- Wood glue
- Skai leather for the rim
- Upholstery nails for the rim
- Two cheap, fake leather belts for the handles
- White linen
- Hot glue sticks
- Screws of various sizes.
- Acrylic paints (blue and white)
Build
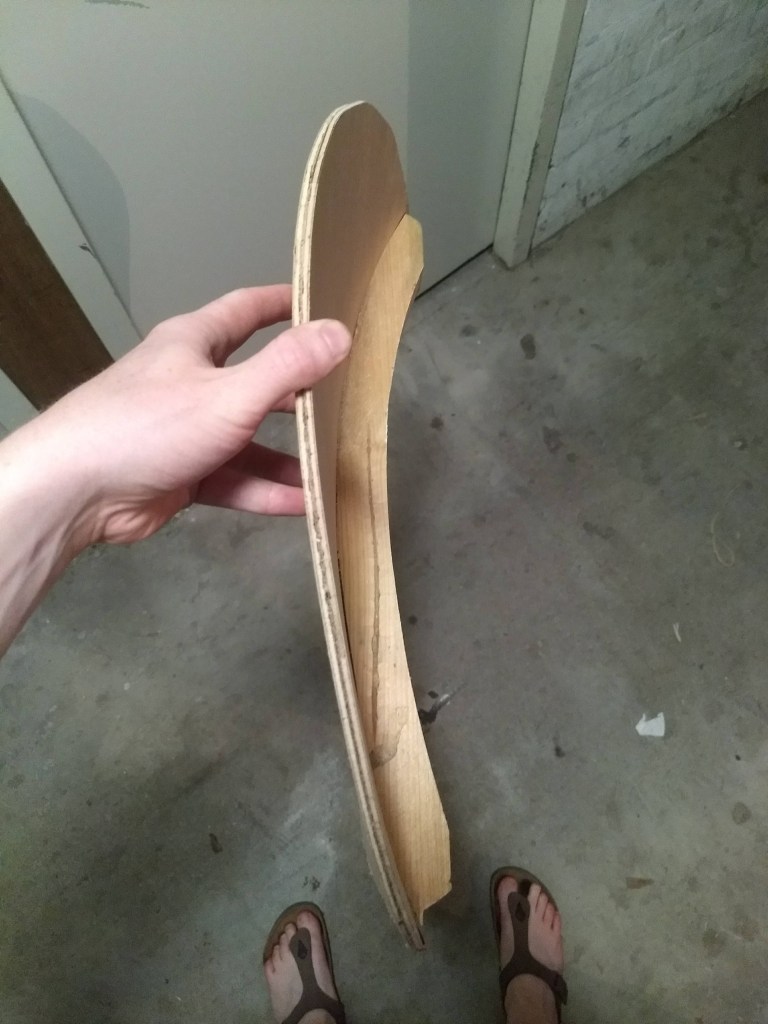
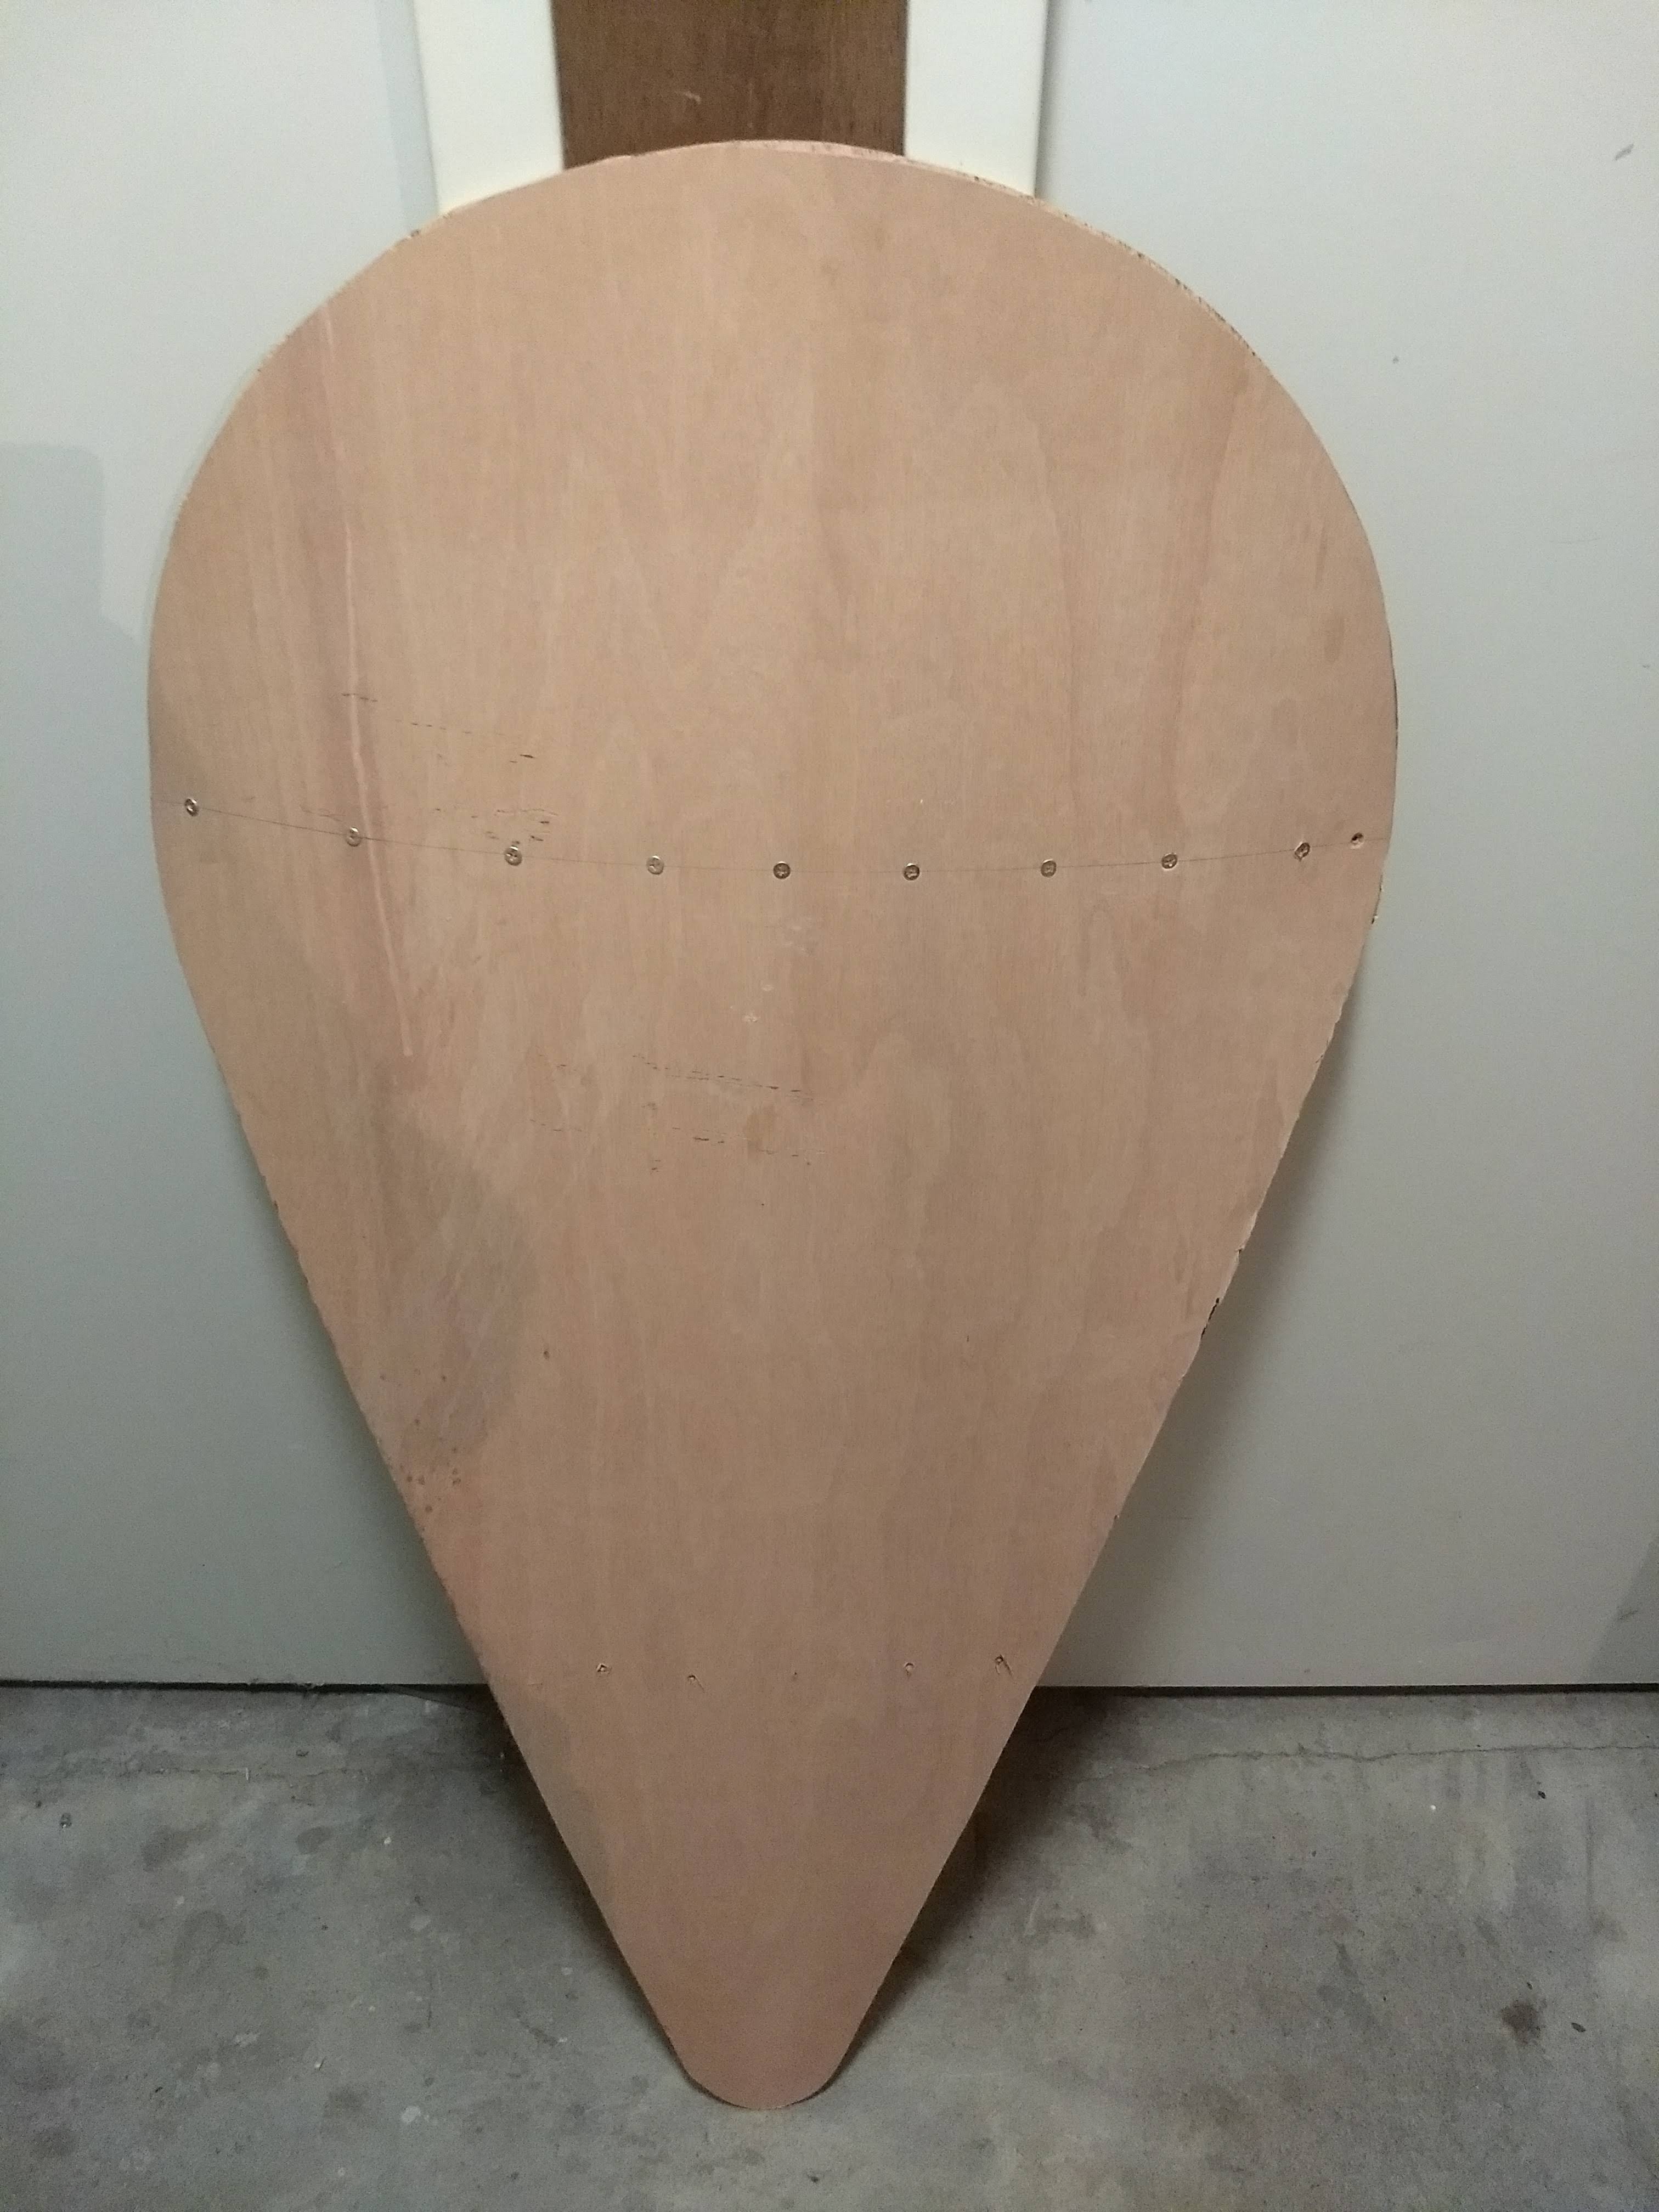
The start of this project coincided with the kite shield I have posted about previously. As with that shield, this one was not as curved as I’d hoped. In fact, it was pretty straight. To set this right, I added a crossbrace made out of pallet wood. I simply screwed that to the shield.

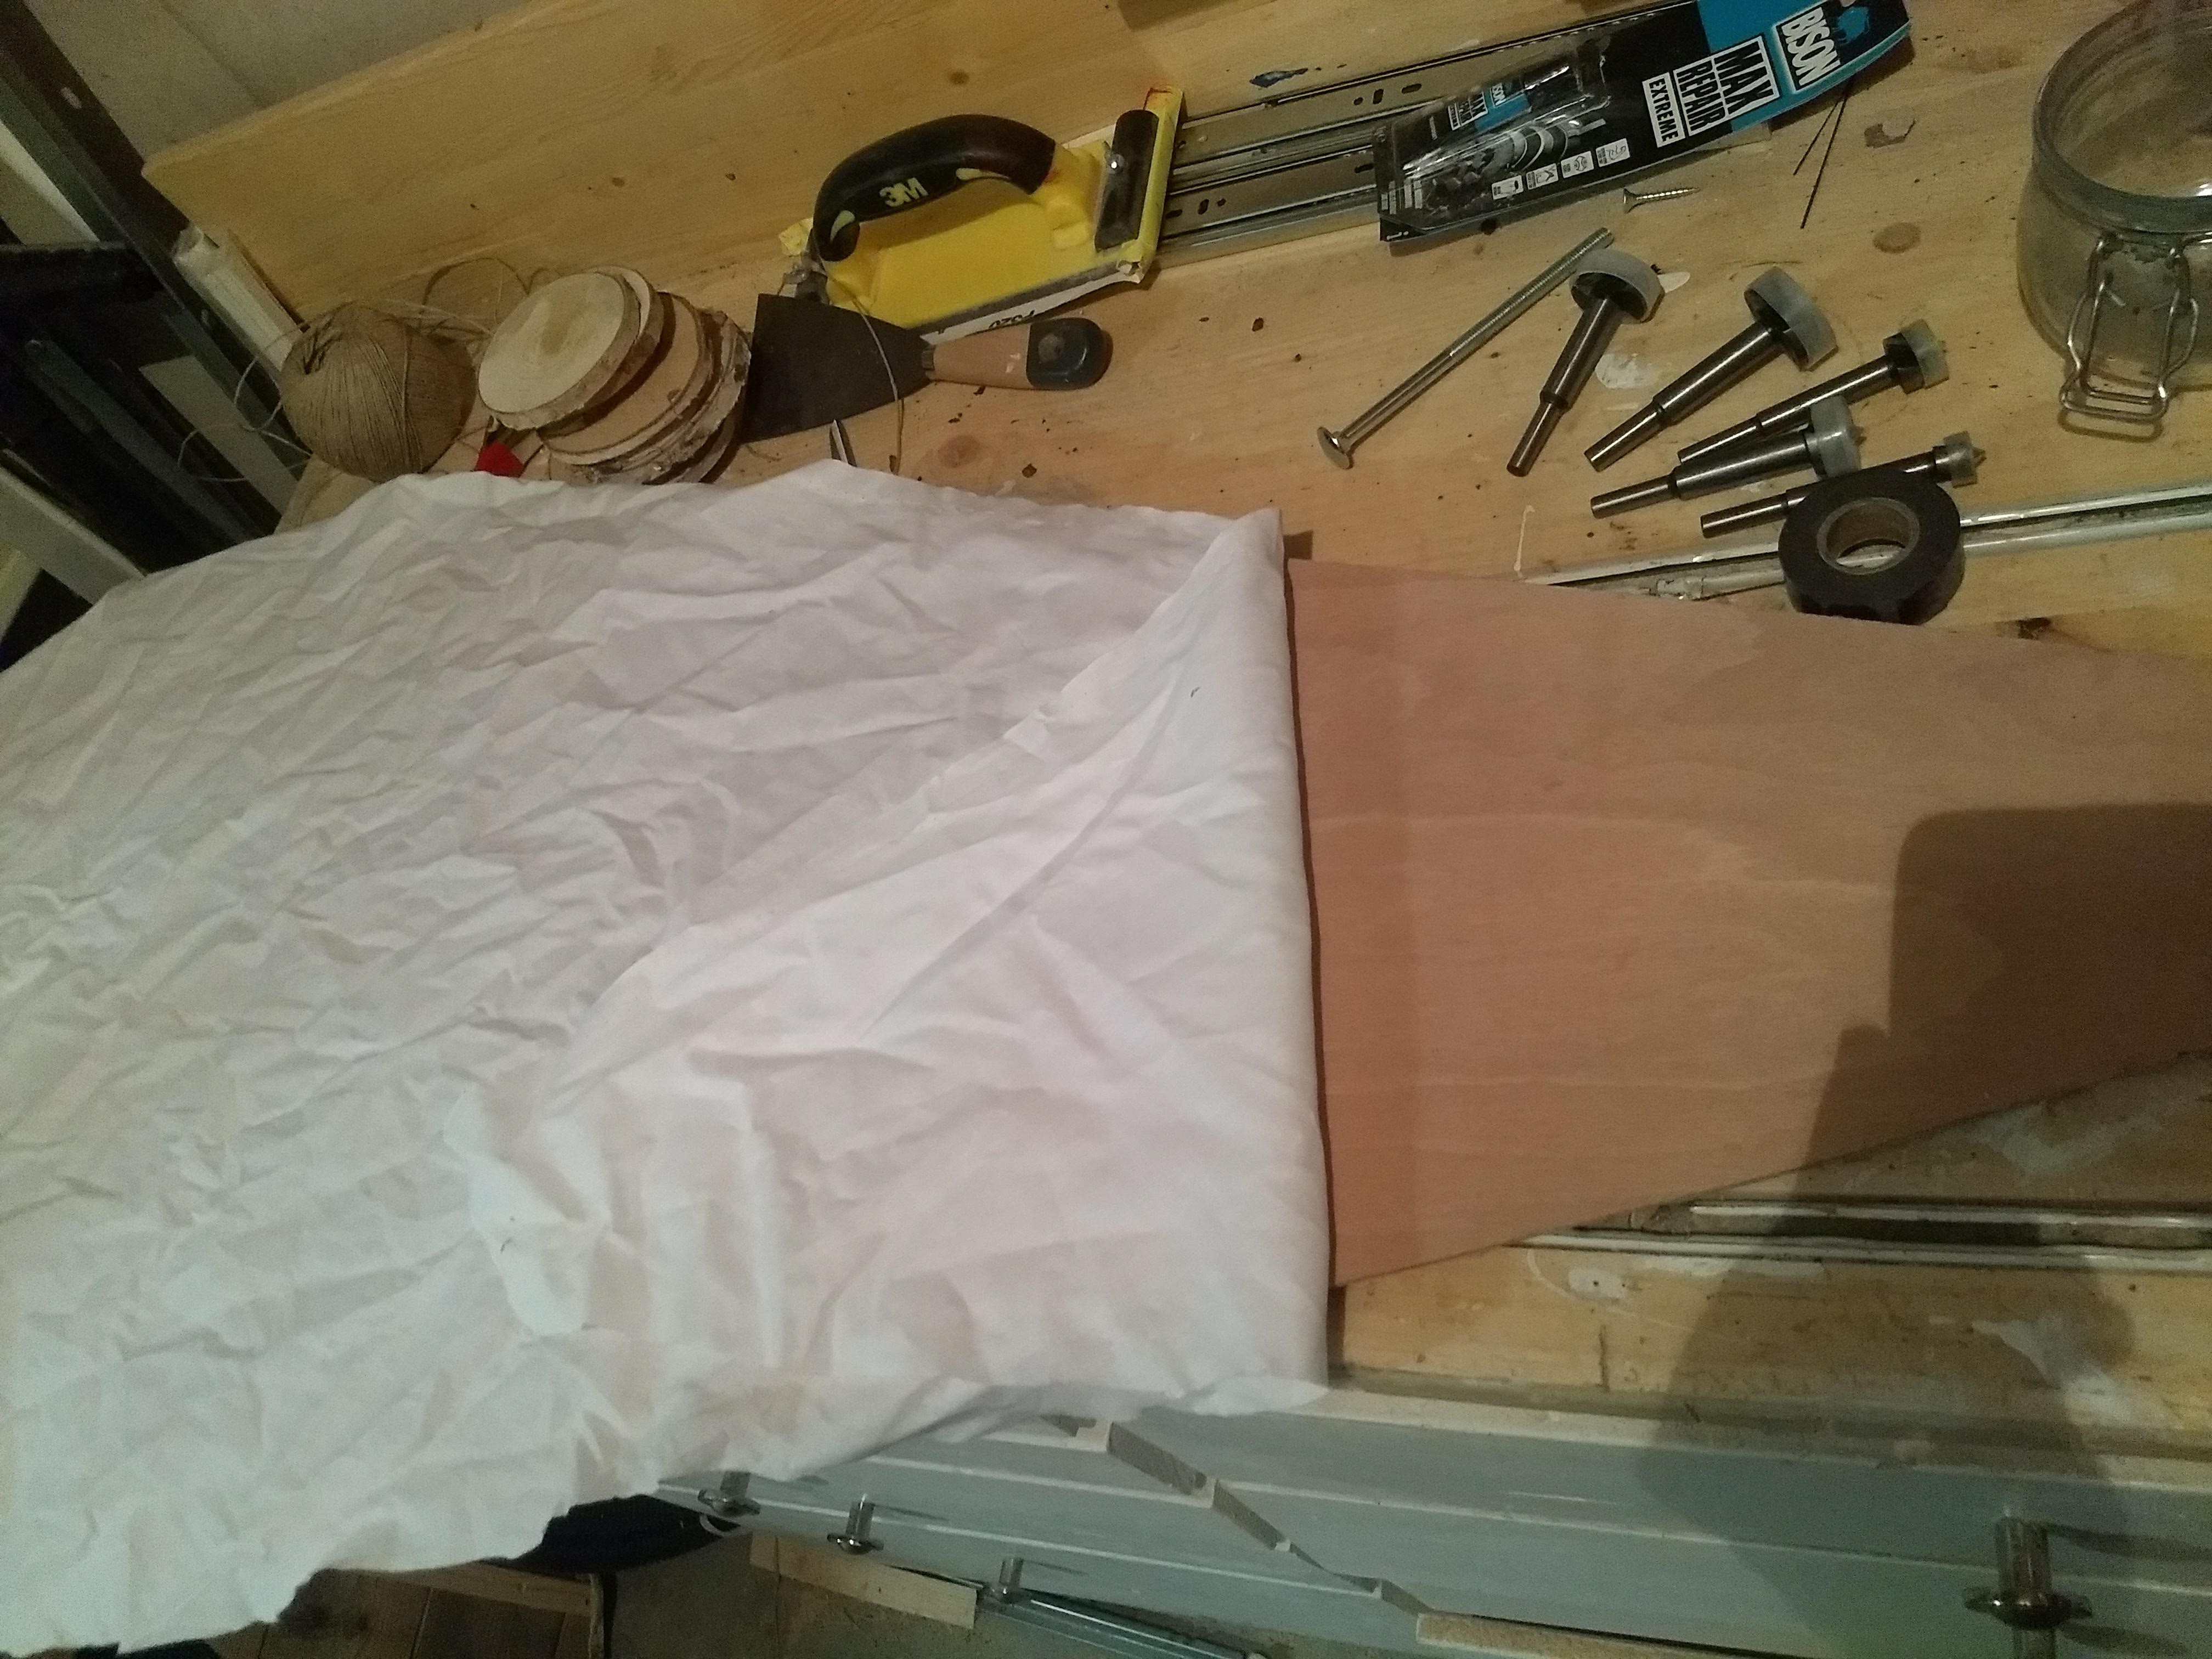
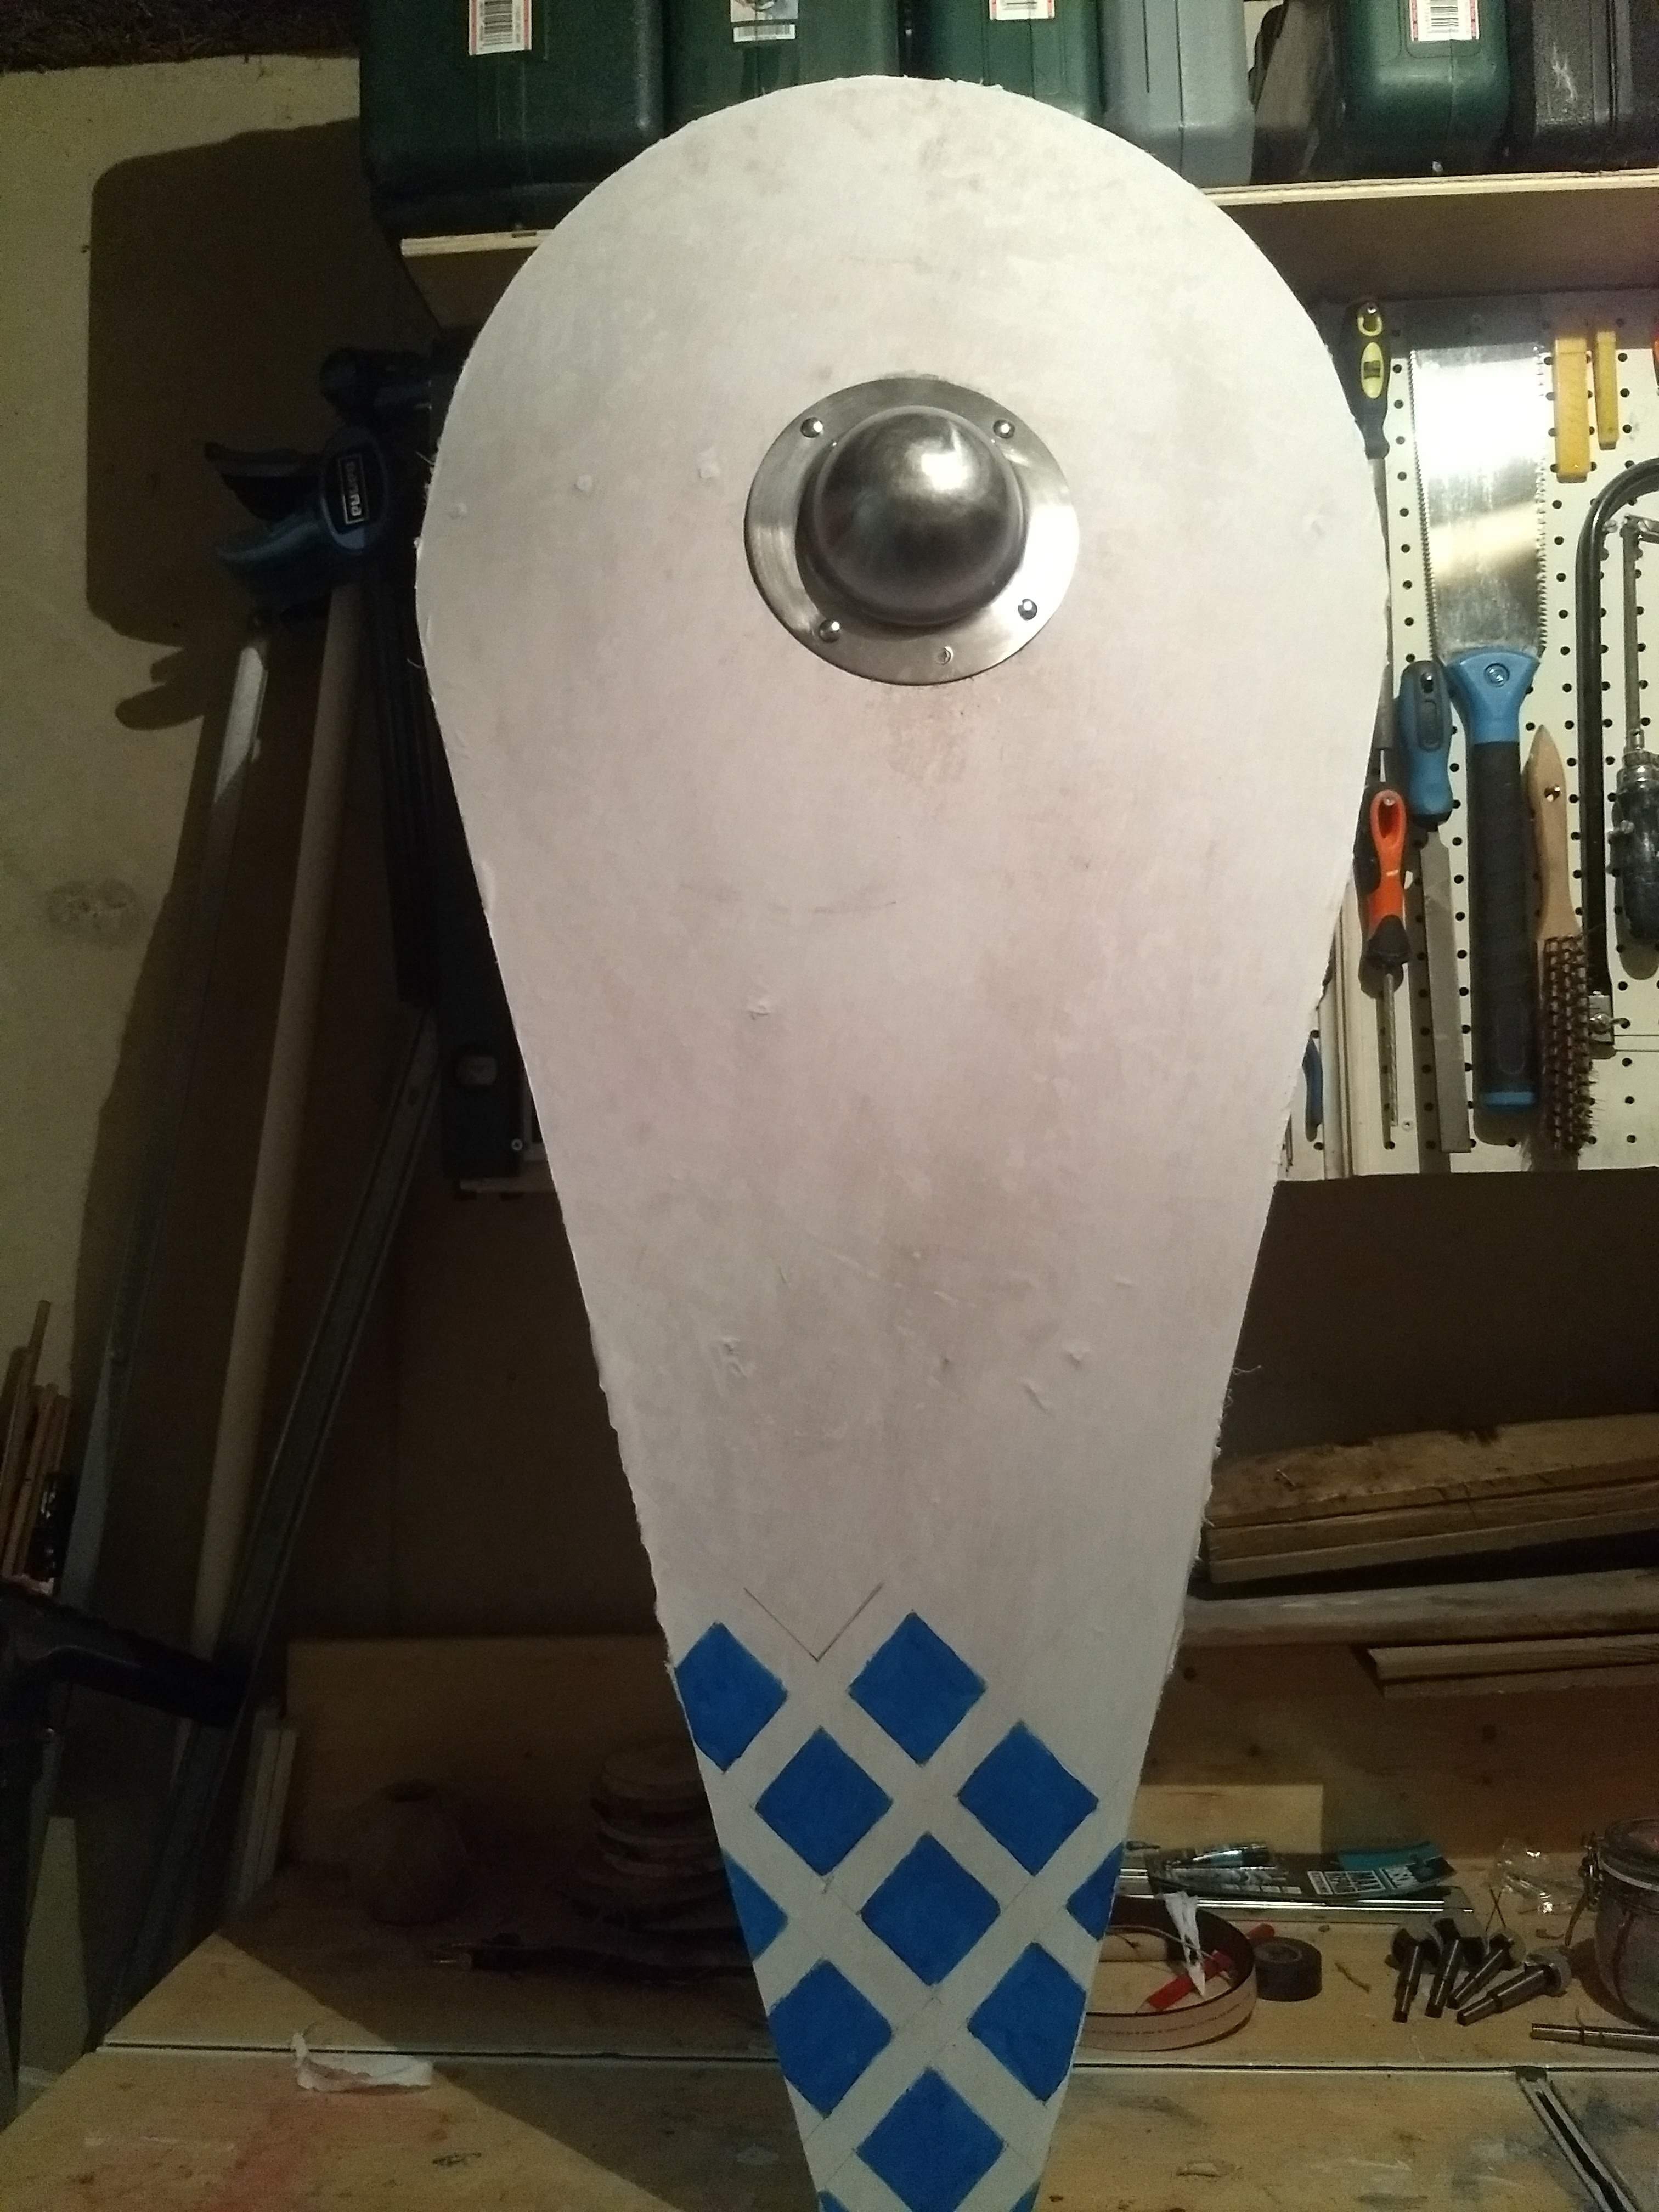
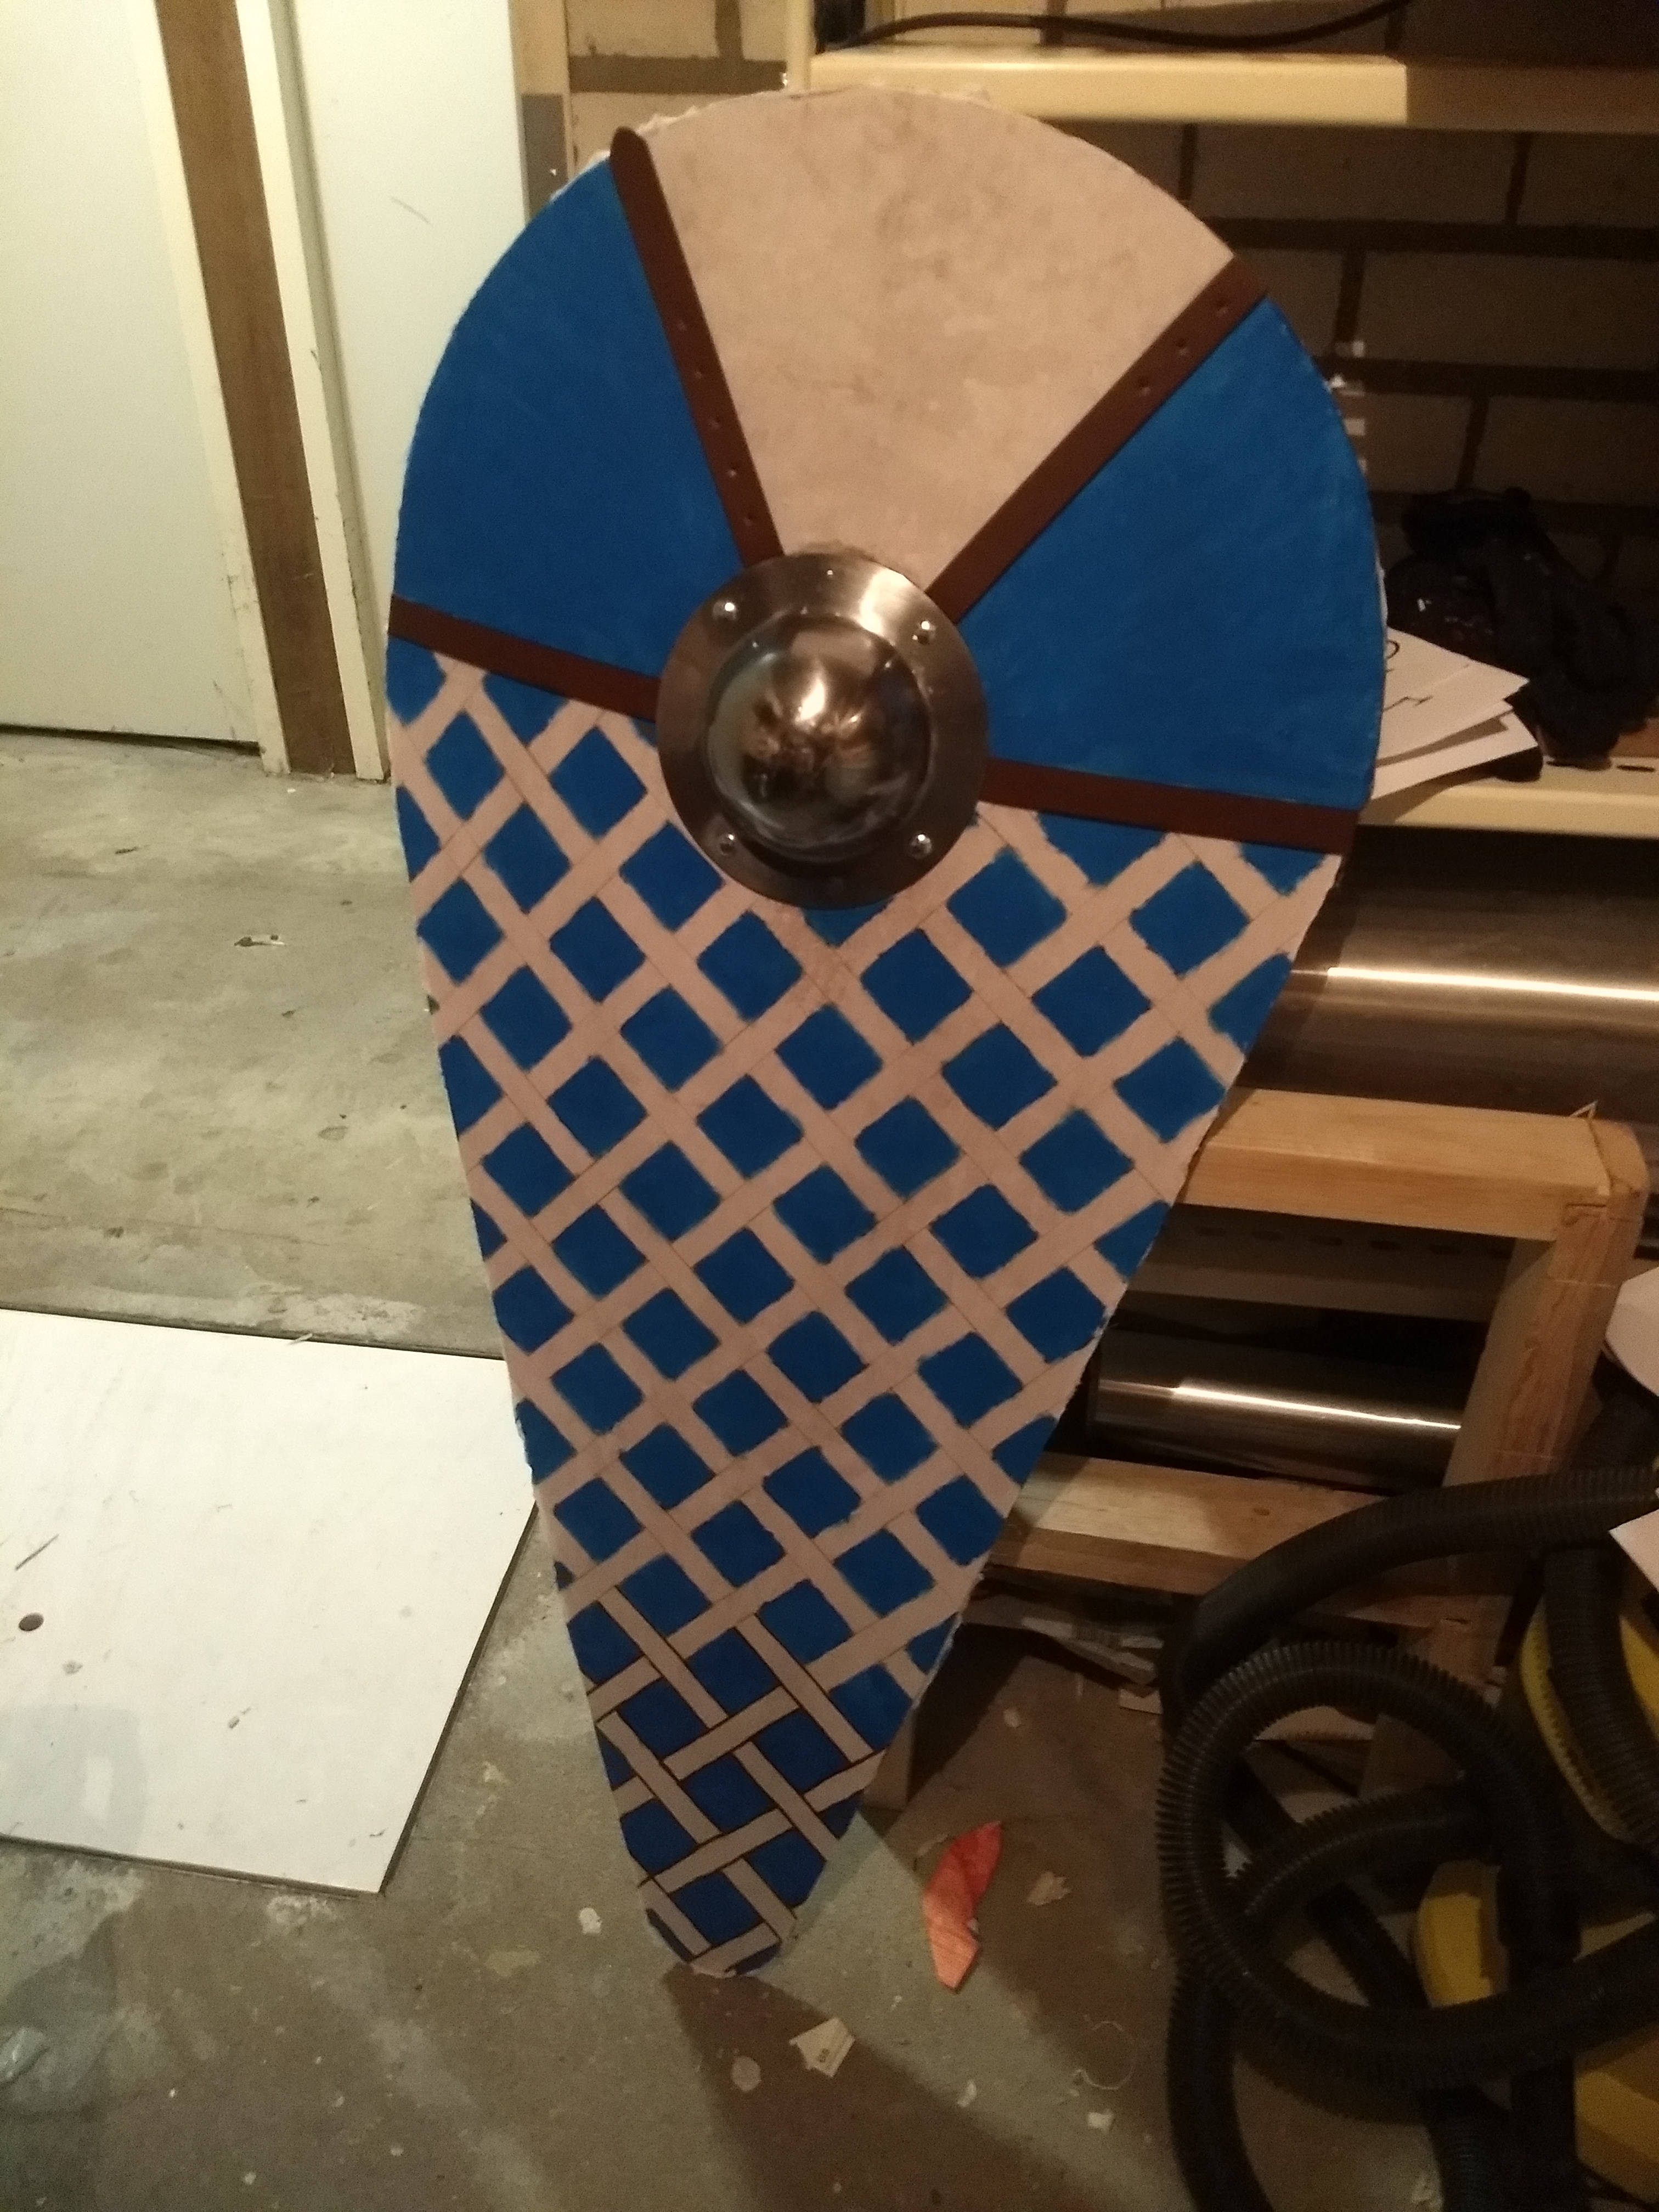
With the bend in place, I added the facing. The linen had worked well with the other kite shield, so I just glued it on again. Once this facing had dried I drilled for holes and bolted the boss to the shield. I also decided on the pattern and started drawing out the blue and white basket weave. I then left the shield like this for several months.

After a considerable break, I continued the weave pattern, painted the blue parts and applied some details using fake leather belts that I had left over.
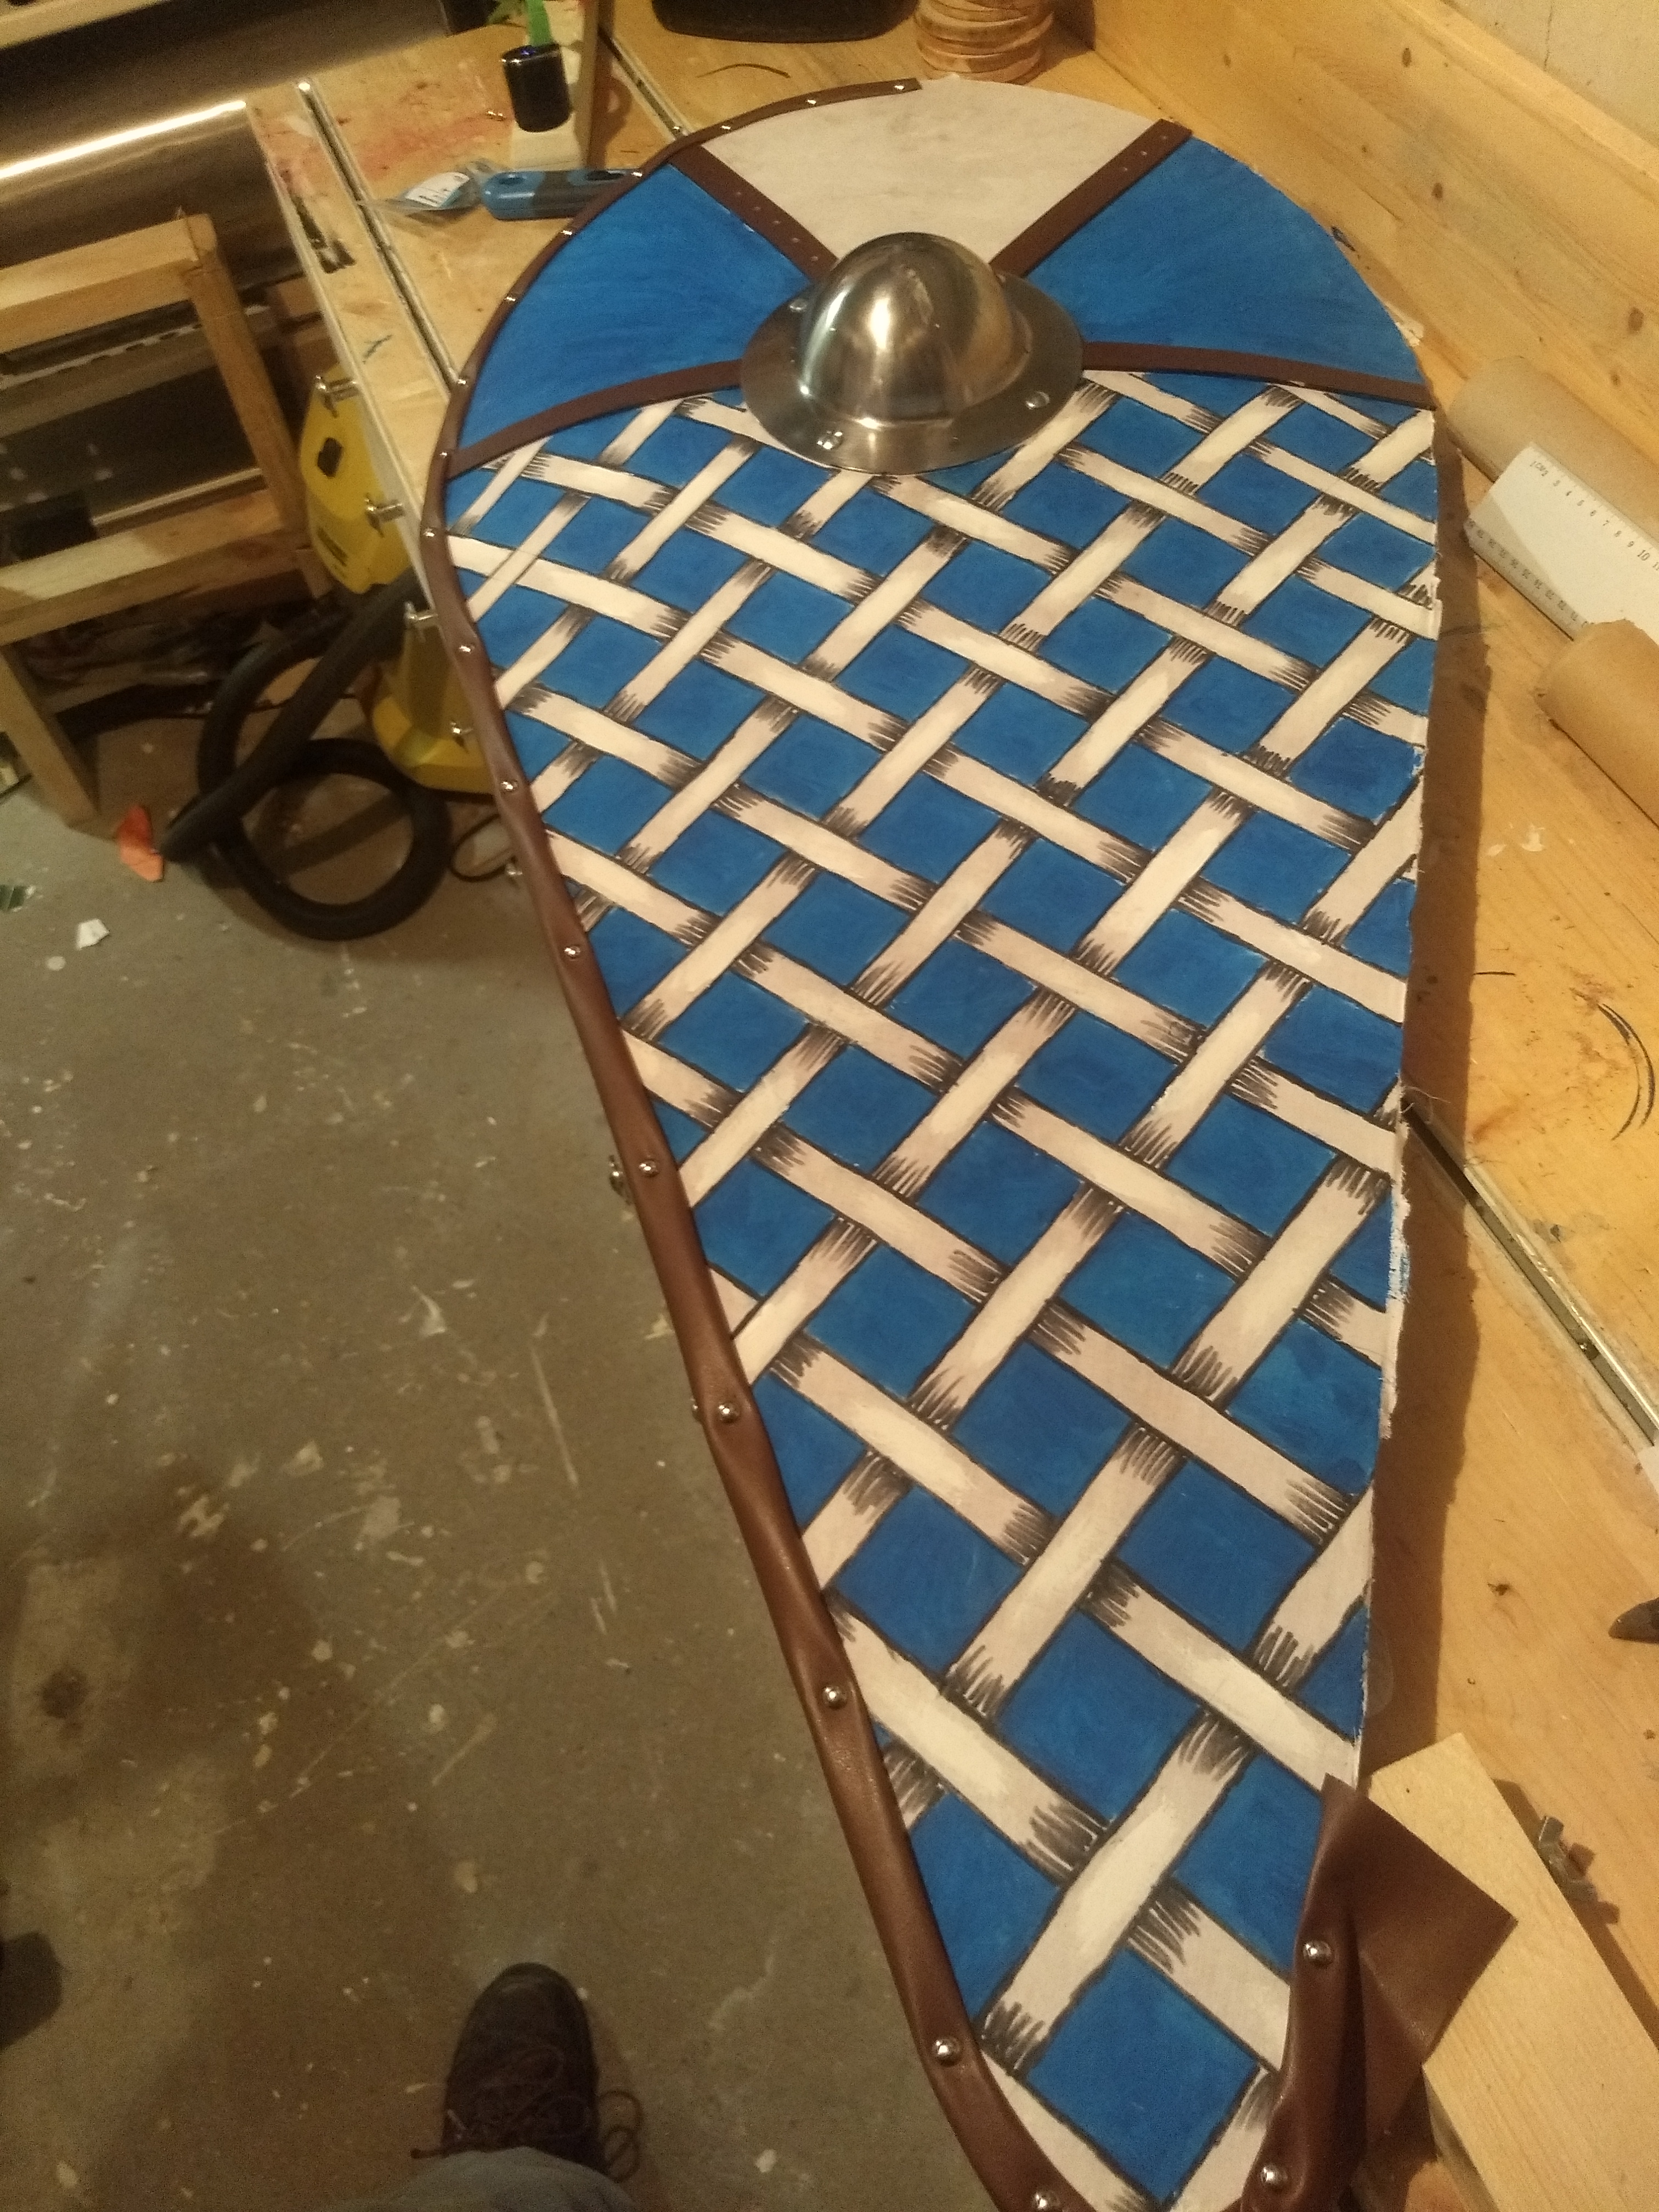
Using a whiteboard marker, which I stole from my work, I added the first layer of details. I also cut two strips of Skai (fake) leather and made a trim for the shield’s sides. I used the same exact way as with the other shield to make the adjustable handles and set the finished piece against the wall outside for the final photo.

