Introduction
Ever since my parents gave me this metal drill stand for my birthday, I felt it lacking. The column is okay, but not stable. It has all the things a drill press column should have, depth stop, a depth gage. It has no way to press things I am drilling into against a fence. No, it wasn’t good enough by itself yet. That’s why I have been wanting to build this extension to my workshop for almost a year now.
Design
I took some pointers from Paoson Woodworking’s design. I liked the style, but instead of using Trespa, I reckoned that I’d use scraps. Also, I wanted to implement T-slots into the table to hold a moveable fence. Moreover, I wanted to inscribe some measurements into the tabletop using pyrography.
Tools used:
- Japanese pull saw (Ryoba)
- Glue clamps
- Battery-powered drill
- Various drill bits
- Wood glue
- Pyrography set
- Speed square
- Pencil
- Paint cans used as weights
- Plyers
- Screw drivers
Materials used
- Sandpaper
- Scrap wood
- Hardwood ply
- Pine plywood
- Pine furniture board
- 3,3×4,4cm beam
- Bolts and Nuts (5mm and 8mm)
- Washers
I used a piece of pine, furniture board for the base. I attached the metal drill base to the plank and added a front fence
Then I used some 3,3×4,4cm bits to build up the frame of the table.
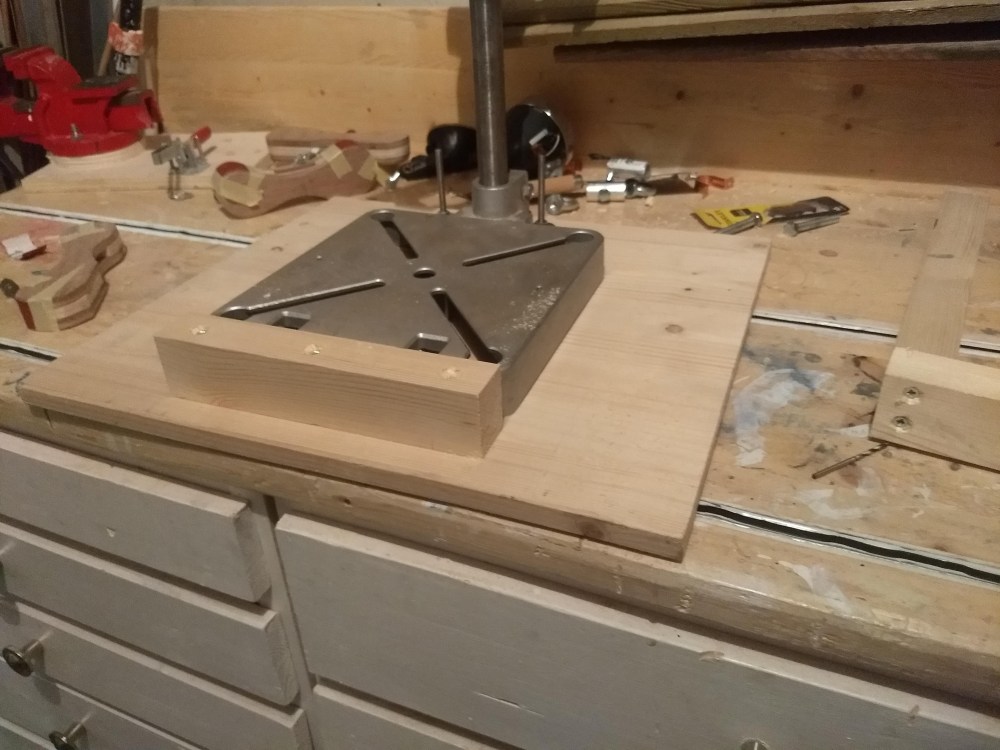
 This frame fits extremely snugly around the drill press base, and needs no further fastening. On top of this base, I fixed a plat of hardwood ply (8mm) that will be that first of three laminated layers. The second layer, for decorative purposes, was made out of pine ply (8mm). This middle layer has two wide slits in it.


On top of that, I placed the top layer with two thinner slits. This completes the T-slots and ensures that the drill press table has a firm top layer.
I used smaller versions of the GoedBeterKlem clamps as T-track hold down clamps for this project.


The fence was two layers of 3,3×4,4 beam. I used the drill press to bore the holes for the bolts to run through into the T-tracks.
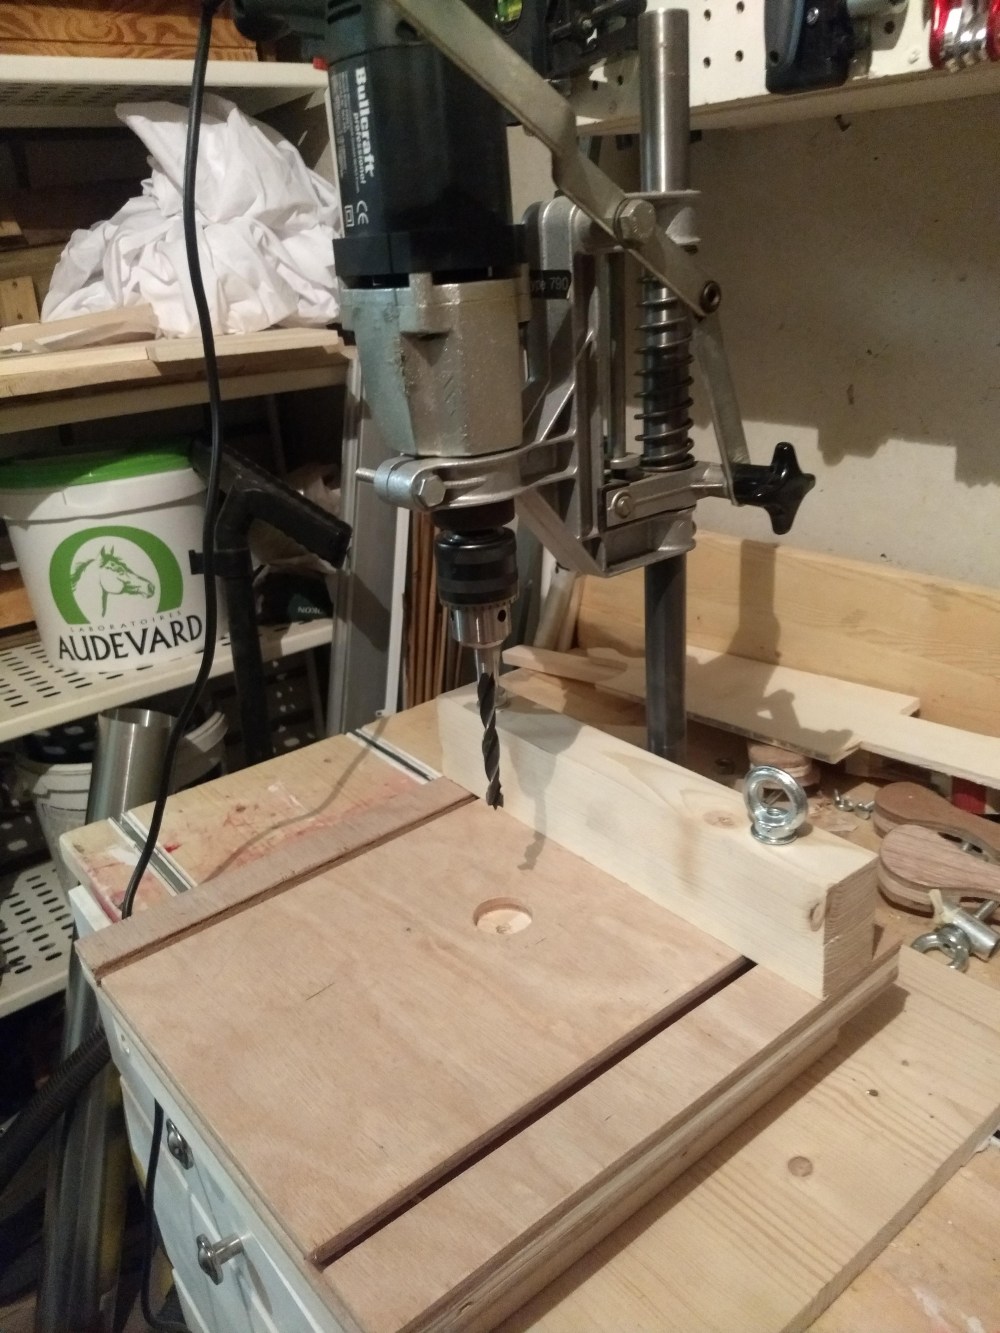
I had a problem with the bolts, though. I could just not tighten them properly, as they spun whenever I tried to set the fence. After considering using a cam-lever system of sorts that could have cost me a day to build, I went for an easier option. I used wingnuts for the fence bolts and carved a slit into the top tips of the bolts. I can use a screwdriver to tighten down the fence. After some quick pyrography, I now have a drill press table with guiding lines and measurements.


One Comment Add yours