Design
A good friend of mine recently bought a house. This is exciting stuff, of course. Not only did I help to put down a laminated floor, which is great fun with friends, I also spotted another opportunity to fuel my addiction.
He has a kitchen which is completely decent but has one cabinet above the work area that is so slim that it was relative unuseable. Whatever you’d put in it, most of the space would not be used.
So I offered to build him something to help fix that issue, after spotting it myself. Creating creative work. I took the measurements, set up a Sketchup drawing of that slim cabinet and designed the sliding storage shelf you can see below. My friend approved, and when I found/made some time, I started building.

Materials used:
- Large sheet of wood found near the bins in our neighbourhood. I salvaged this from what used to be a bed.
- Soft close drawer slides. This is where I skimped on, seeing that I did not want to pay more than 100 euros on slides.
- 3mm thick aluminium, 3 cm wide.
- Some smaller screws (13mm long) to hold the aluminium railings and slides.
- Longer screws to hold the planks
- Wood glue
Tools Used:
- Dremel Circular Saw
- Guiderail
- Speedsquare
- Japanese Ryobi pull saw
- Battery Powered Drill
- Drill bits for wood and metal
- Counterbore Drill bit
- Router
- Standard Router bit
- Shop-Vac
- Corner Clamps
Build
I started ripping down the large plank I had into the correctly sized pieces. I don’t quite know what wood this was. After the first few centimetres of cutting, though, I was sure to put on that respirator. Even though I had hooked up the shop-vac to the saw. This stuff reeked when it was cut or sanded.


After routing some dados and rabits into the longer side planks, I glued, clamped and screwed the construction together. It was quite amazing how quickly I arrived at this step after taking quite some time on the design.


What followed was more routing. This time, I carefully marked where the aluminium rails would go and routed out a dado for them to sit in. This routing was followed by copious amounts of sanding. After applying a coat of beeswax, I glued and screwed in the railings.


Installation
The installation involved blood, sweat and tears on my part. I had not measured correctly and needed to alter the slide with minimal tools. I now know what my friend is getting for his birthday (Japanese pull saw).
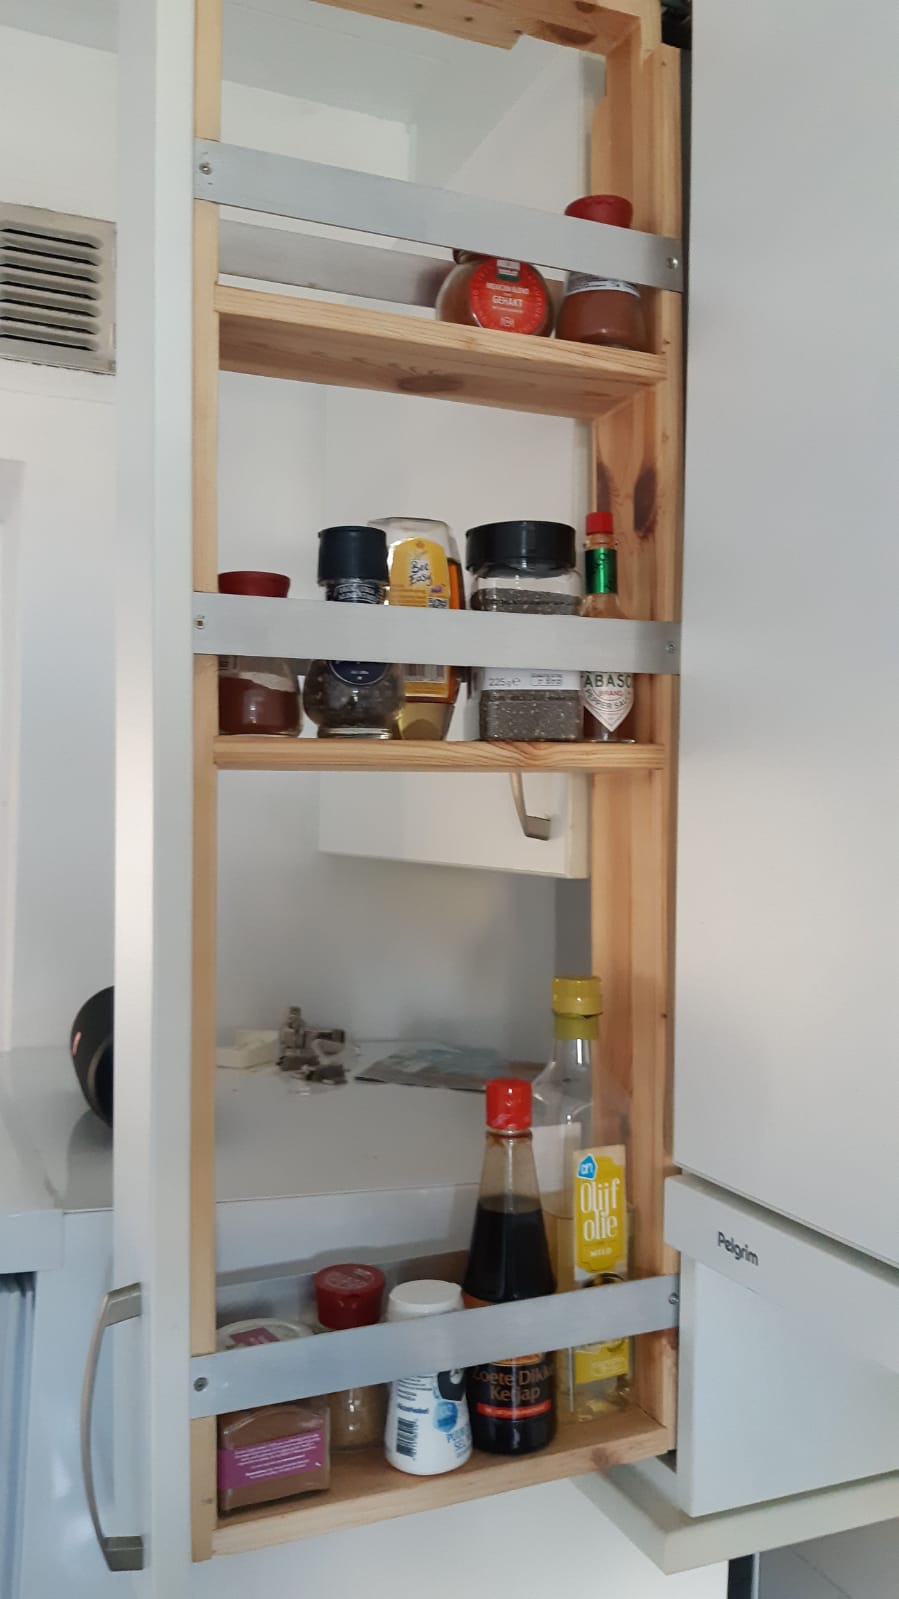
I was so taken in by the installation difficulties that I hardly documented the battle. Here is a clip of the cabinet after installation, with the original door reused as a front. As you see, it needs some weighing down and some more sanding, which I will get to later.
And here is the sliding storage in use.