My mum is an avid helper of animals. The species she seems to look out for most, currently, is the hedgehog.
I think they just invited themselves into my mum’s jungle-like, in the most appreciative way, garden. When my mum started spotting some ill fed ones right before winter, she enlisted the help of a local shelter.
A few years later, she’s brought at least ten hedgehogs to the shelter for medical attention and extra nourishment. As someone who is becoming more and more of a hippy – in the drug-less sense of the word – myself, I couldn’t be more chuffed. And so I started to design a villa.
Design
I started by checking out the websites of the egelbescherming, http://www.egelbescherming.nl, and of Egelhuis, https://www.egelhuis.com/. I took some pointers from the designs they put forth. I started building with the width of the tunnel and the size of the sleeping quarters in the back of my mind.
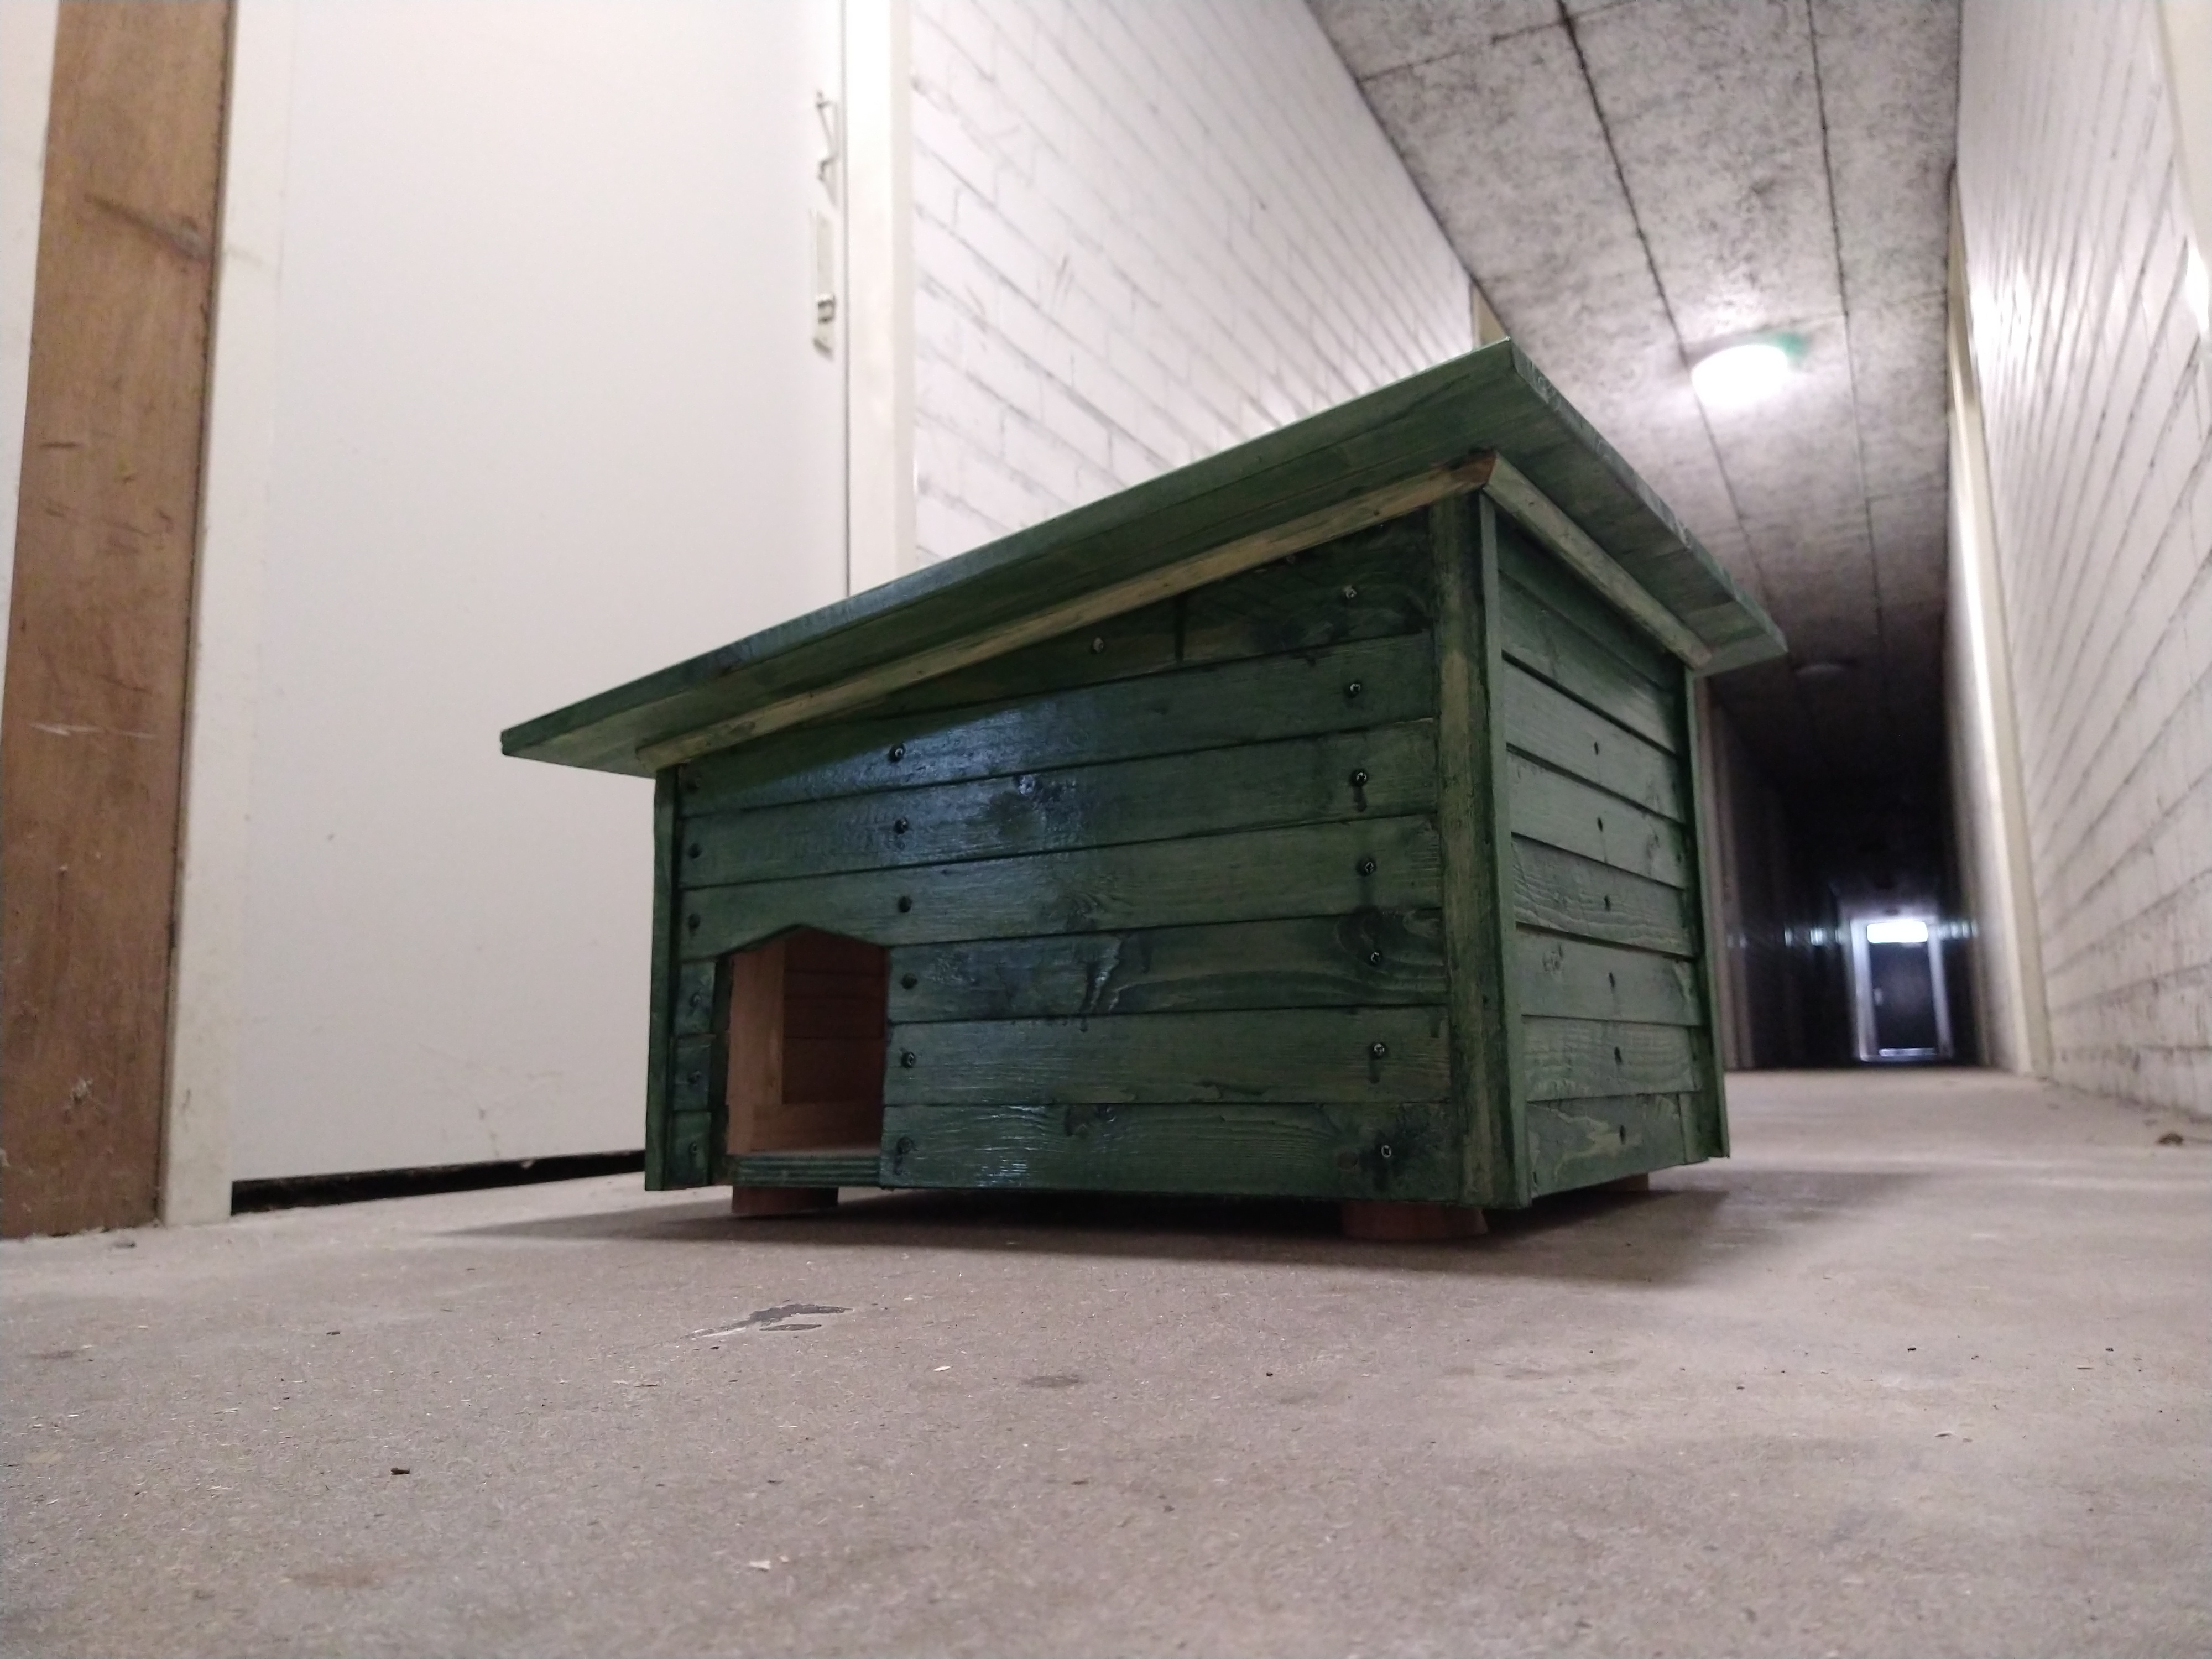
I got myself some wood at the local hardware store, scared some horses whilst carrying the cargo home, drew up some measurements and just started to build. I wanted a slanted roof and horizontal slats covering the outside walls.
Tools used
- Battery powered drills with drill bits
- Screwdrivers
- Hand saw
- Japanese style pull saw
- router with self made router table
- Random orbit sander
- Paint brushes
- Wood glue
Build
I started by getting a heap of wood at the hardware store. I try to stick to using scrap wood as much as possible, but I just didn’t have what I needed. I needed a lot. After getting that wood, some slats and a larger sheet of pine, I started cutting down the wood for the sides and base plate of the villa.
As can be seen above, I also started putting together some of the sides. Turned out that I waaaay over-engineered these. The following day, I wrapped up the sides and added too triangular pieces that support the slant of the roof.
When the structure was in place, it was time to move on to the slats. As you can see from the video below, I was severely lacking in the miter saw department -have fixed this since. I cut the slats to size by hand using a miter box and a Japanese style pull saw.
Next up, I used my minimalistic router table, an article on that will feature on this website later, to make two rabits, one on each of the long sides of the slats. This way, they could overlap to form a solid wall.
As I made too few wall slats, I had to cut and Rabit some more. This I also cut the roof to size. The roof for this one was actually too large, on following builds I cut it smaller. Finally, as a last step before sanding and painting, I installed the hinge.
What remained was to film the hinge working properly.
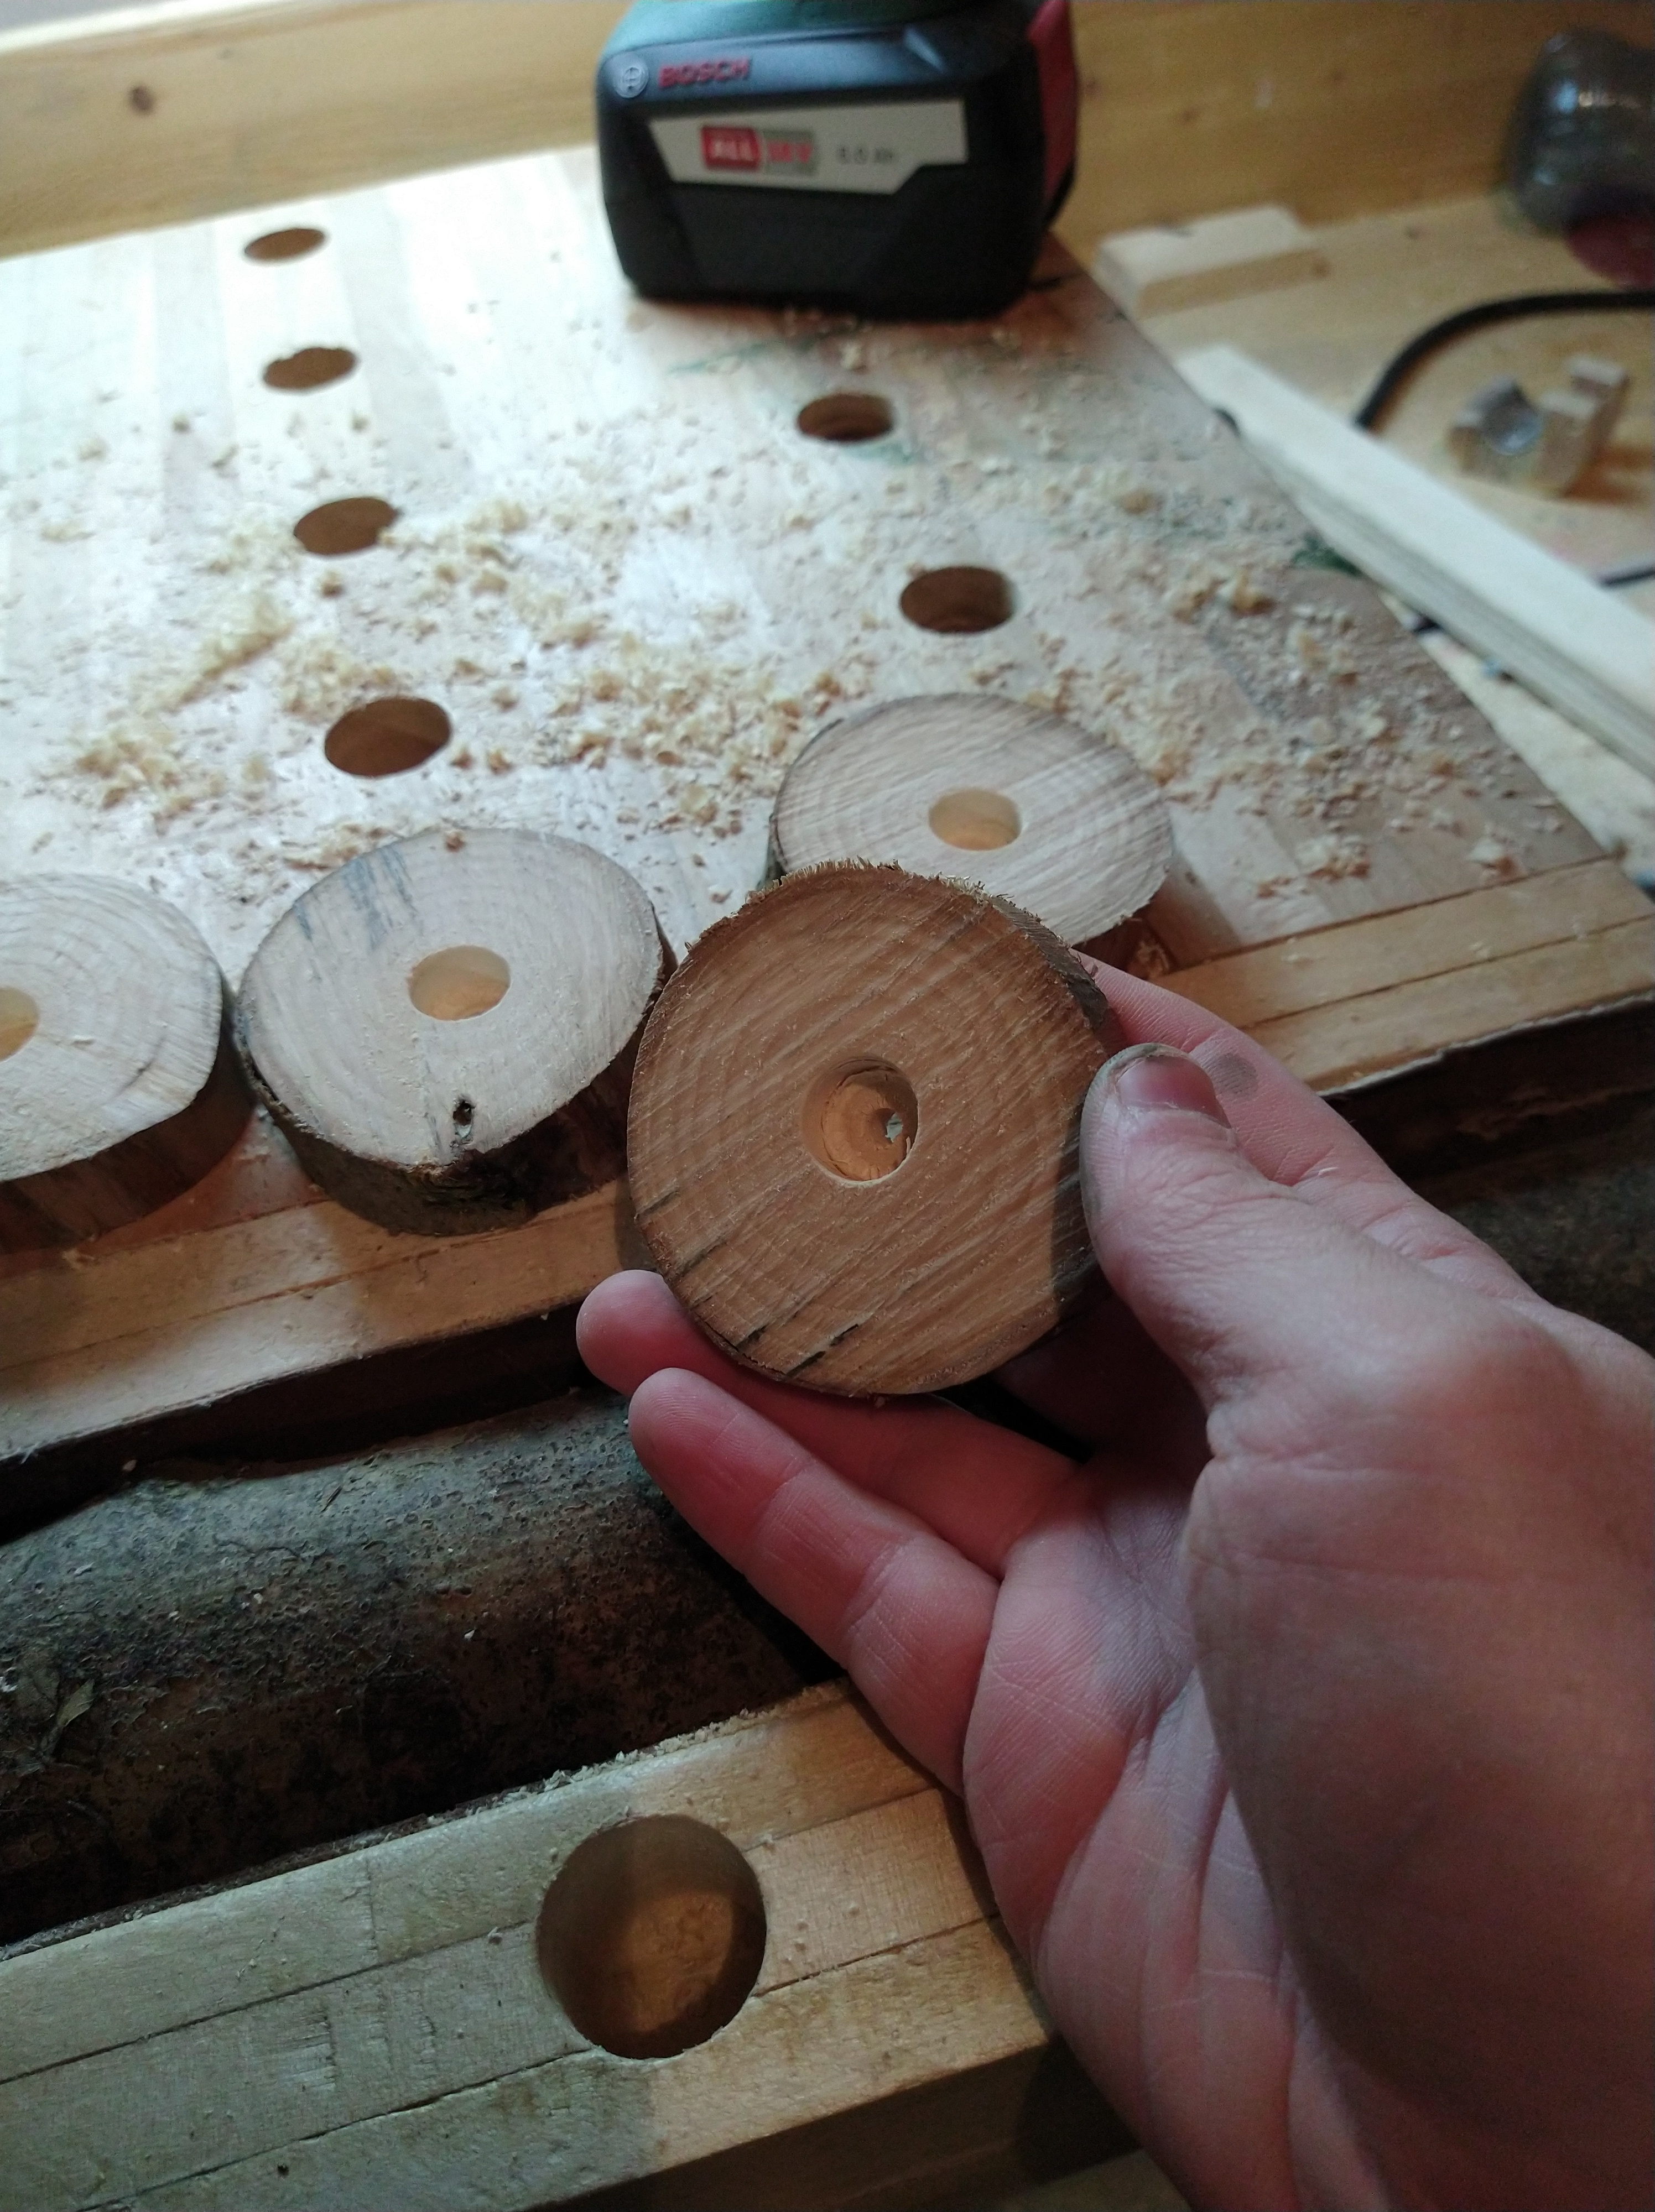
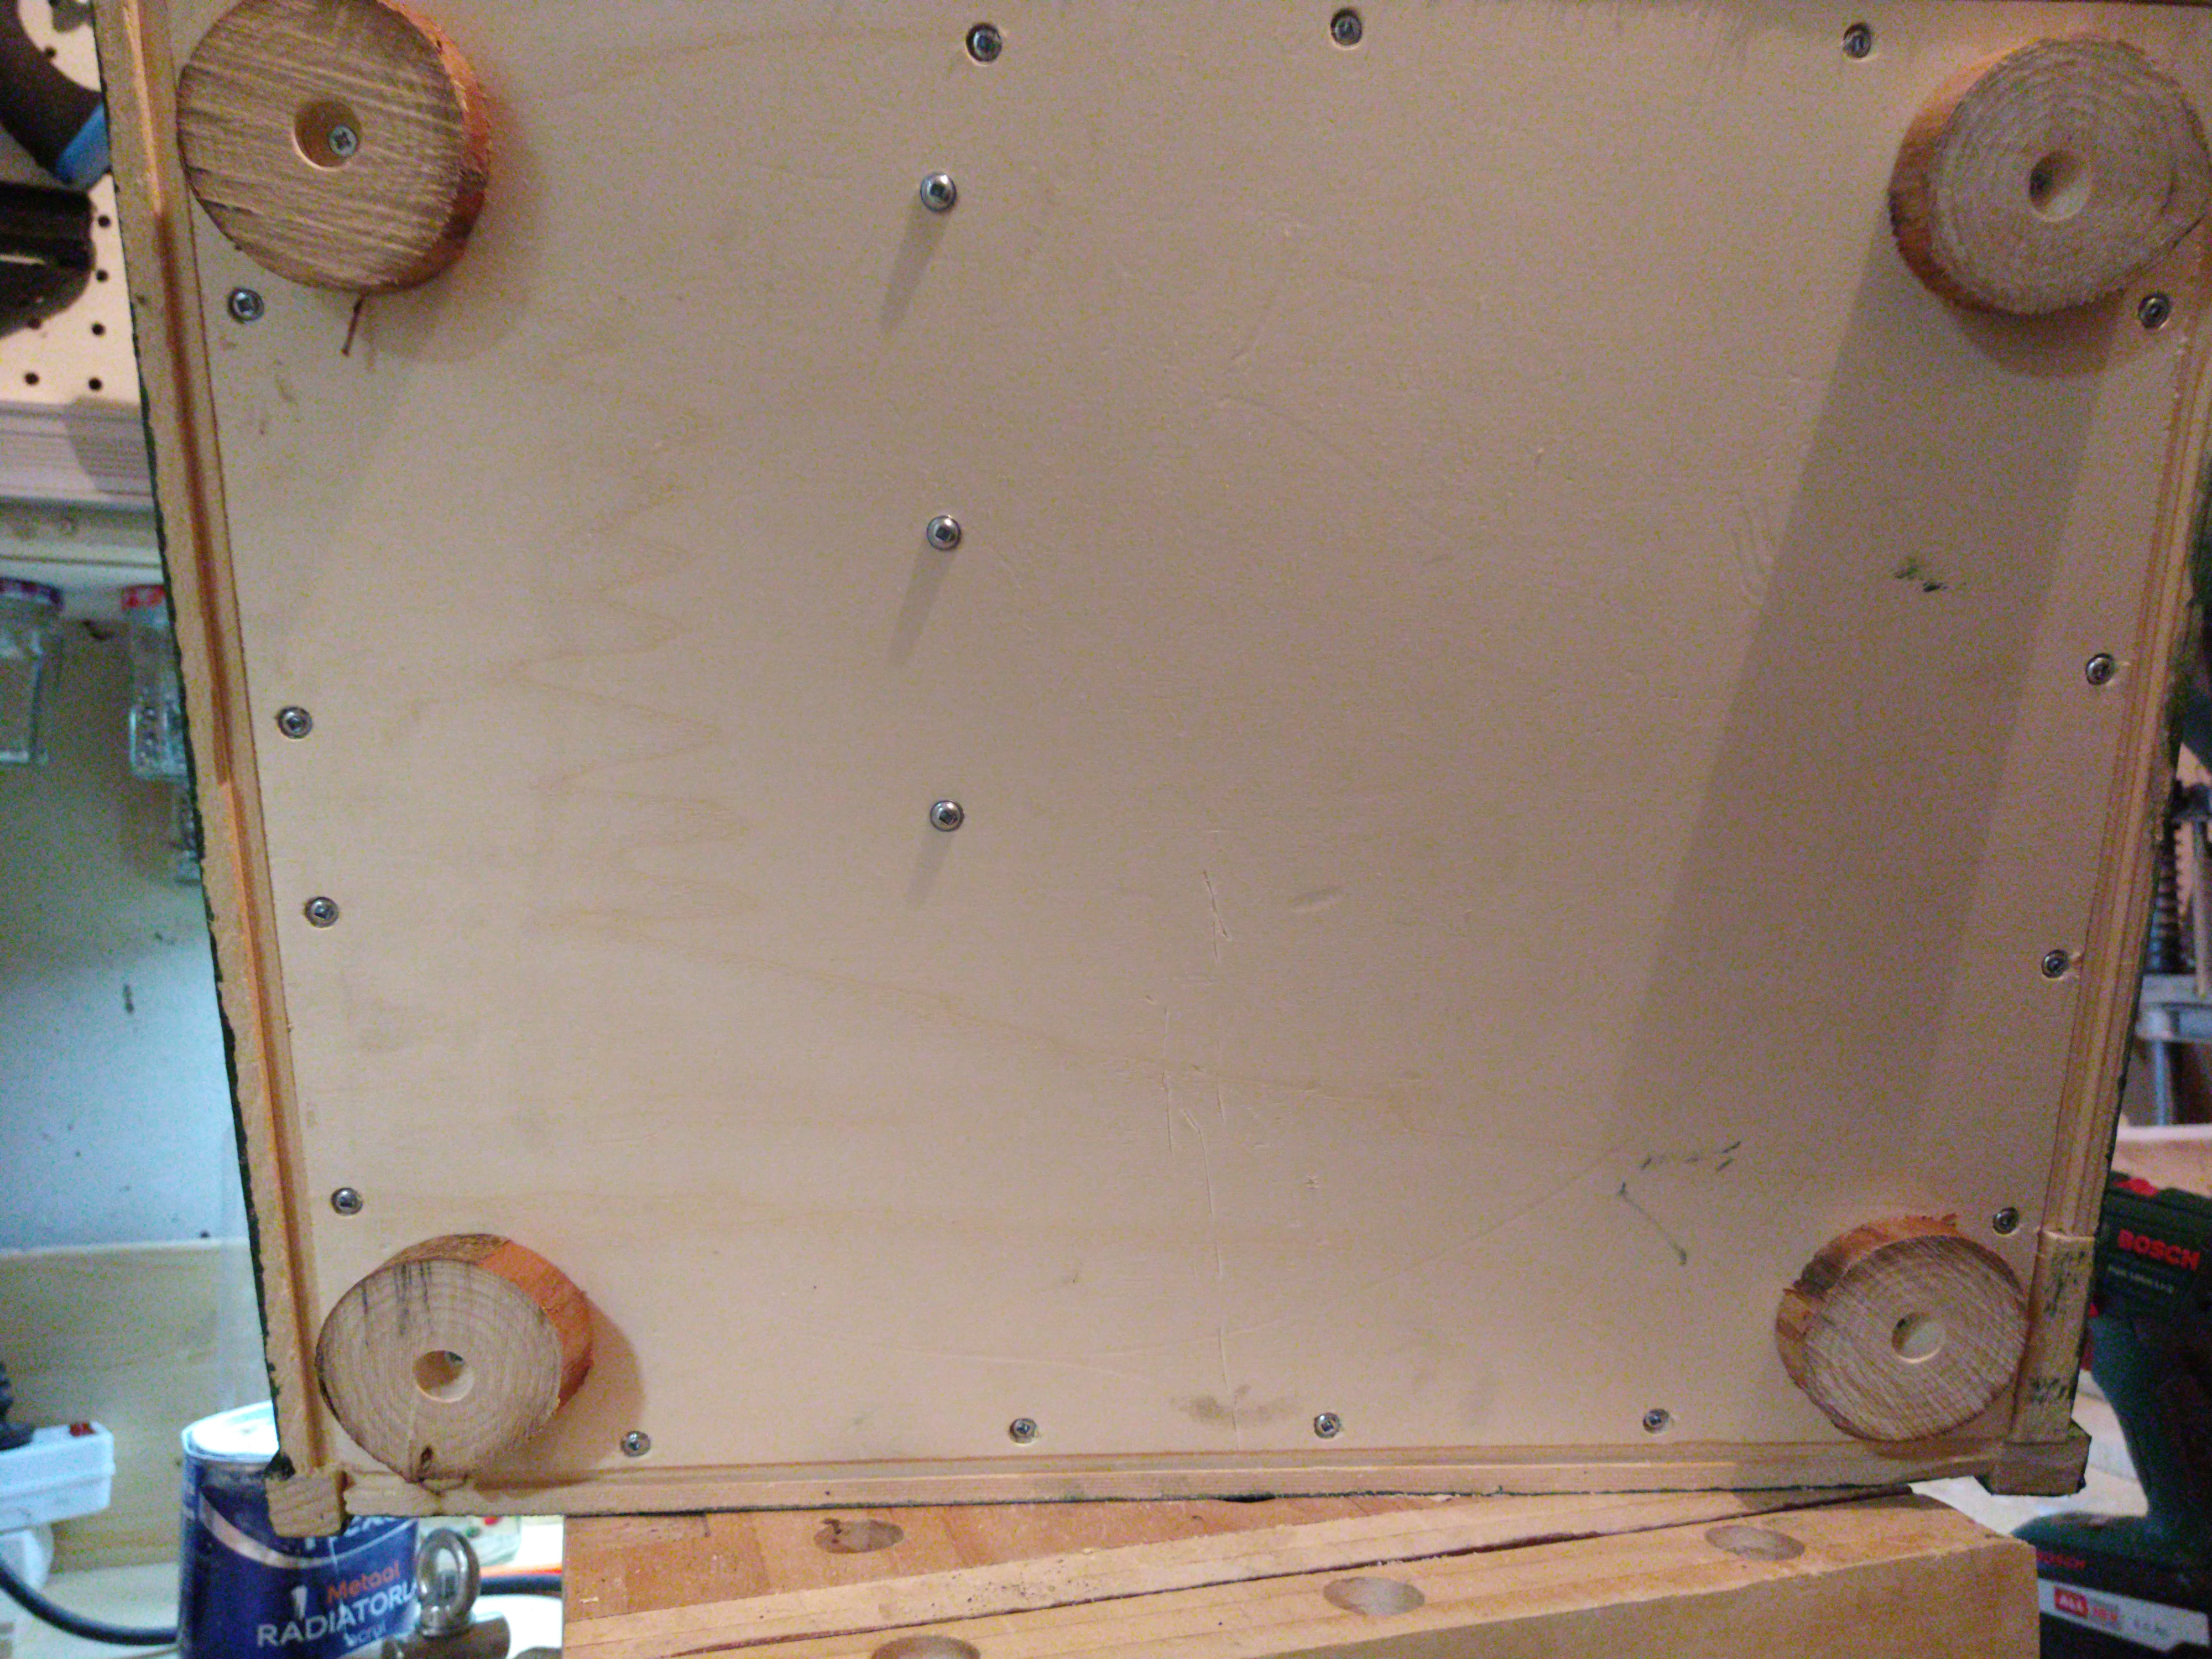
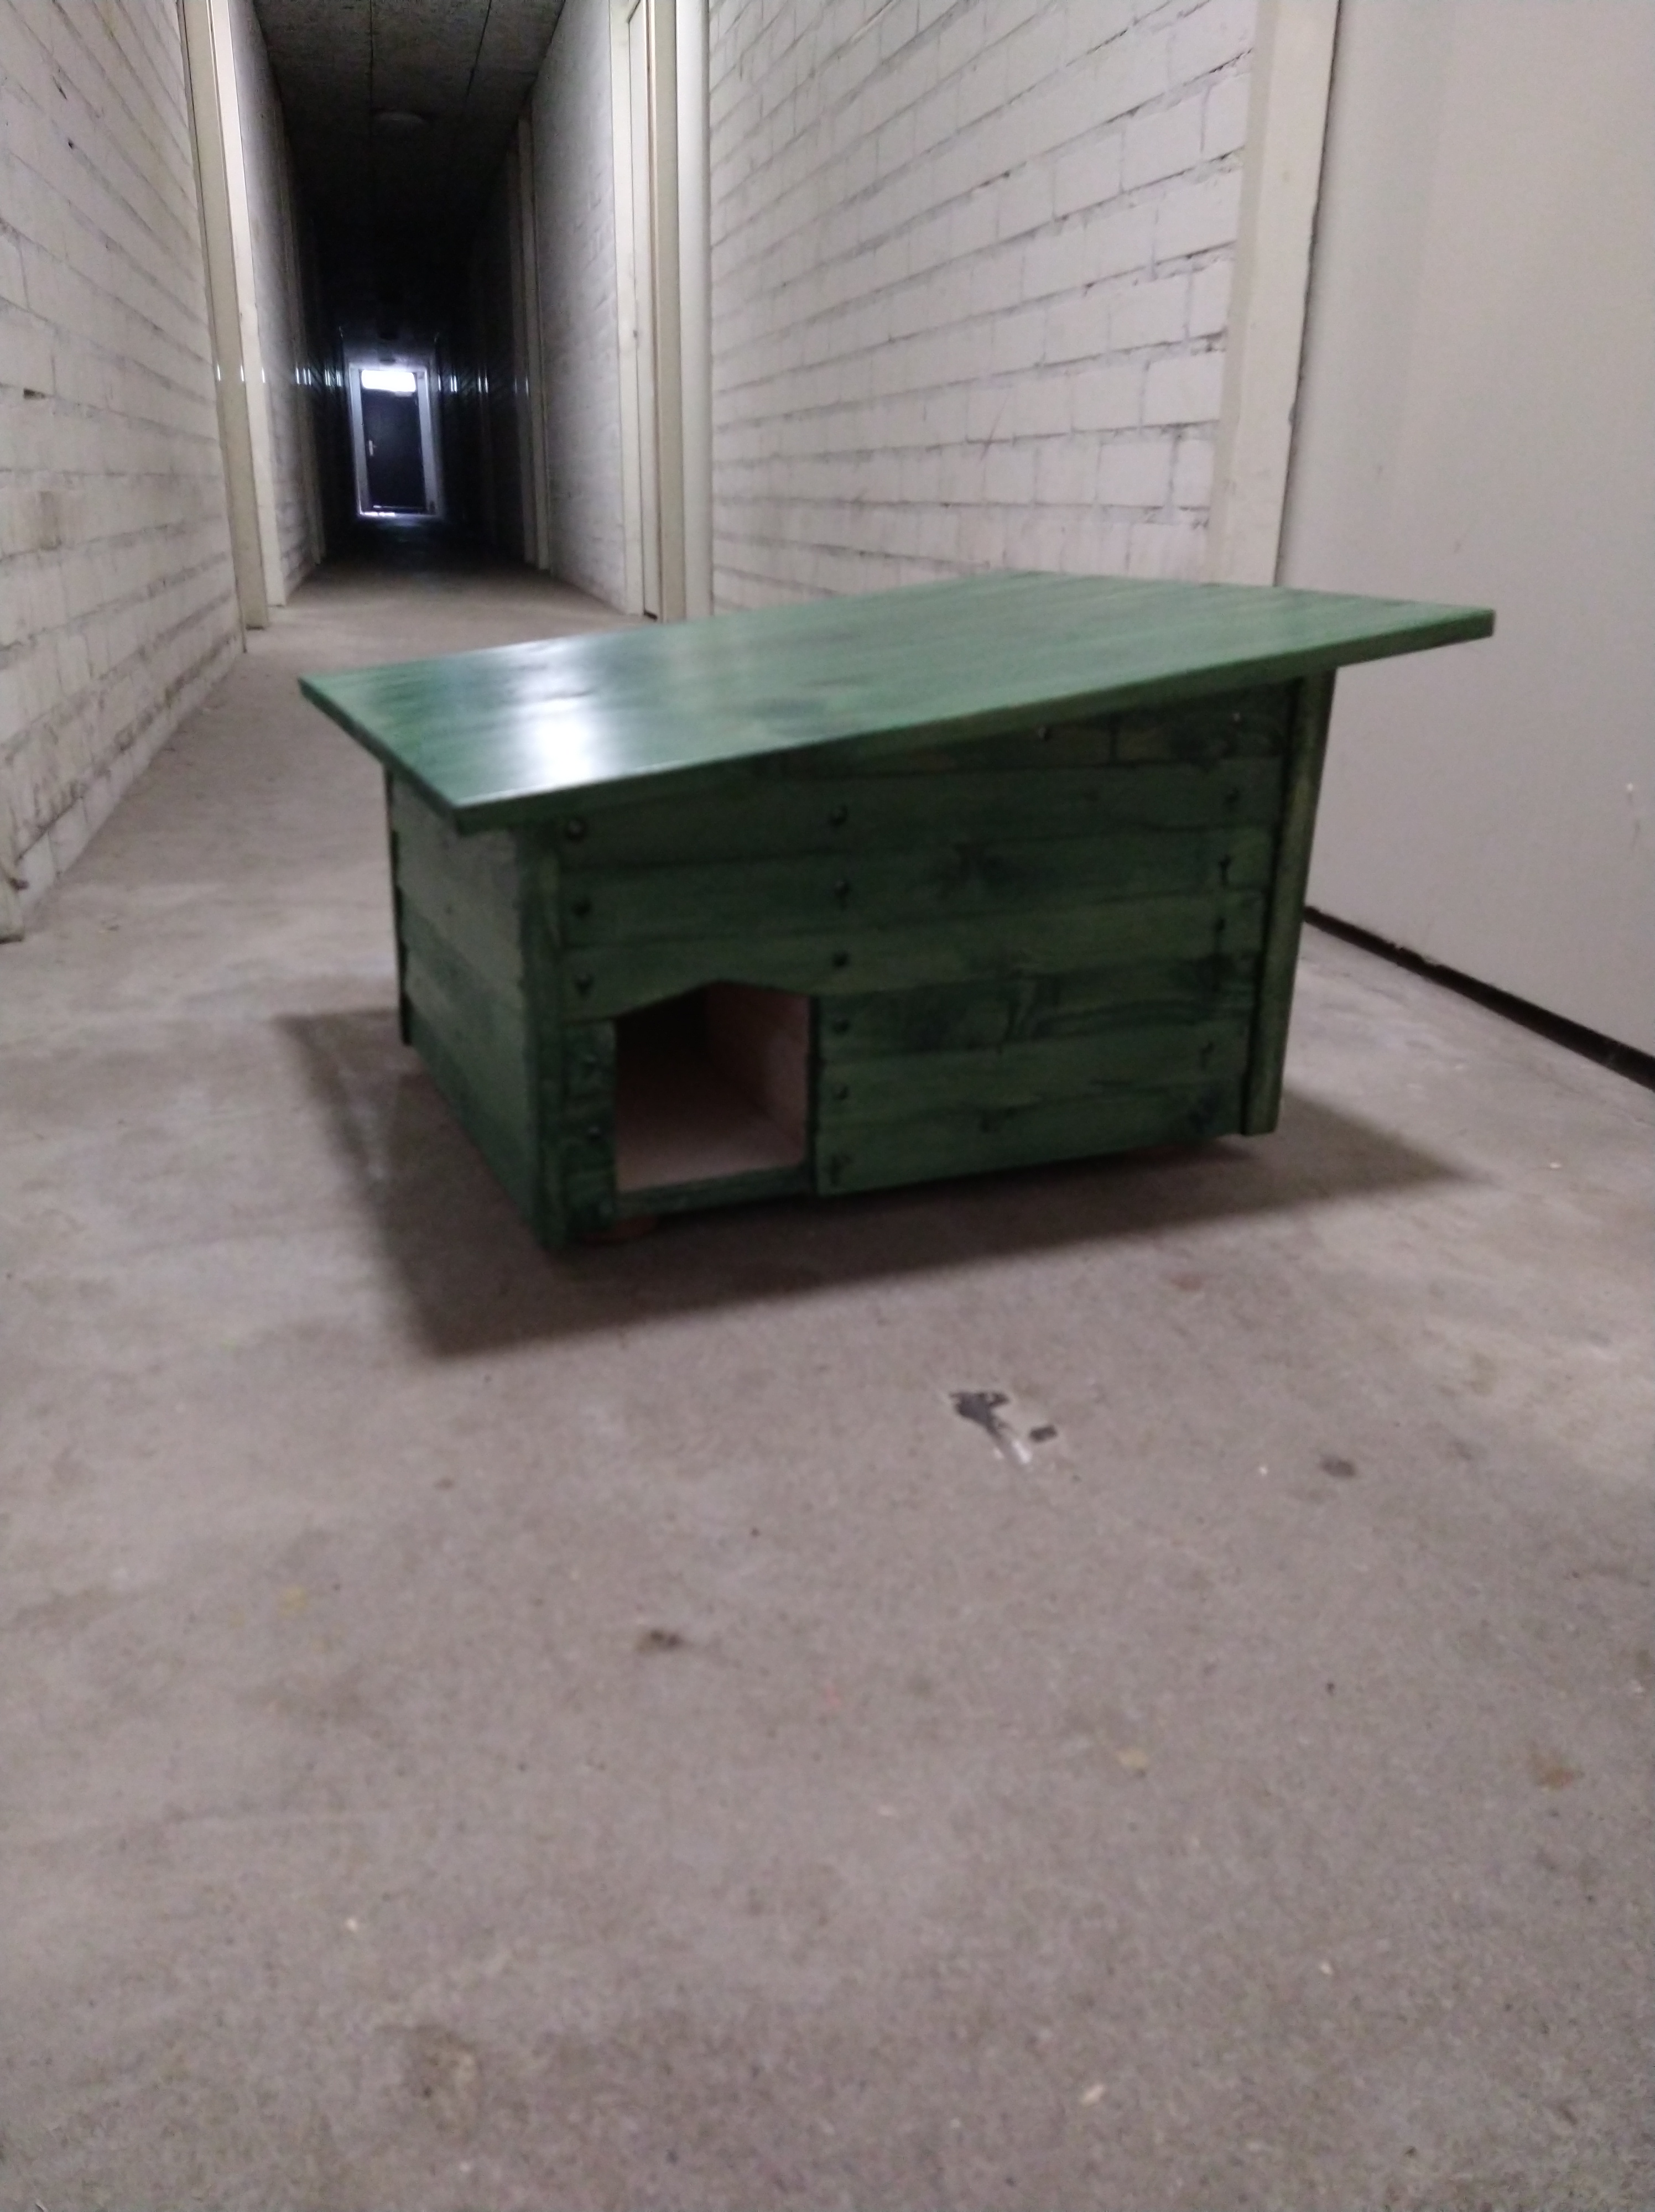
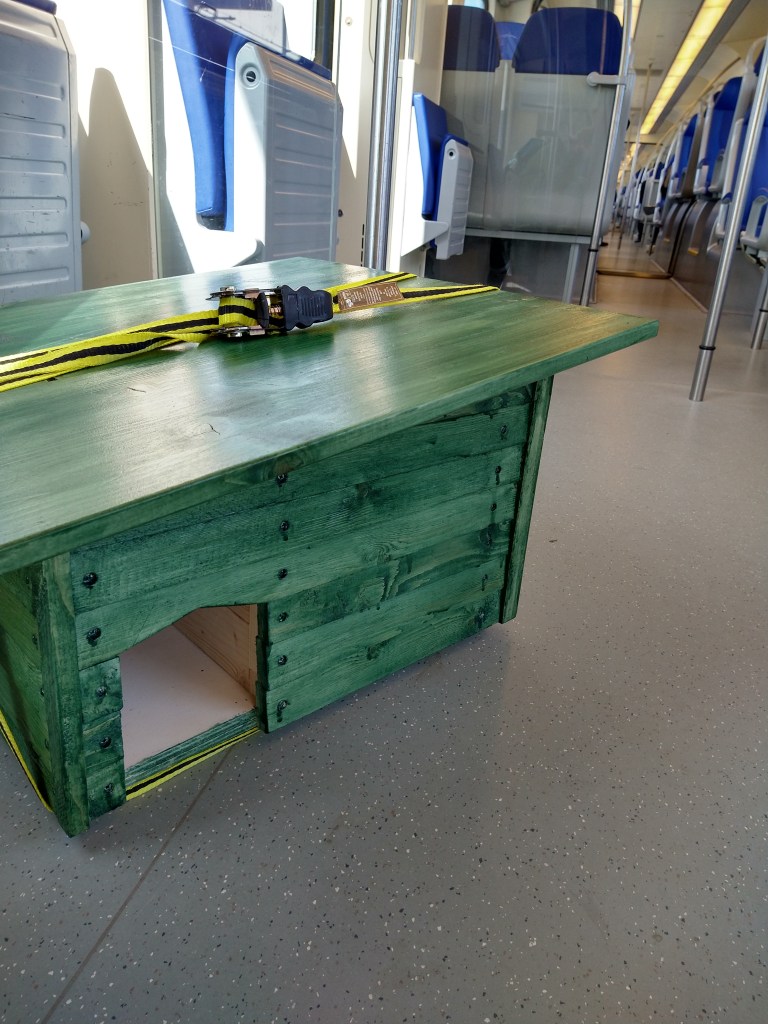
After that applying some cute-sie little legs and sanding. Now, I didn’t do this properly enough. The same with the painting, I should have added at least three more layers. However, I am still pleased with the final result. The last foto that I am adding shows how I took it with me to my parents’ in the train.