This is another go at making more generally practical, household items that people might consider given as really sweet gifts. They can take quite a while to make, especially with the rather simple workshop that I have at my disposal at the moment. The end result is really pleasing to me, though.
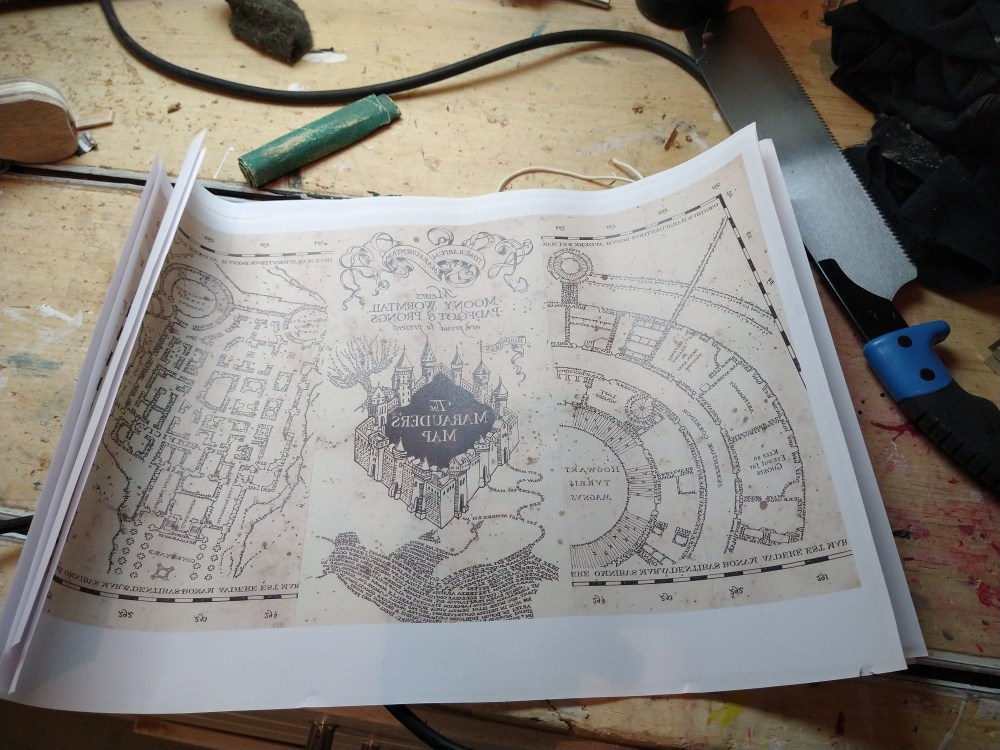
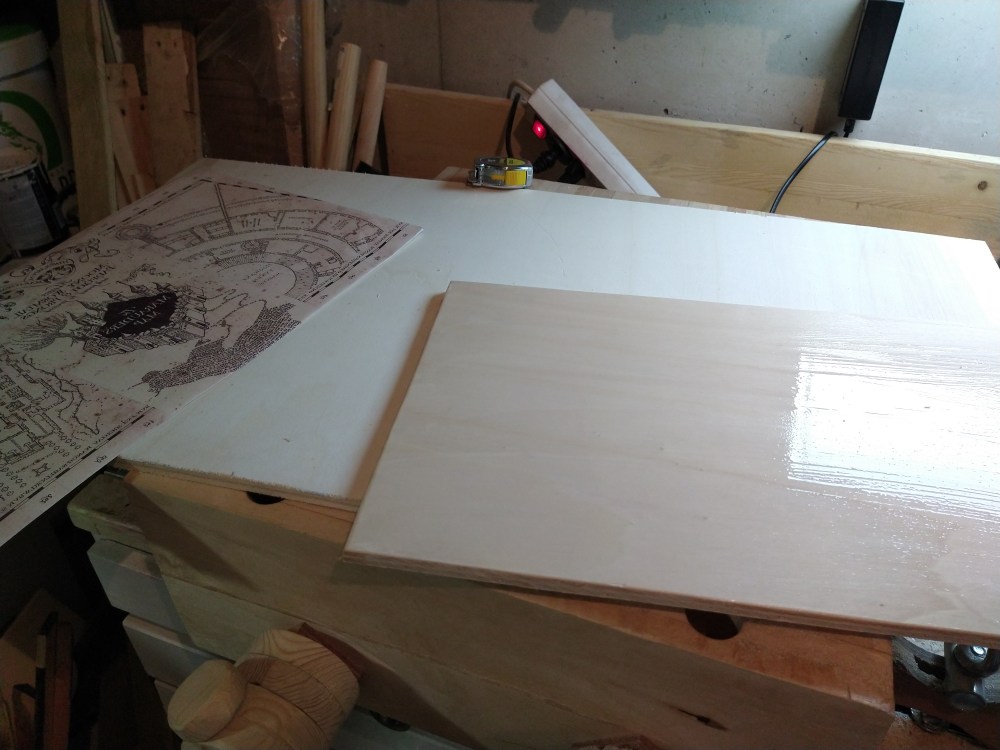
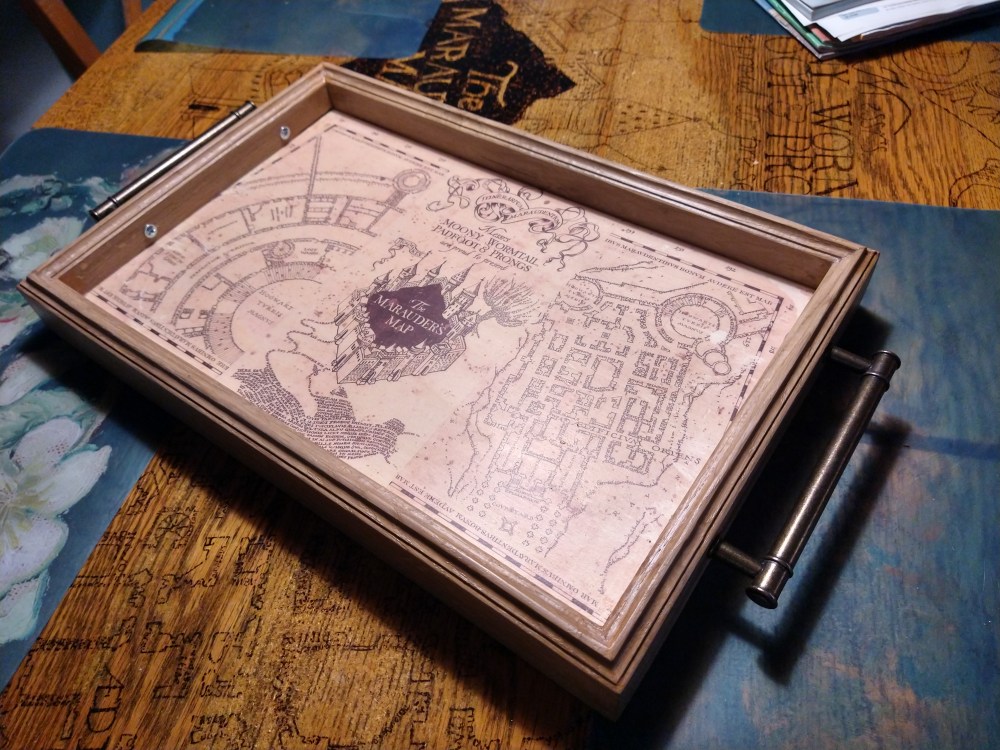
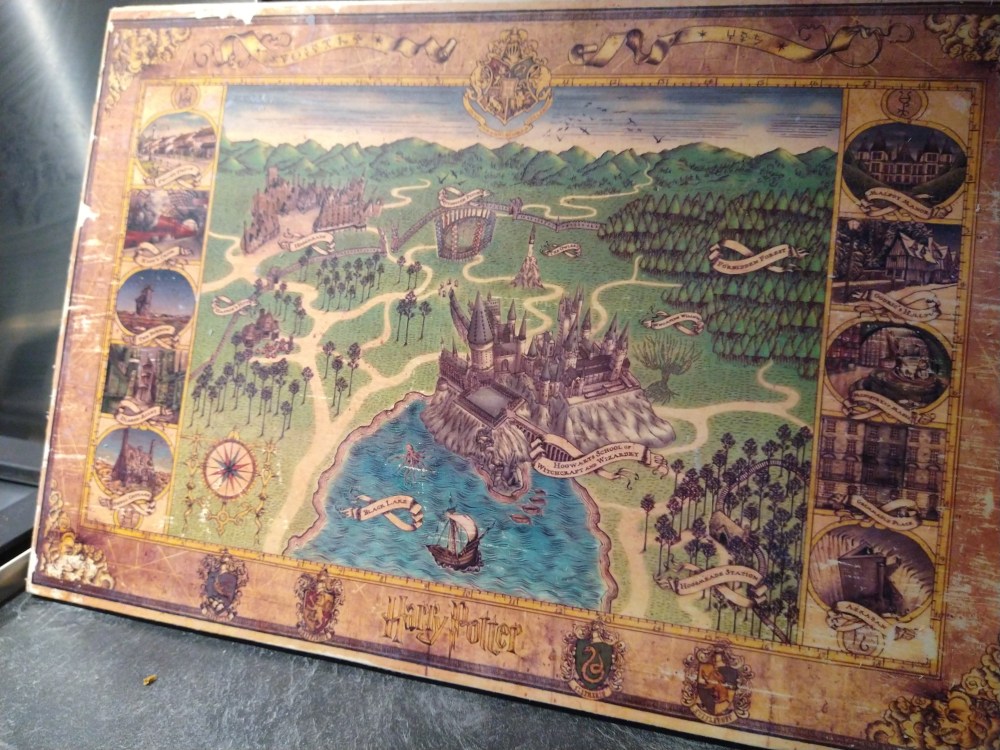
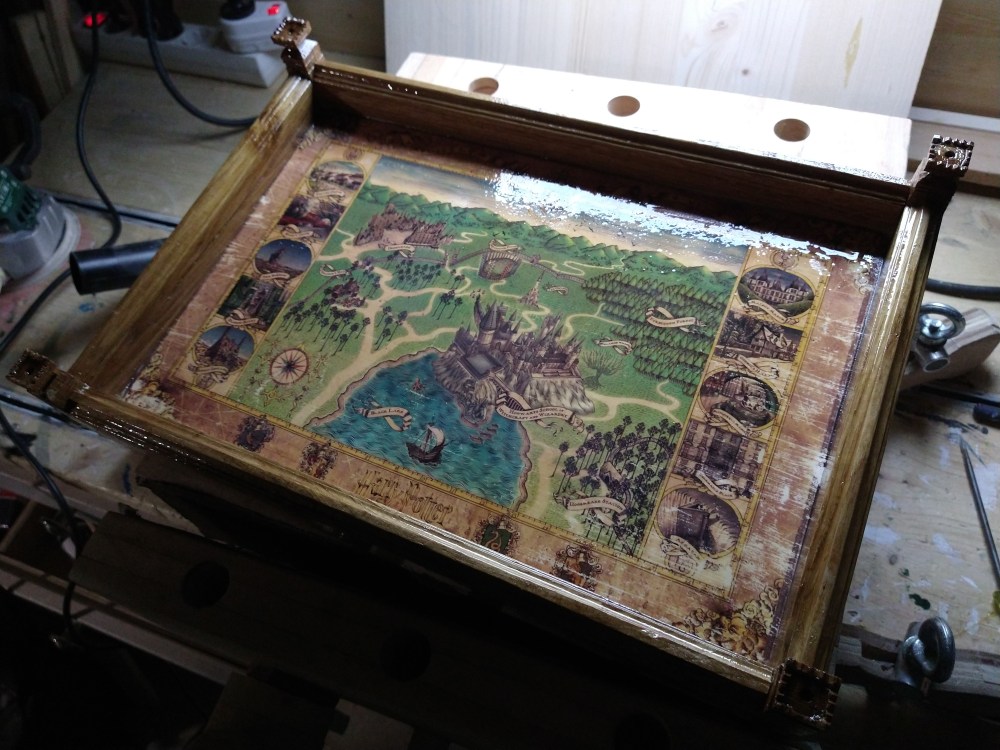
Having made a very popular table using the Marauders map before, I felt very tempted to make a serving tray with it as well. I used a laser printer at my school to print a high resolution image of the map that I edited together.I cut out that image, cut a piece of white, high quality plywood to size. I sanded it smooth and coated it in one layer of polyurethane varnish. Mind you, the image I printed was mirrored and is attached to the board face down.
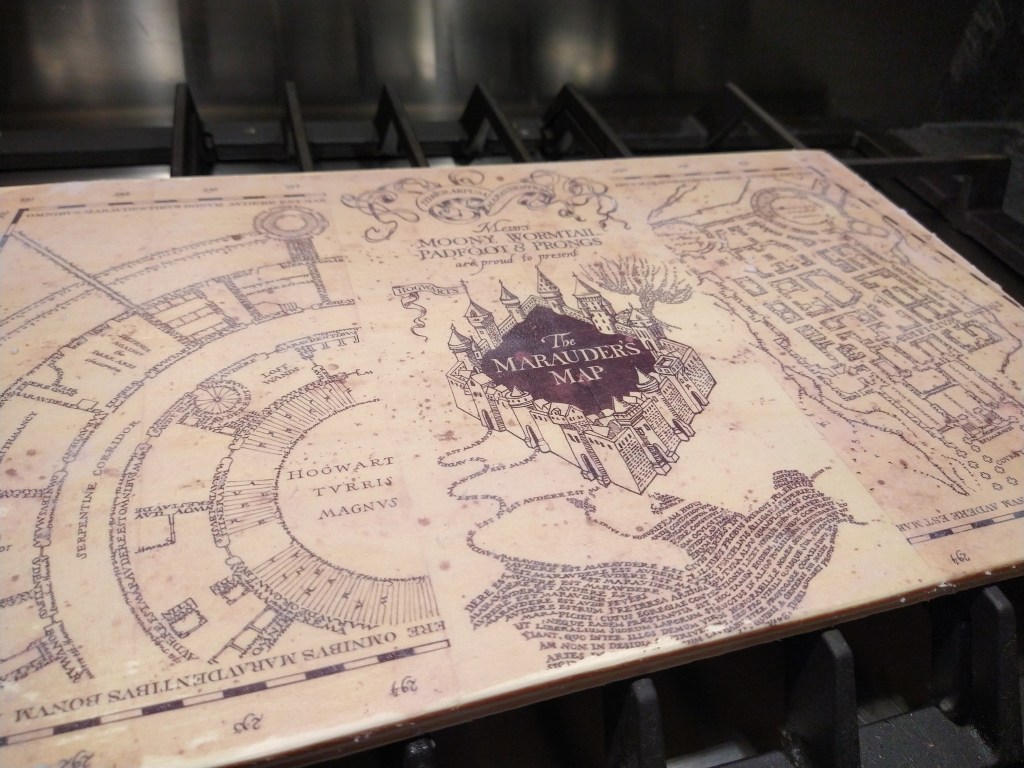
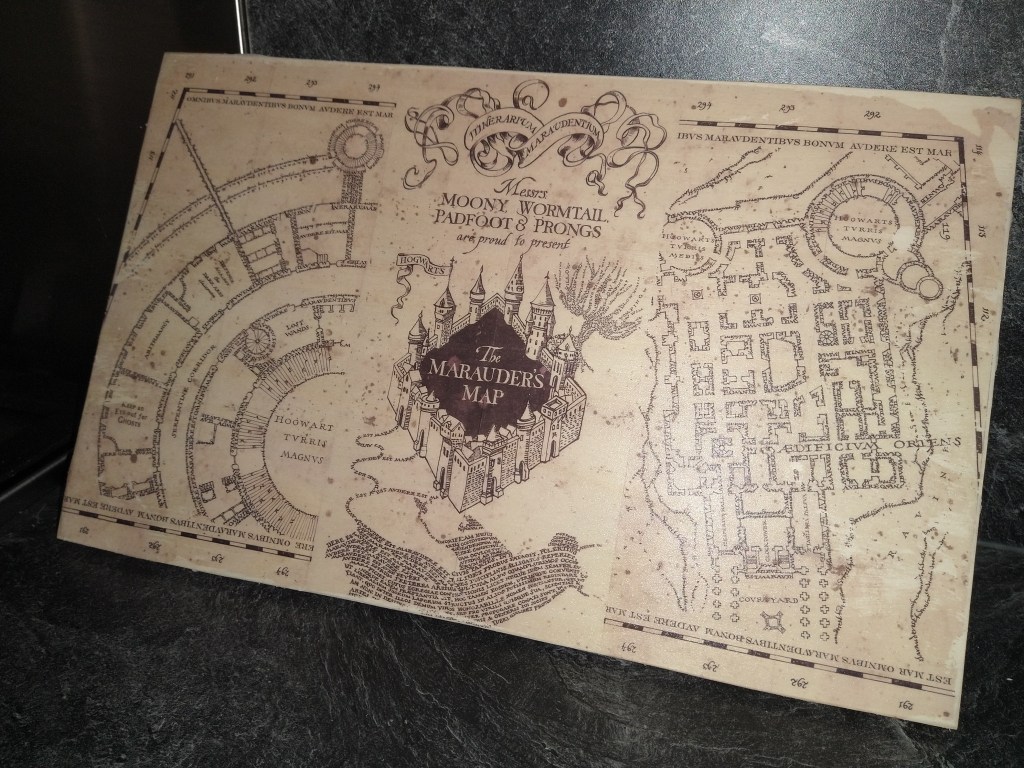
I let the varnish dry completely. Even though it should only really take a few hours, I make sure to leave the the it for at least two days. Afterwards, soften up the paper with water. I love this stage, because you really get to see what the image will look like on the board. For the paper to come off properly, without taking the image with it, it is vital that you let it soak completely. This is a regular way the board turns out after a first go at cleaning off the paper. Mark the whiter spots where there’s still some paper fibers. You cannot leave those on and they will require more soaking and gentle scrubbing. After three passes, yes three, this is what the image looks like. There’s a few places that have been damaged, but overall the transfer was a success.
Building the frame
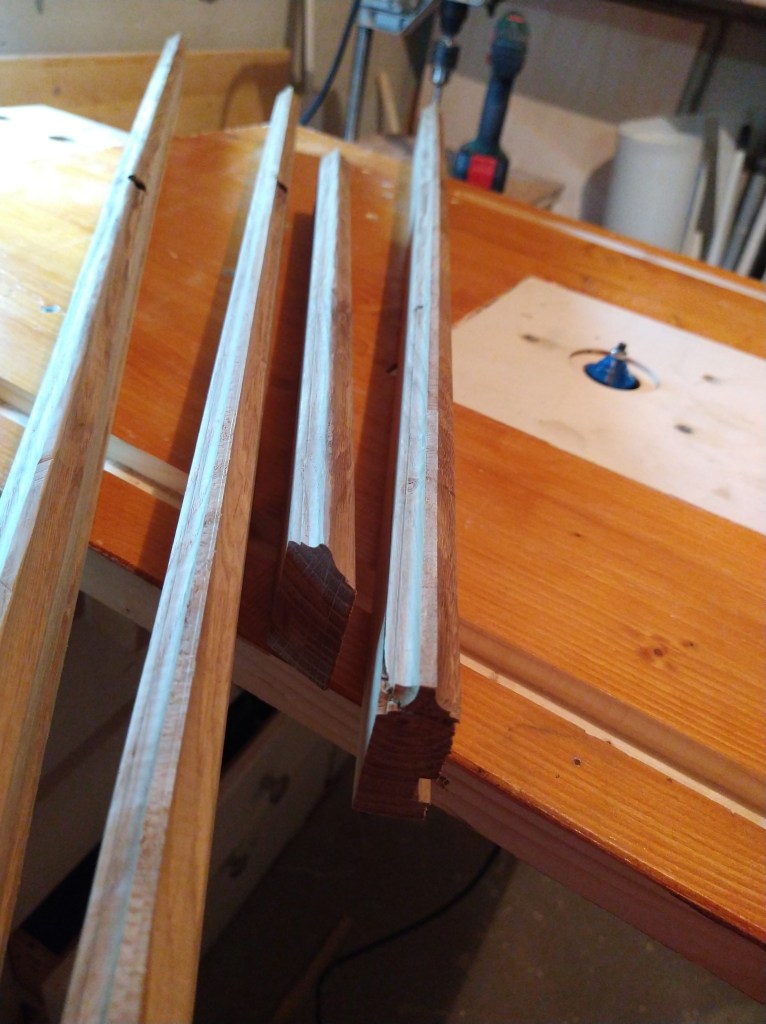
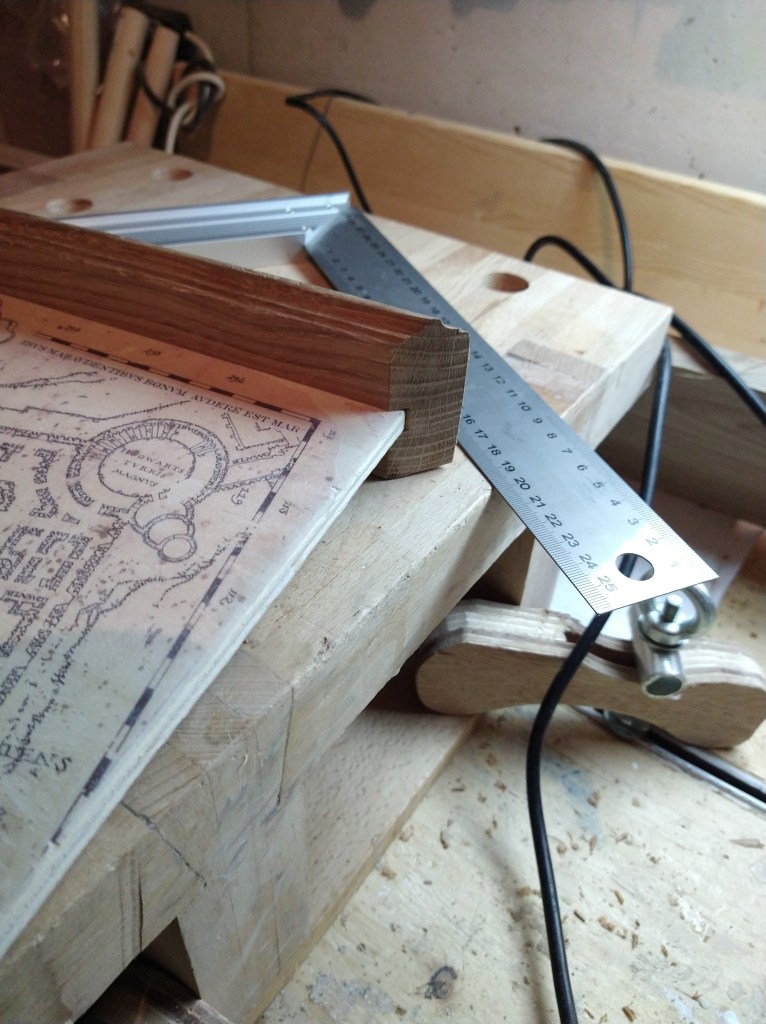
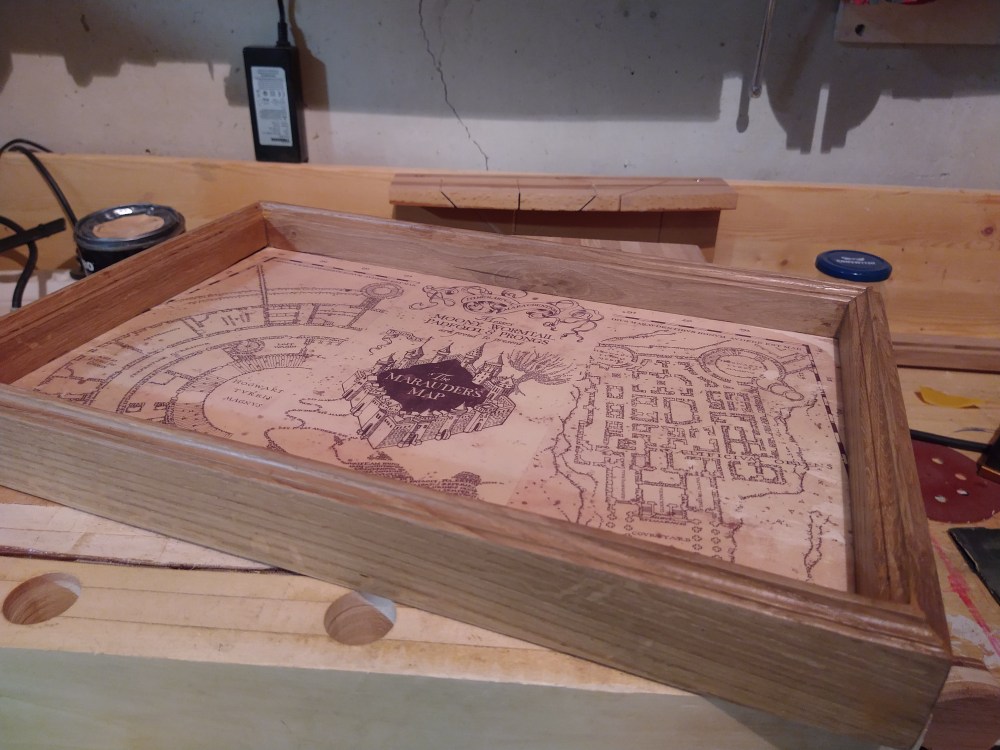
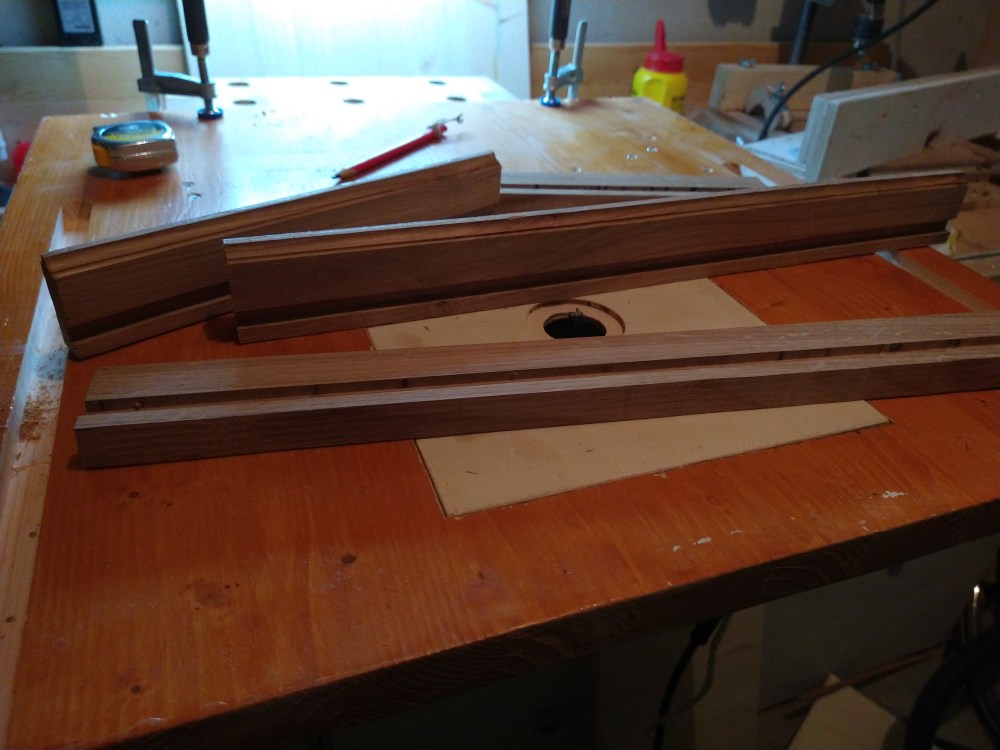
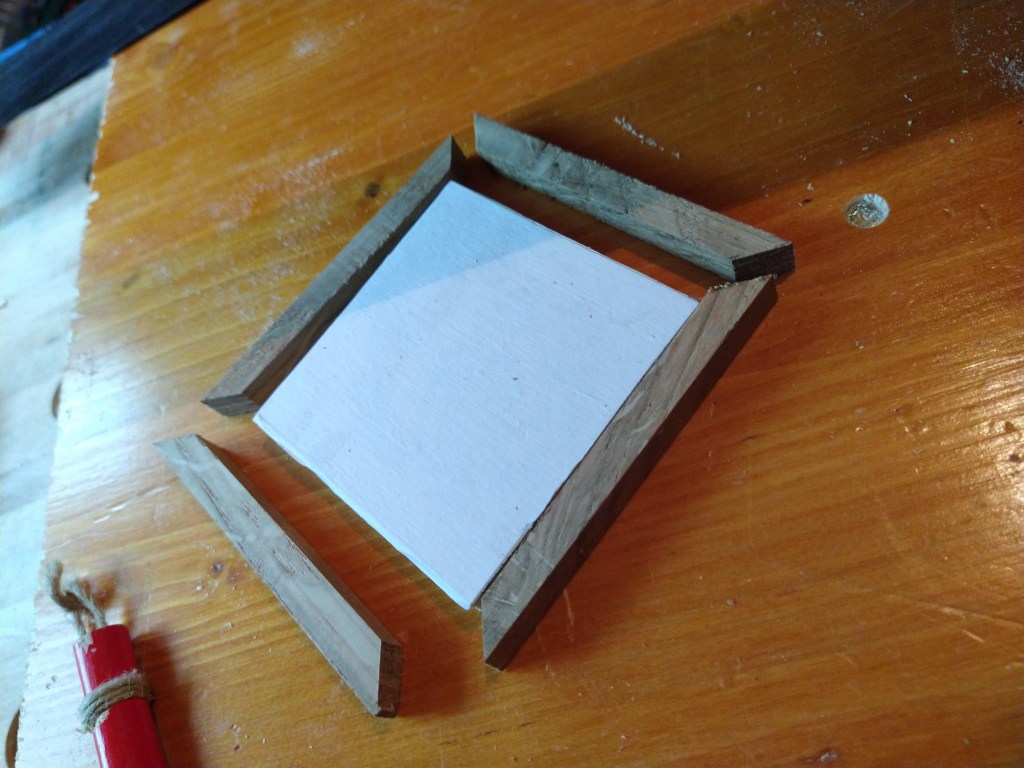
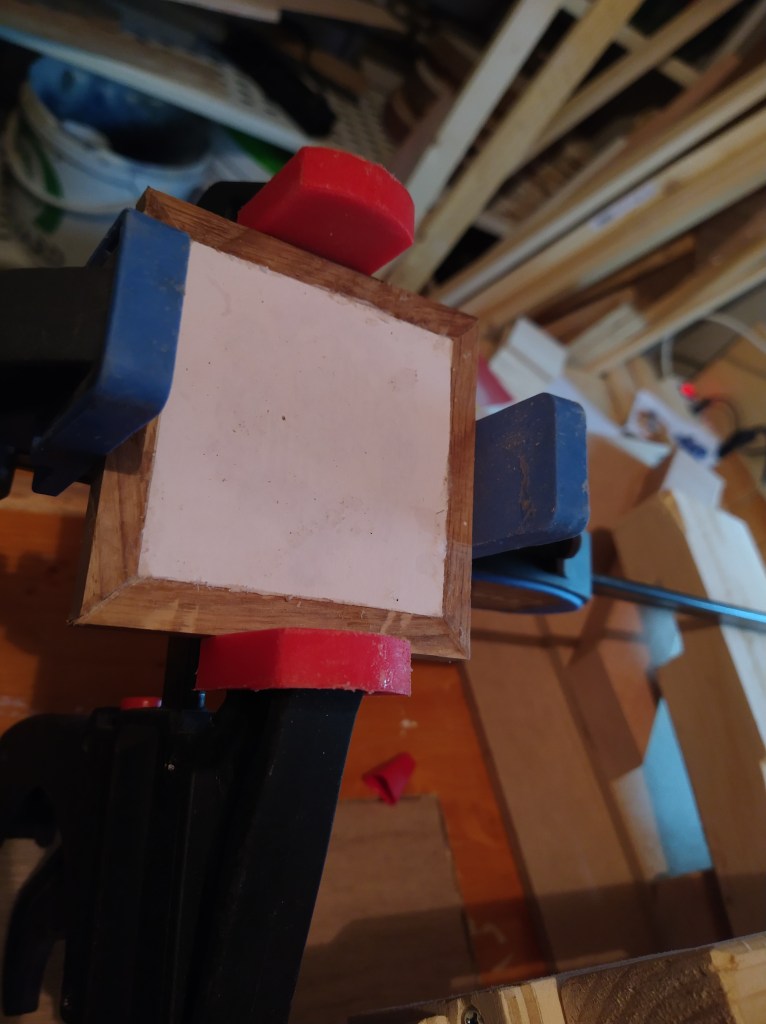
As I detailed in my router table build, I routed a trim into some strips of oak. These were to be the sides of this serving tray. I added a dado for the board to sit and mitered the corners. Mind you, I did this by hand and have since bought a miter saw. I don’t know anyone who can cut perfect miters by hand, and it certainly isn’t me. I repeated this process and glued everything together using these lovely clamps. Some coats of matte polyurethane varnish later, et voila, servingAfter some online shopping, I found these very fitting handles.
Second Serving Tray
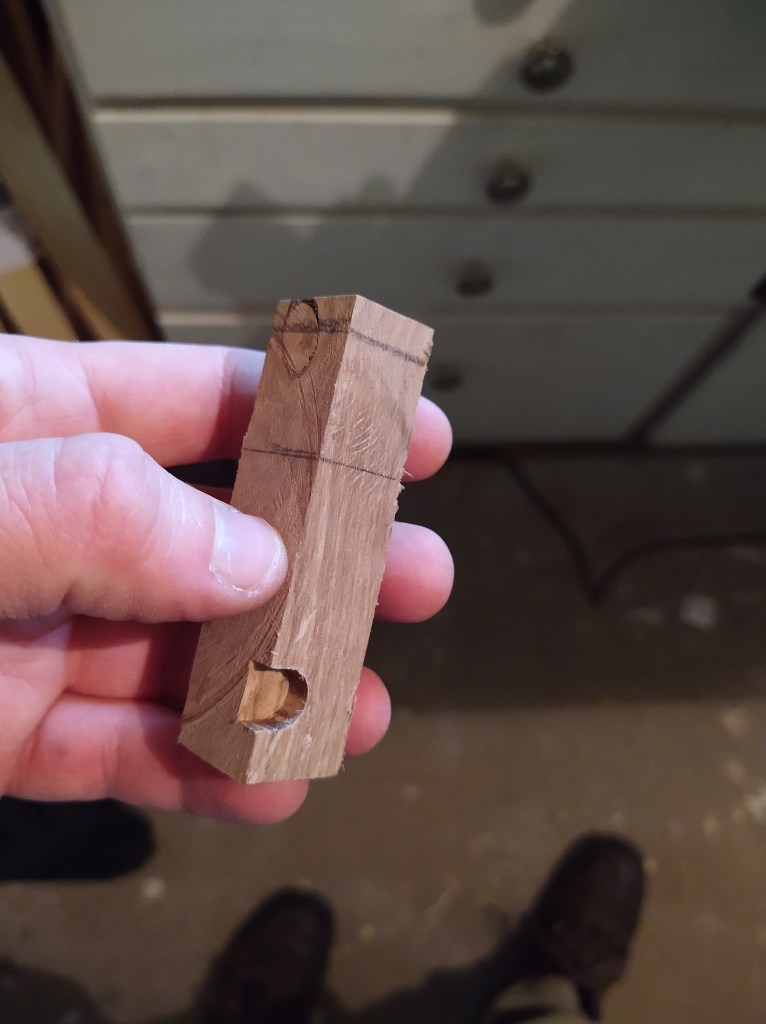
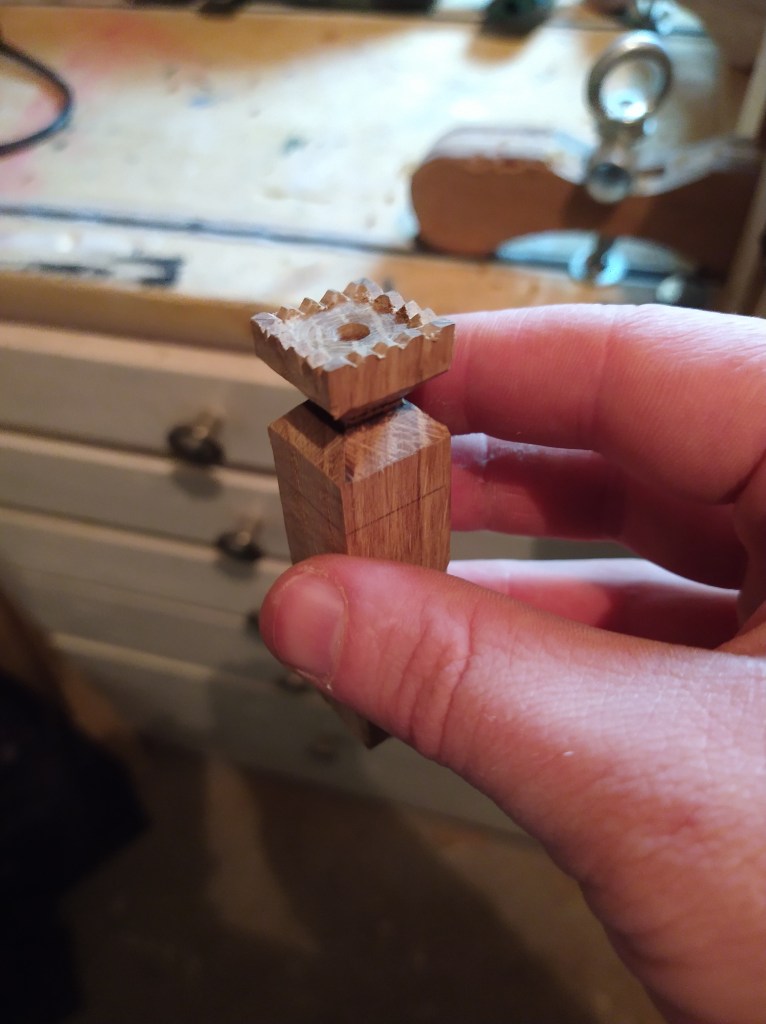
I followed the same steps as during the building of the build of the first tray, but with a different image. Again, I routed oak strips and I added the dados. This time, however, I did not add the mitred corners.Instead of it, I opted for to make little towers. So I cut a piece of oak and added a small dado where board would sit.I also made the triangular indentations a bit to deep for my liking. I drilled the top using a Forstner bit, then trued up the corners and added the details.With a coat of high gloss lacquer they shone beautifully. As did the rest of the serving tray, might I add.
Coasters
Selecting and Transferring
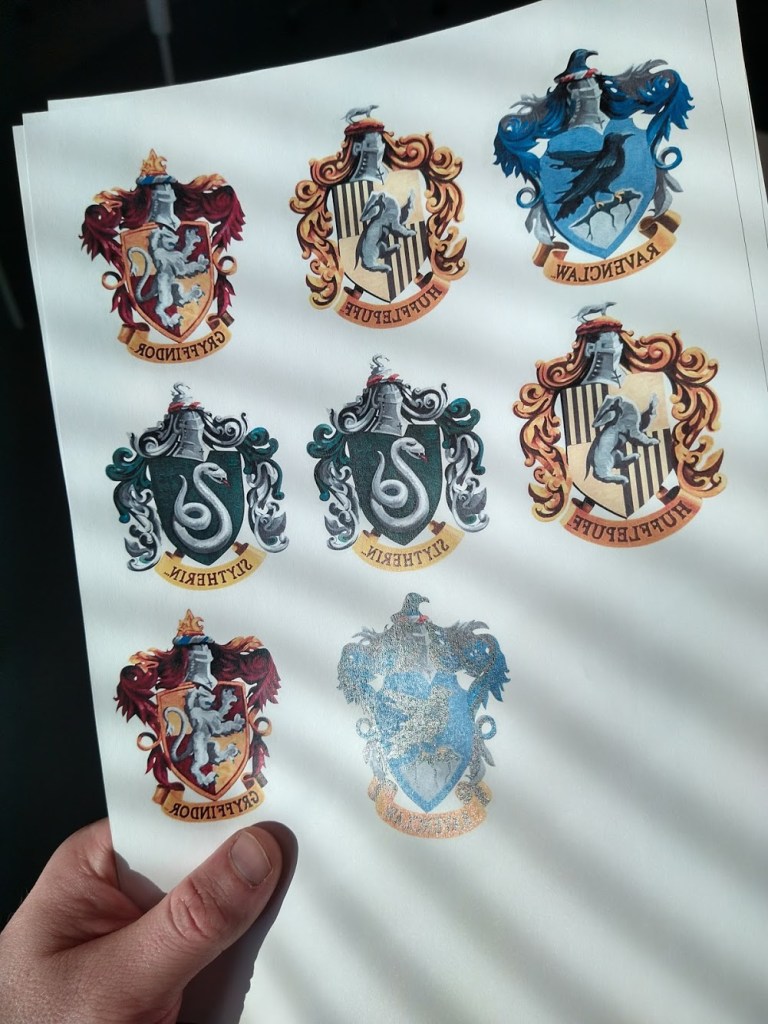
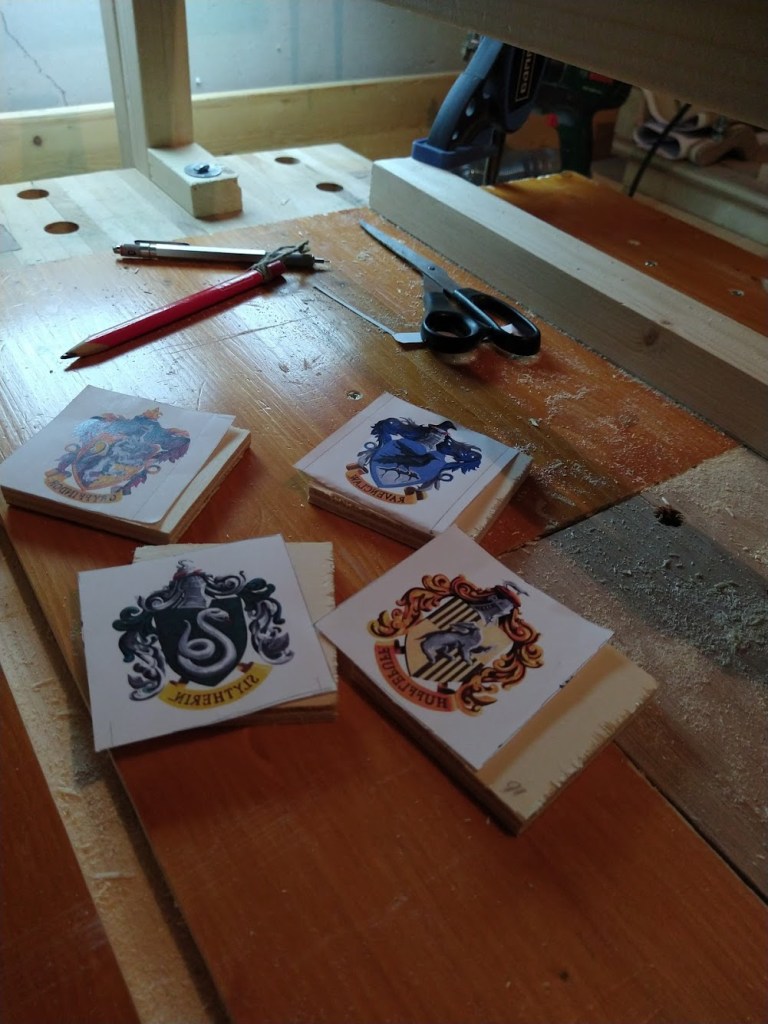
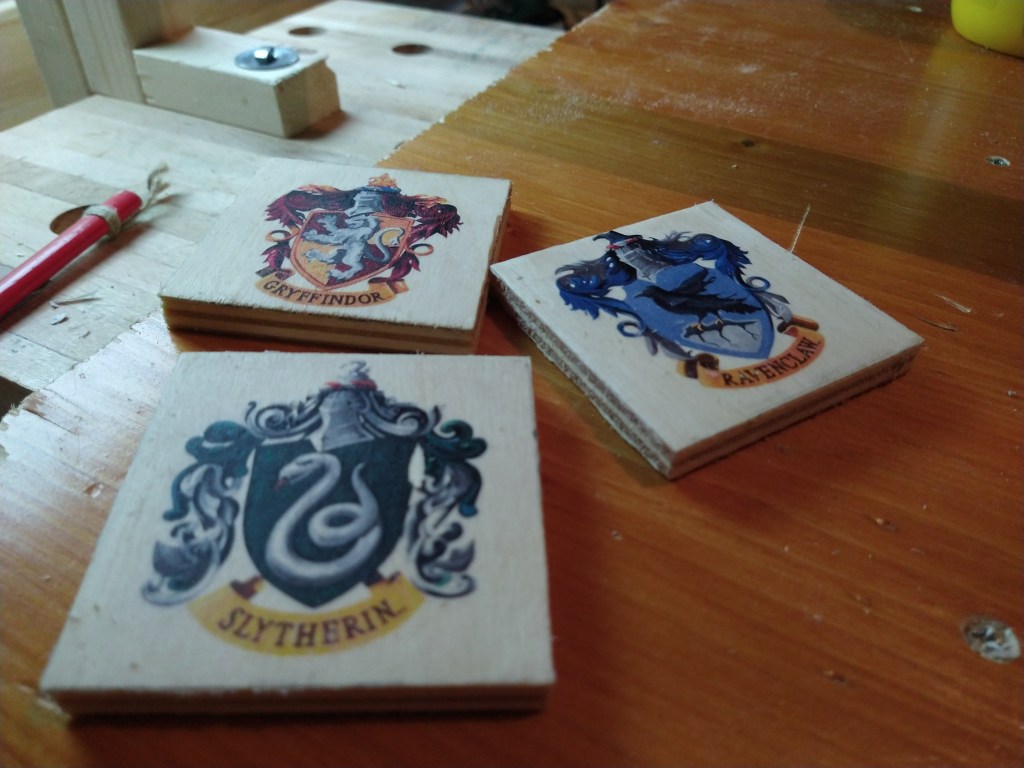
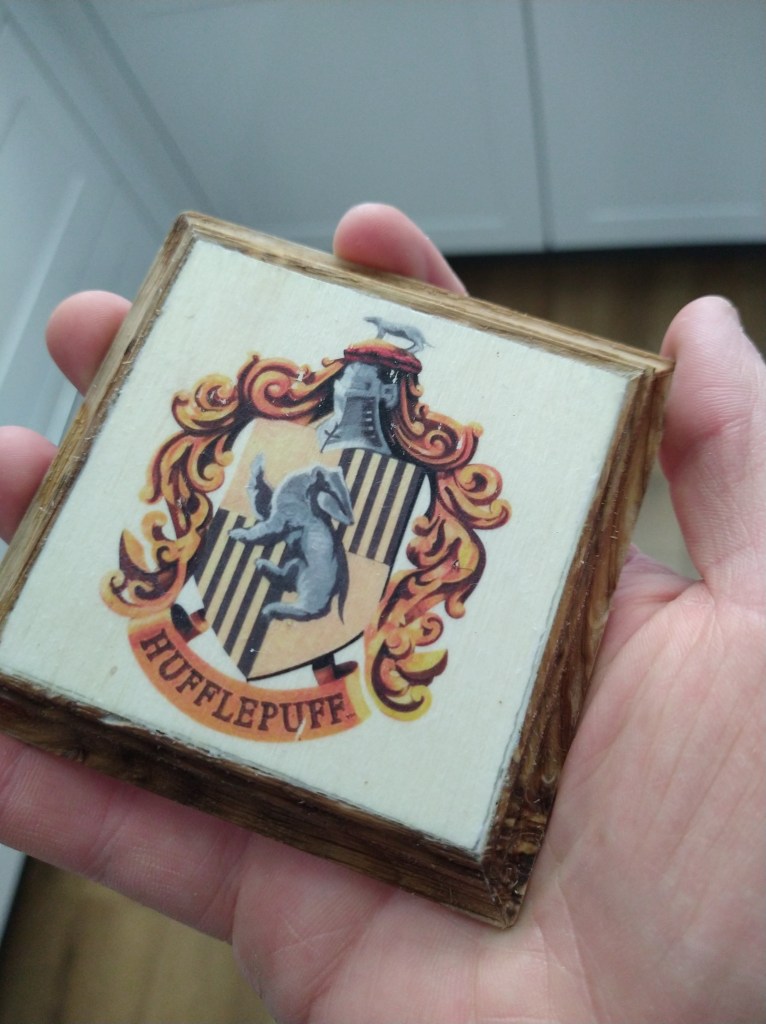
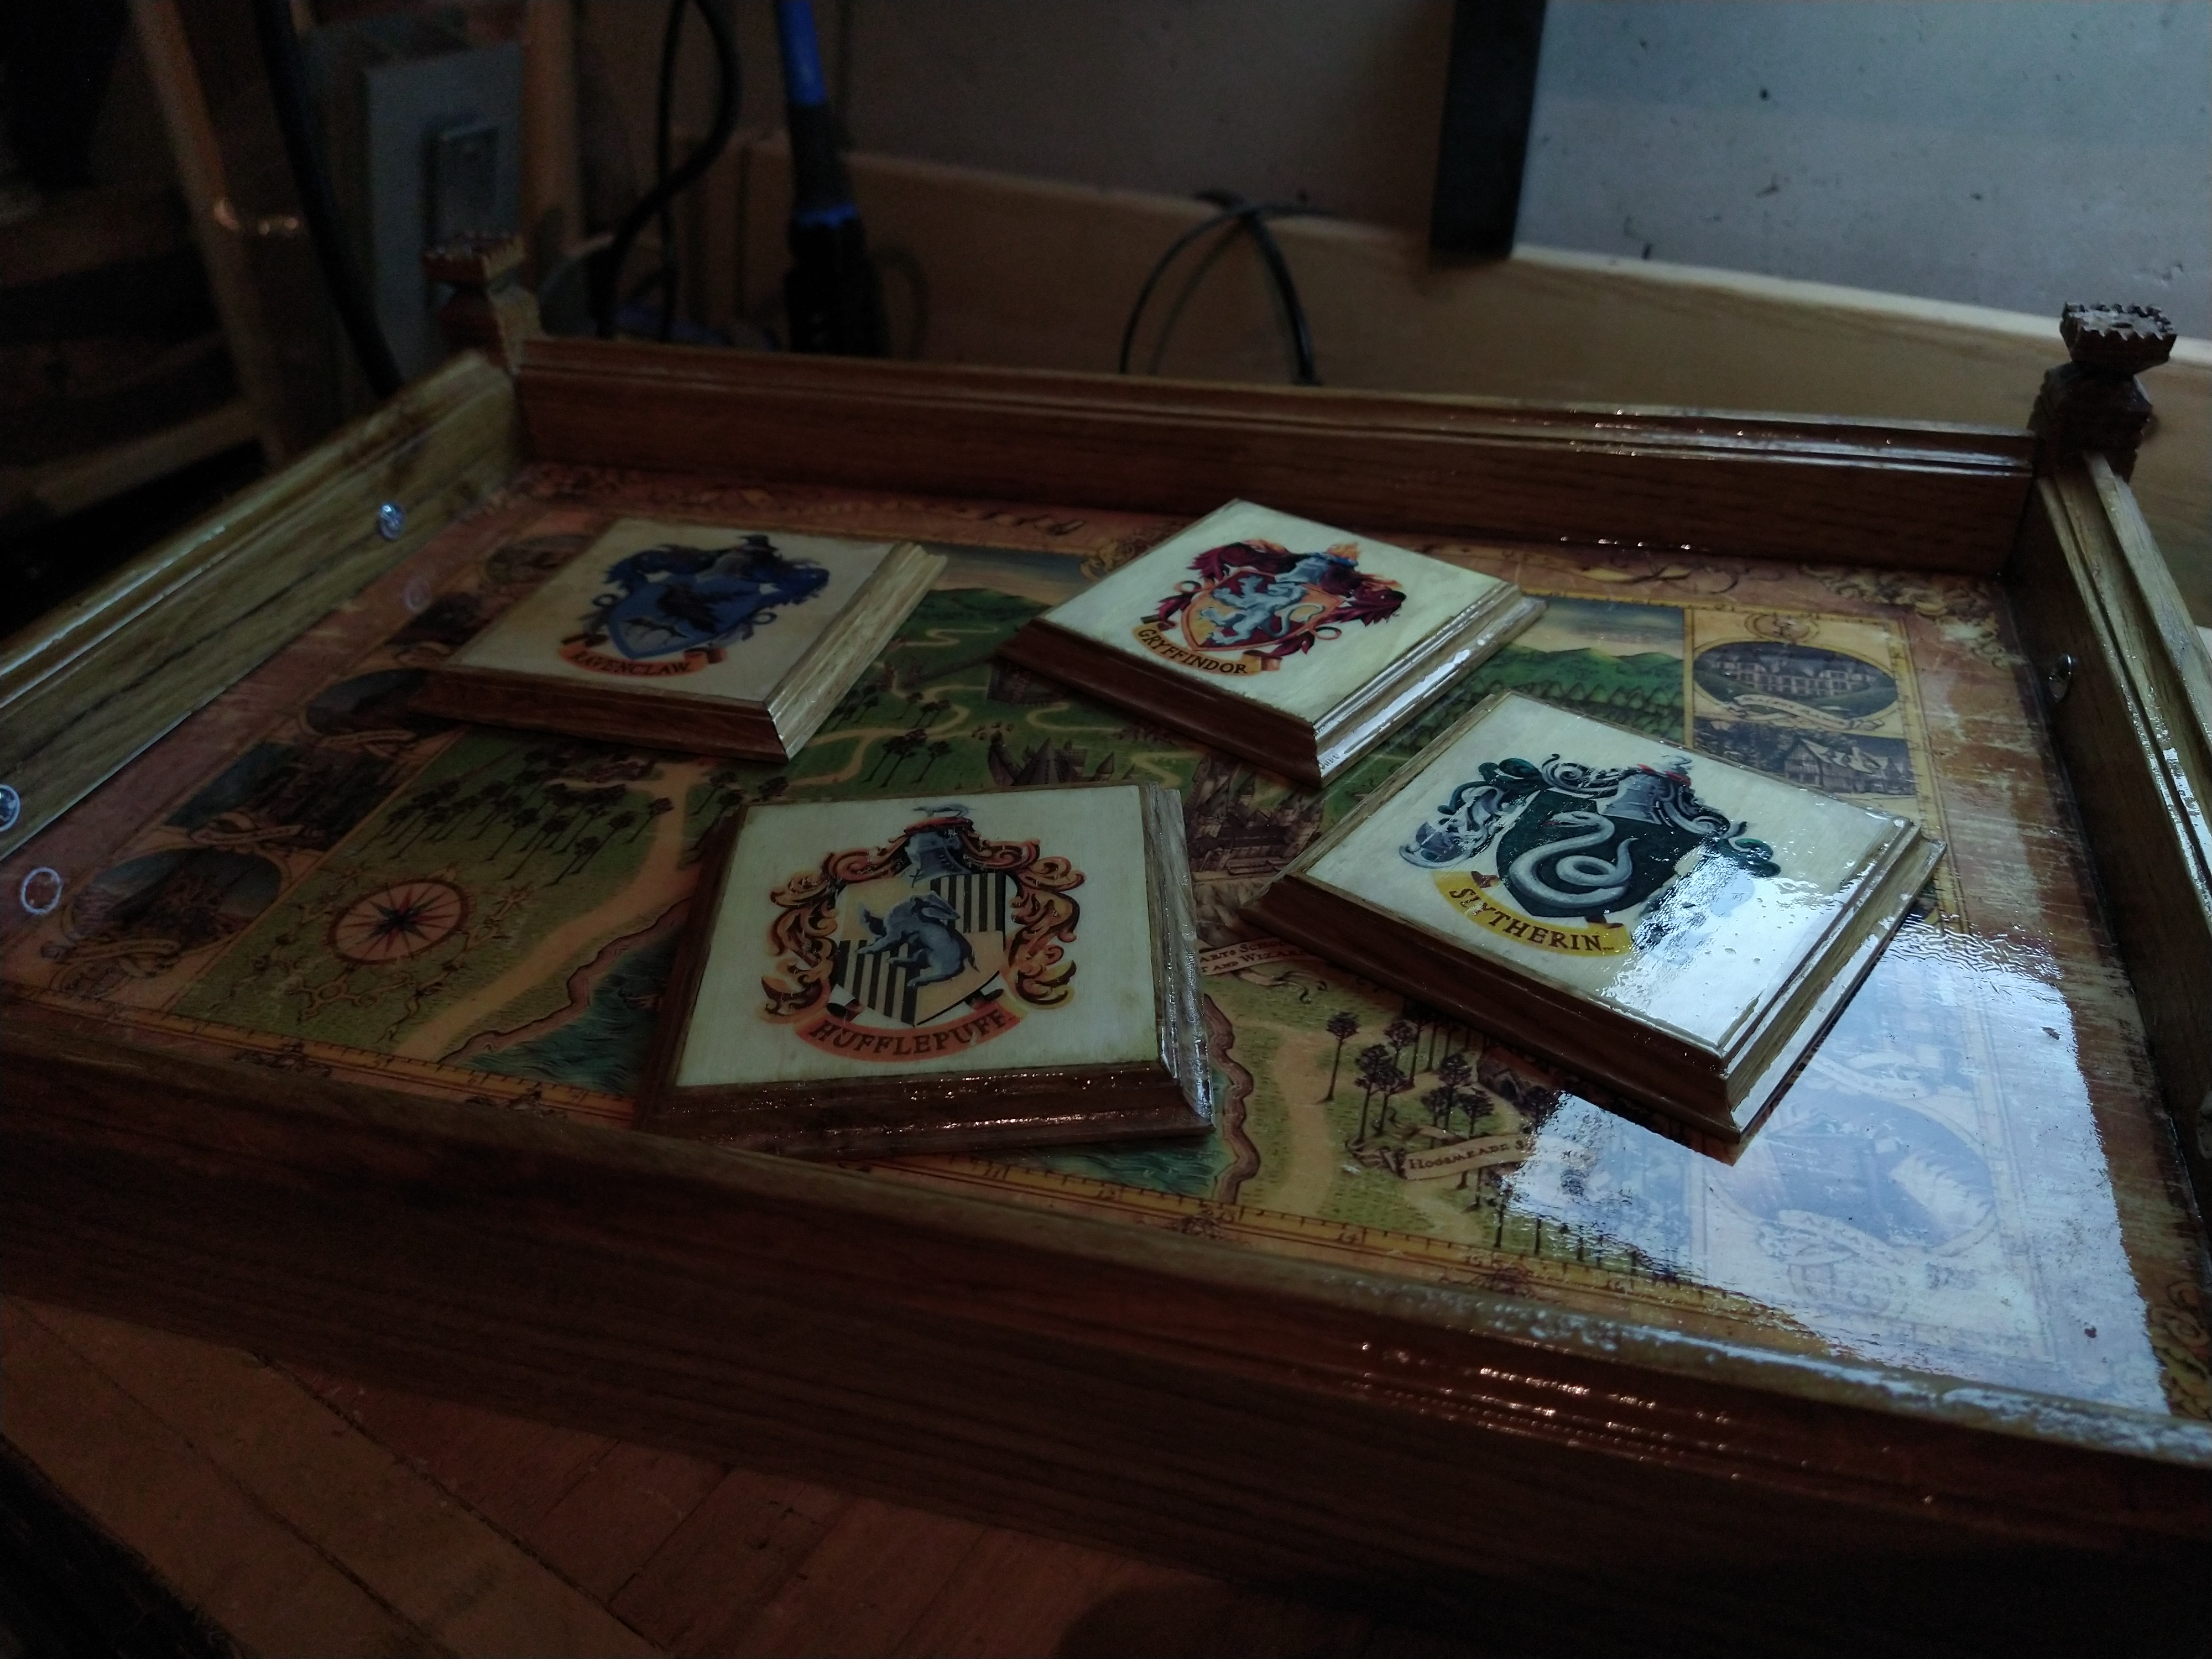
I went online to find the house crests. I ended up going with these classics and printed them out using a laser printer. I found, after printing these, that I should actually add a line around the square image. This would make it much easier to align properly. I managed with these, though. I applied varnish and pressed these images onto the coasters.
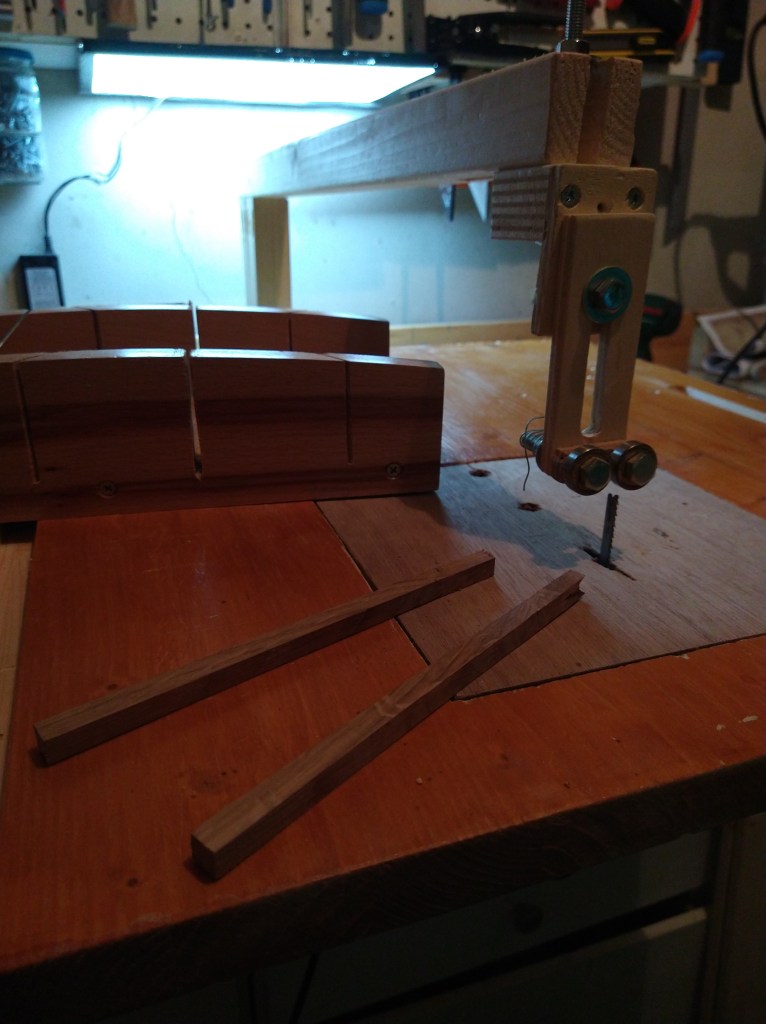
Making the Trims and Lessons of Lacquer
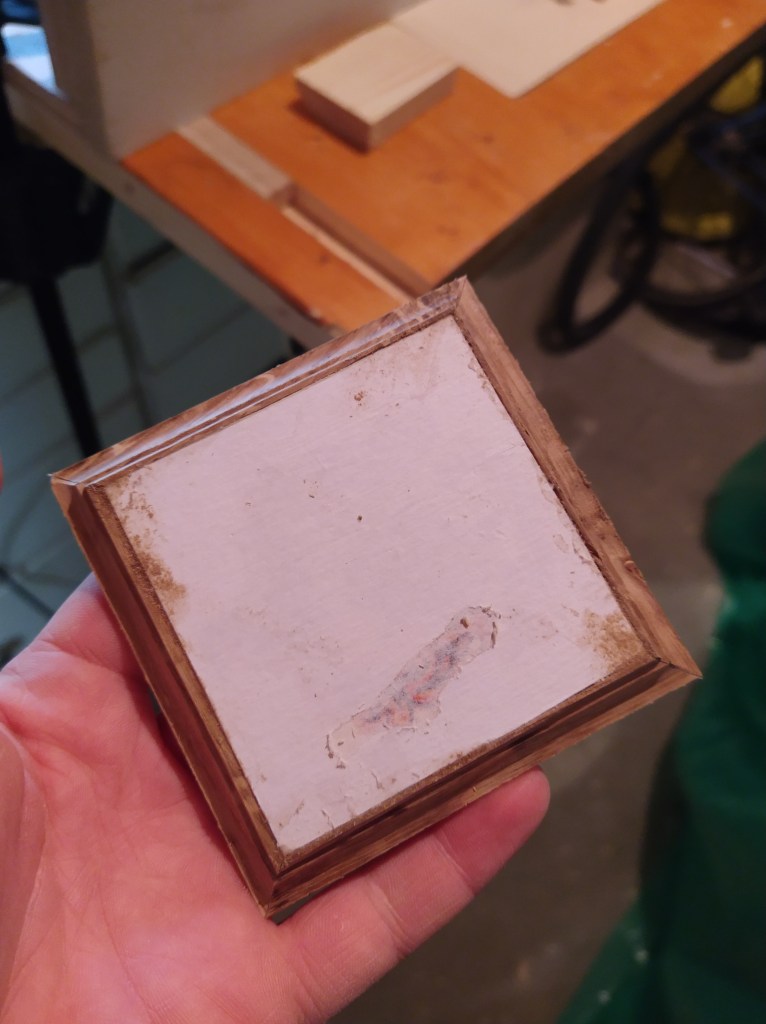
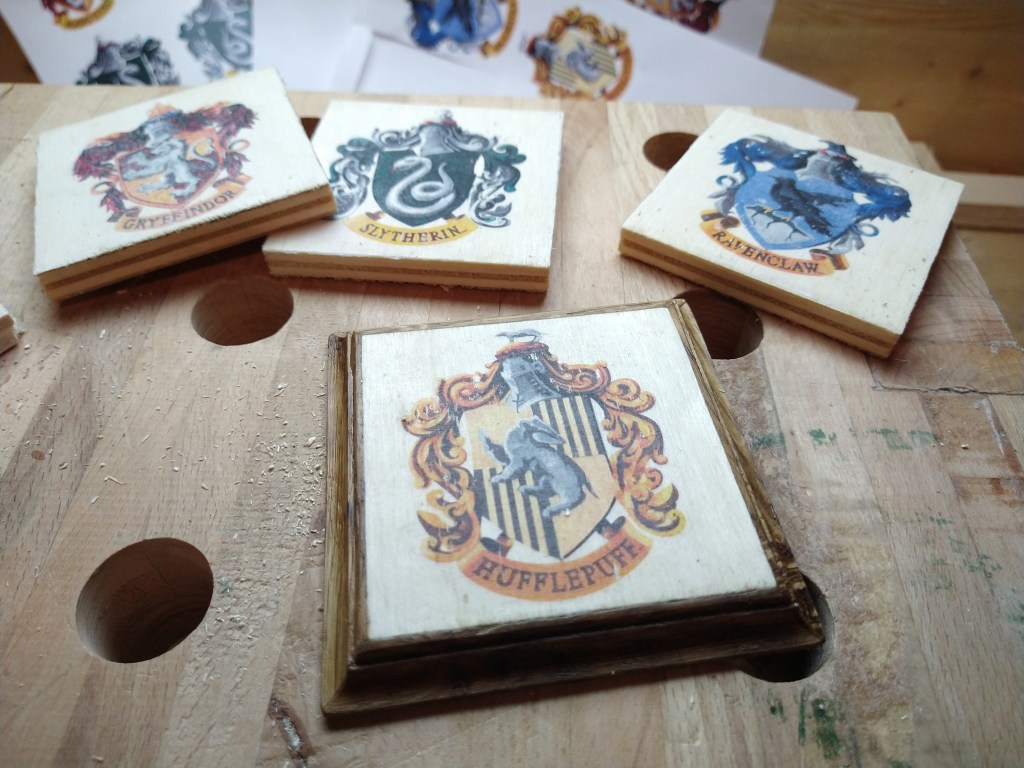
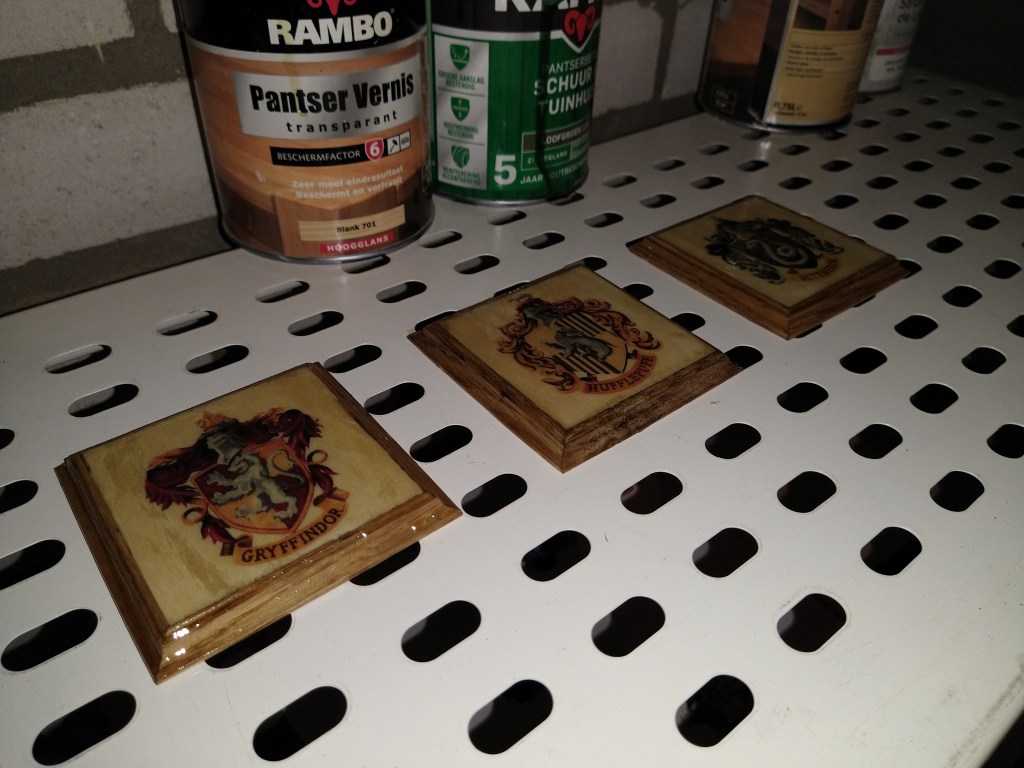
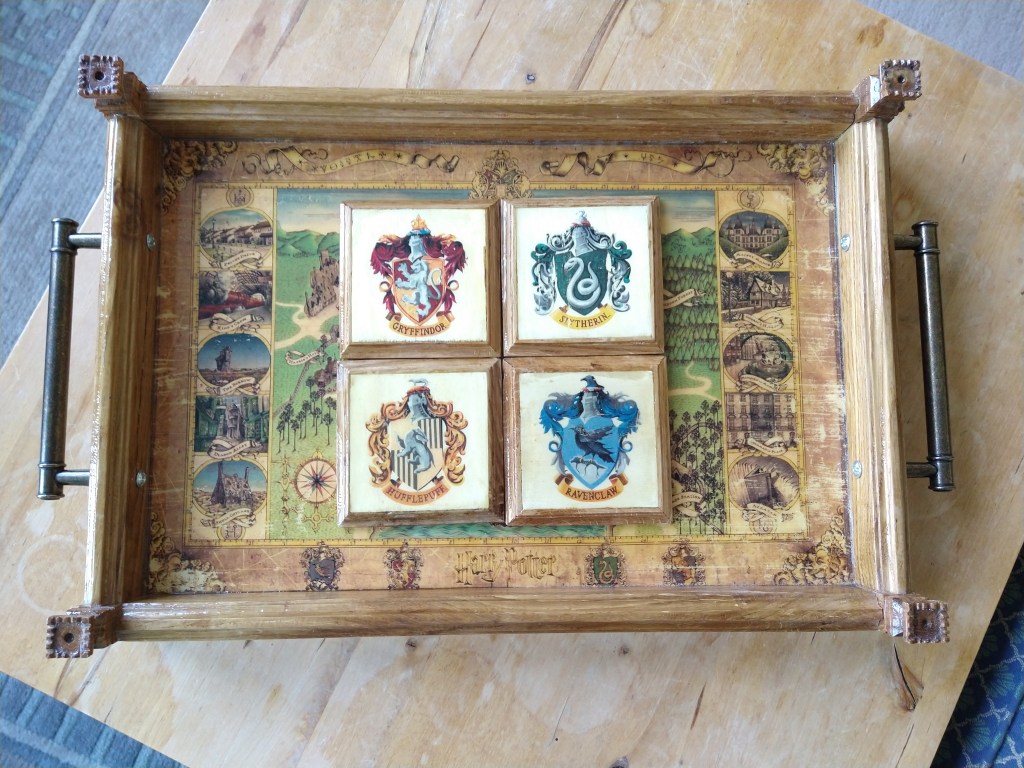
Using my jigsaw table, I cut a few thin strips of about 1,2 by 1,2 centimeters.I hand mitered these to make them surround the coaster well enough.This is the hufflepuff one, I glued the frame before taking off the image as an experiment.The others I took off first. Happy I did this, as the Ravenclaw one had to be done again.I routed in a trim on the oak rim of the coaster.And removed the paper again. This was after the first pass using boiling water. Warm water turns out to speed up the process greatly.I gave the first three a first layer, then accidentally touched the slytherin one. Oil for my hand mixed with the lacquer. I let it set to dry for a full week. It was cold too. Afterwards I could apply a second coat. I am, however, becoming less and less inclined to use oil-based products.And this is the whole batch after their second coat.
Finishing up
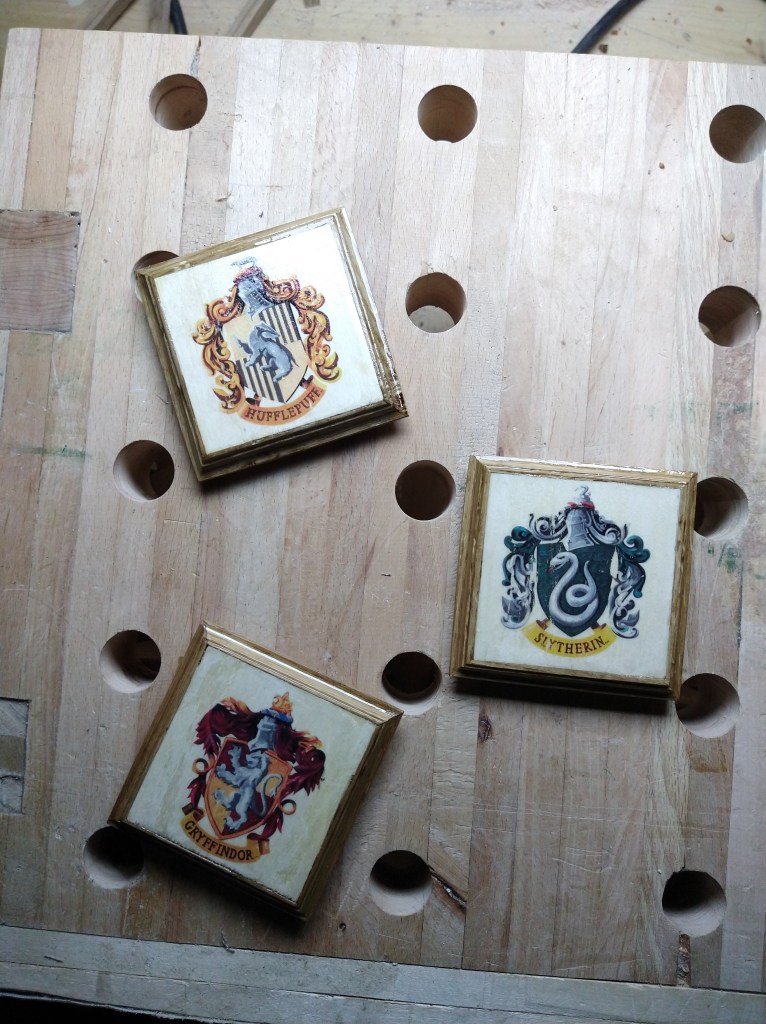
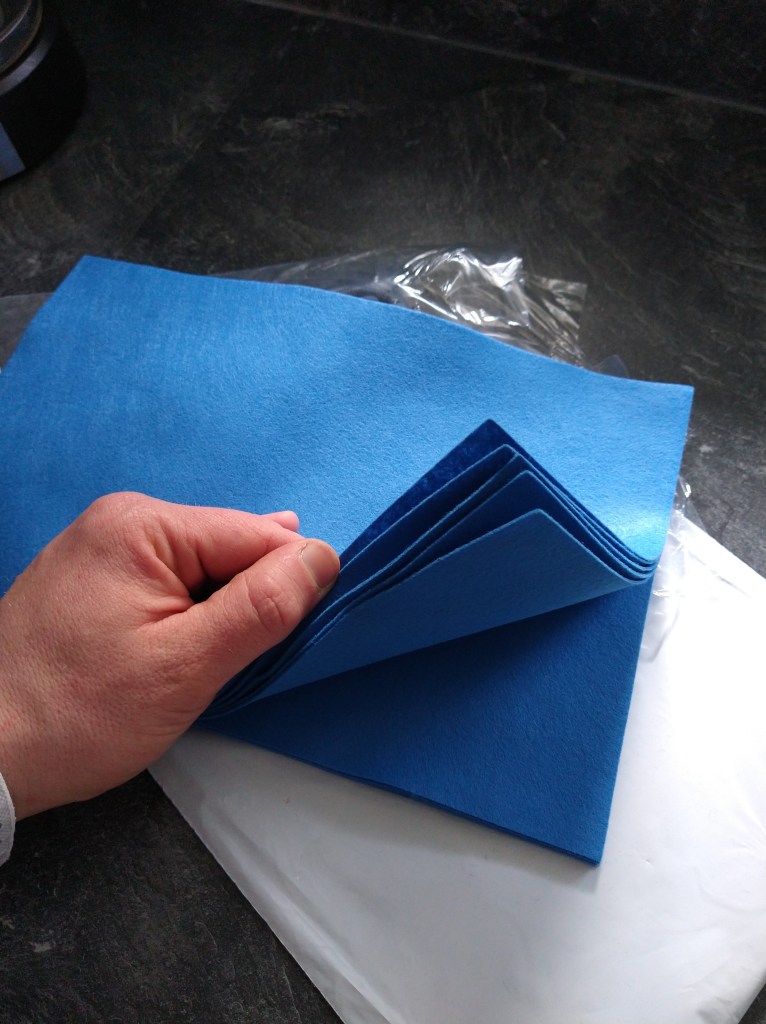
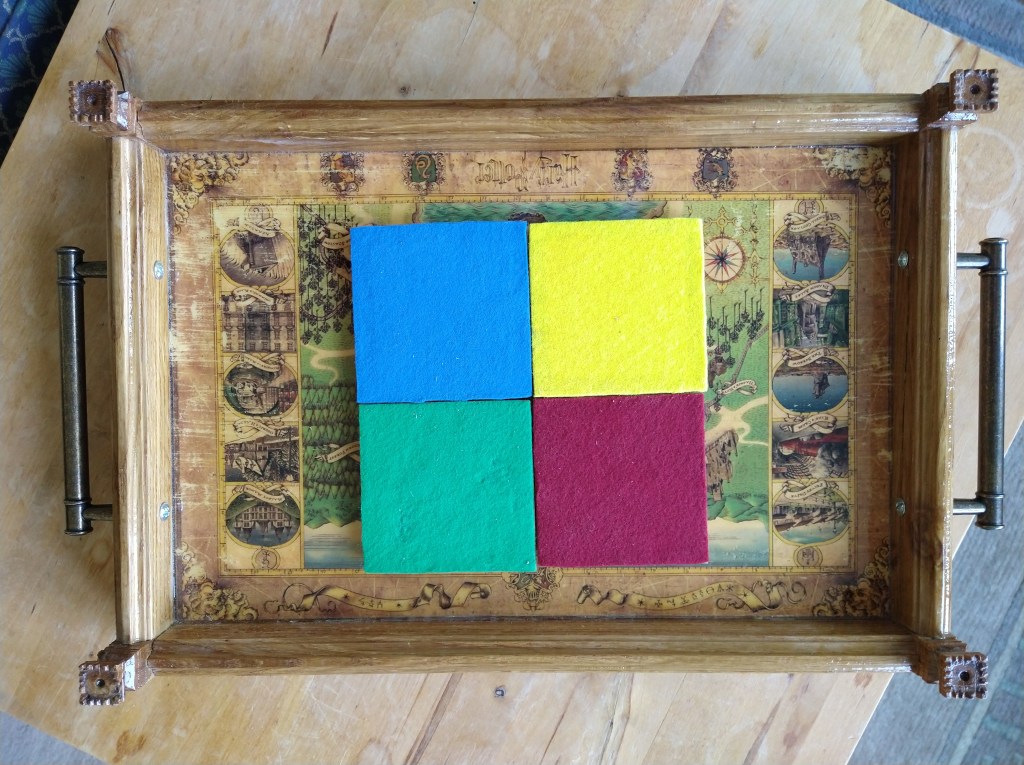
To finish up the coasters I ordered some felt in fitting colours for each coaster. This is just a lovely photo, if you ask me. And here they are in a different orientation and flipped around.