Tools Used
- Miter saw
- Glue clamps for gluing the plank used as roof
- Battery powered drill
- Electric planer to take the coat off of the planks I was reusing
- Roofing Square
- Measuring tape
Materials Used
- Leftover, treated, garden plank
- Plank found next to the underground trash storage in our street
- Band-Aid and medicinal honey
- Straw, pine cones, bark and twigs to fill the hotel with.
- Chicken wire
- Self tapping screws
Build
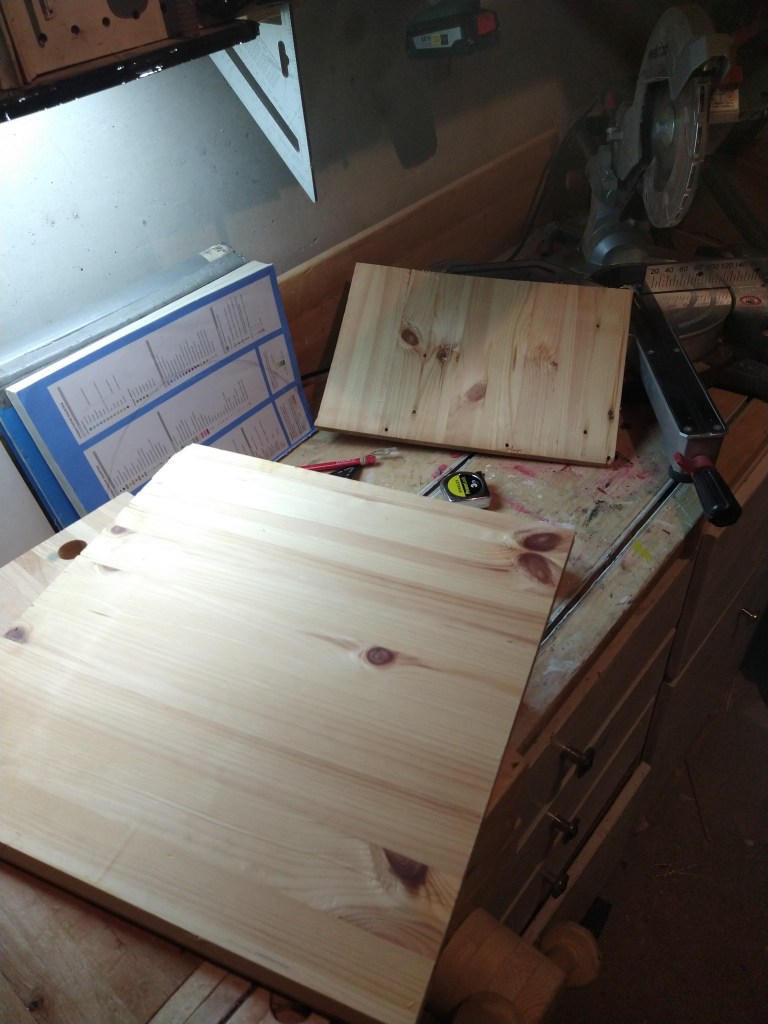
I started this project by mosey-ing around in the shed looking for the right planks. I wanted to use plywood as little as possible, and MDF not at all. I settled for this wood that came from a disposed IKEA bed. I took off the protective layer with a power plane. 
Using the miter saw, I quickly made my half-box. I made this one 12,5 deep, 30 wide and 40 centimeters high. 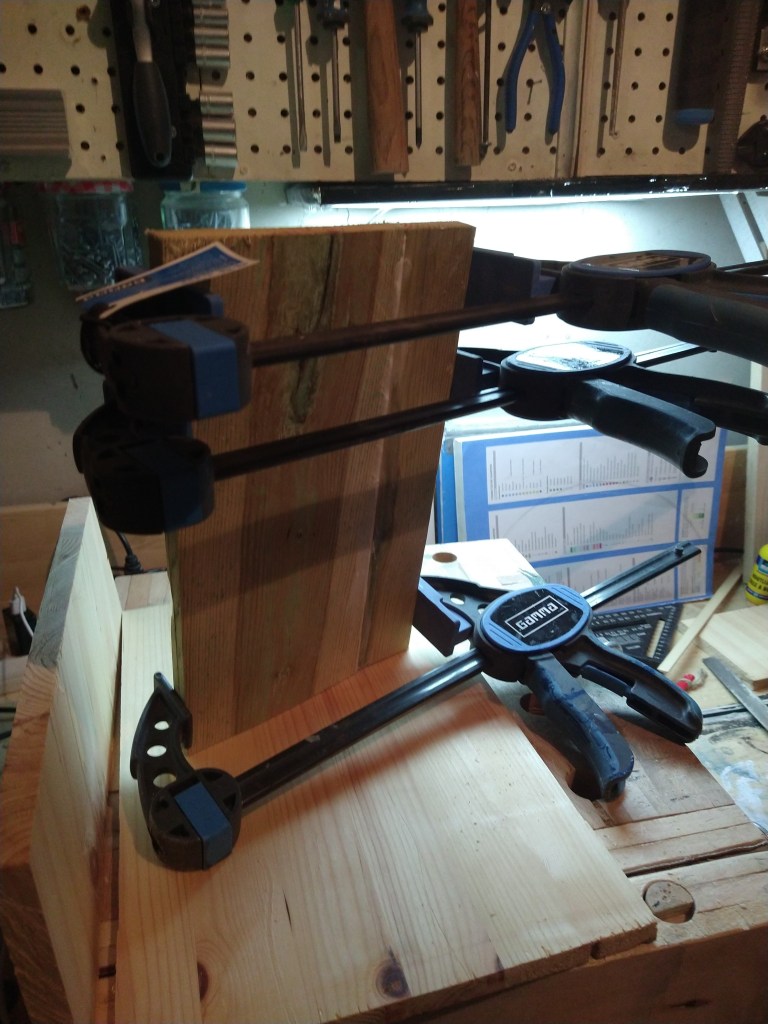
I did not have much wood lying around, so, for the roof, I clamped two fence boards together. These have been treated. I went for it anyways, as these will make up the roof. 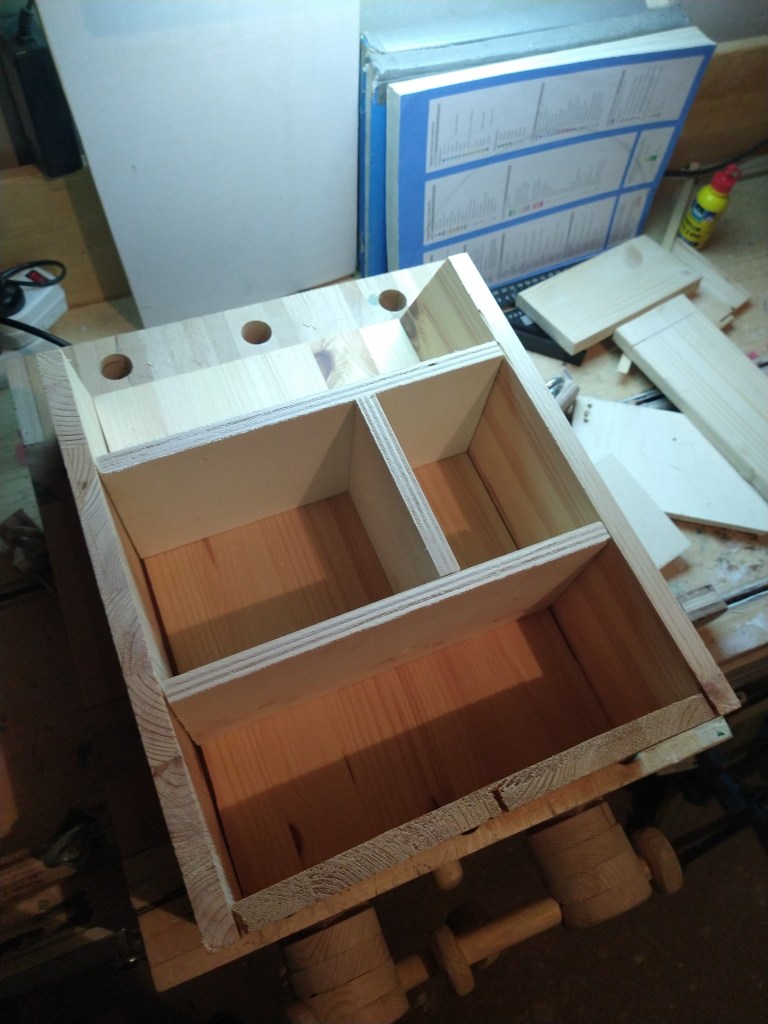
After the half box was cut, I sawed down the spacers. 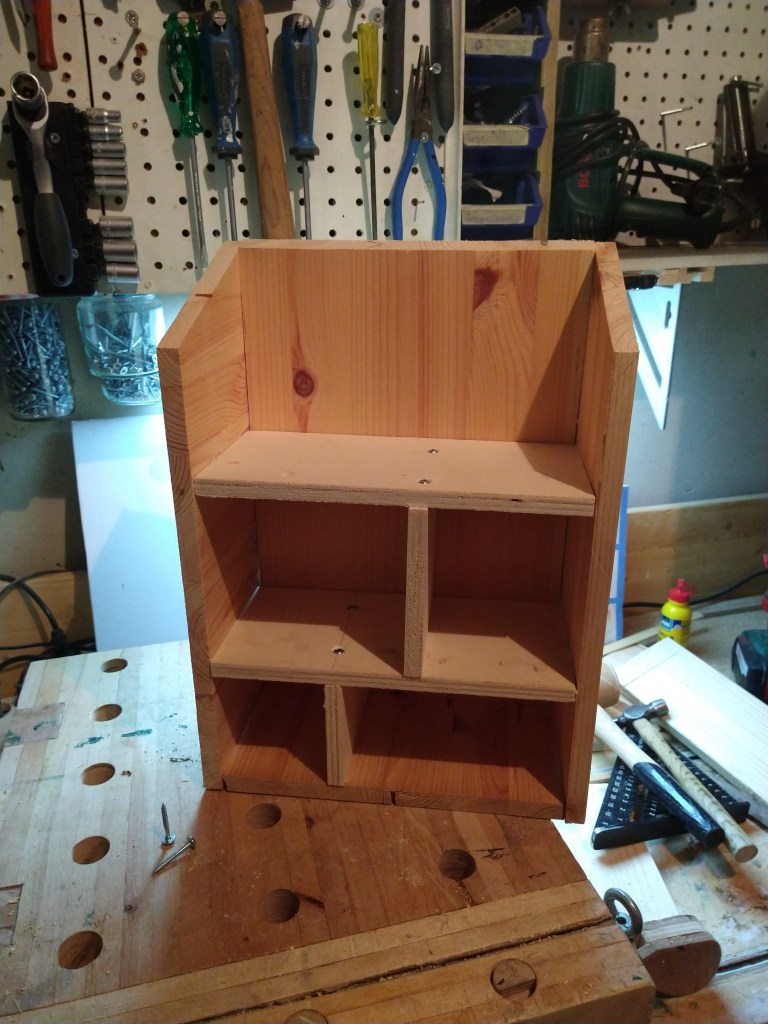
I attached most things using square drive, self tapping, screws. I opted for not using glue as chemicals might interfere with the health of the insects. 
I used the same screws to attach the roof. Felt quite weird to nu use wood glue. 
But it all did come together rather nicely. After the spacers had been put in, and we had gone on several walks, I could fill up the squares. 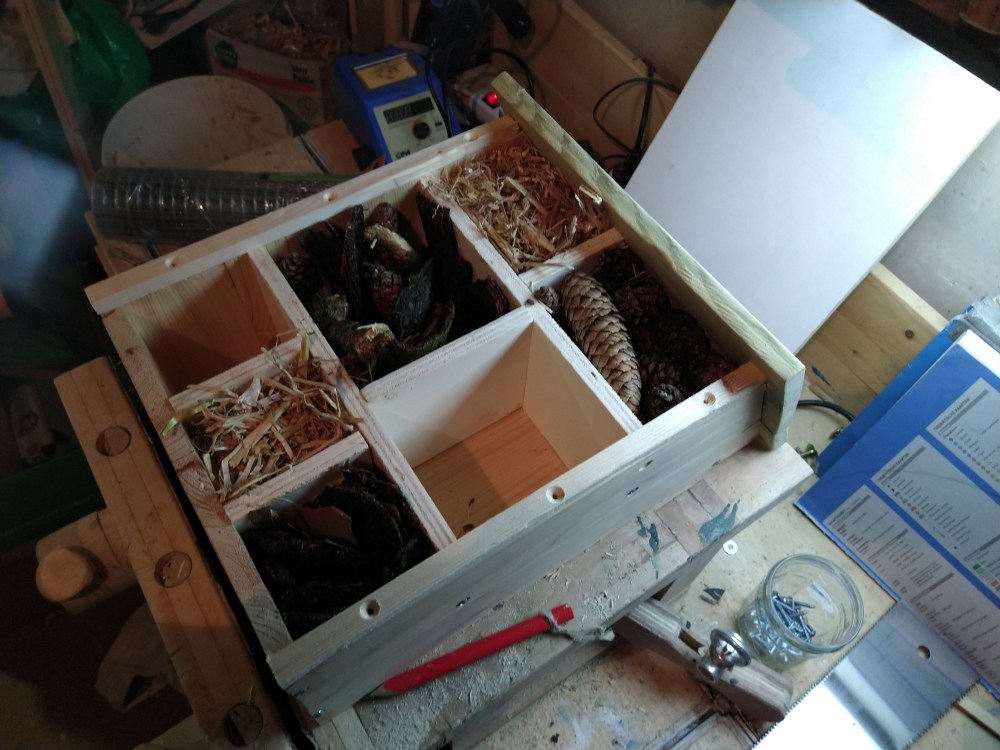
I used pine cones, bark, and straw for five of the squares. 
And sticks with holes drilled into the for the remaining two. This was very wet and green when I drilled it. Basically I started to late and had to hurry up to finish this in time for Mother’s day. 
Which resulted in me slipping with the drill and boring into my own hand. Luckily no lasting damage as far as I know. 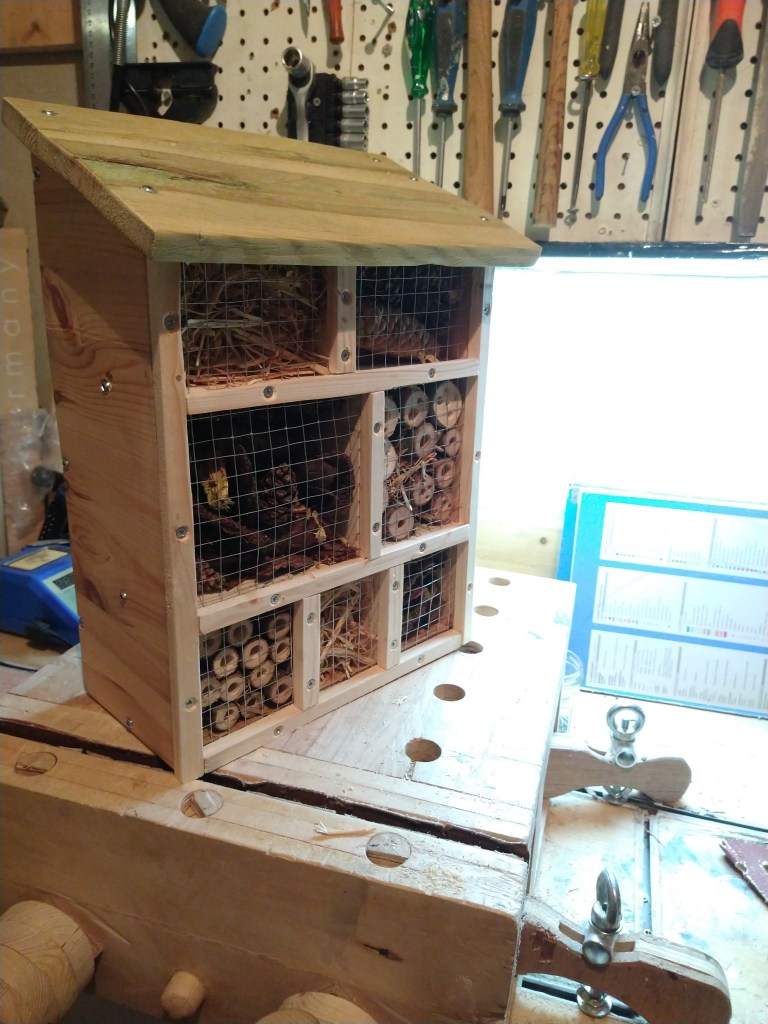
I cut some chicken wire to size, though, then fixed that using the untreated fir strips. I fixed those with smaller screws that I also pre-drilled.

One Comment Add yours